Filters, Date Range, and Interactions
Creatives Gallery
Features
Field mapping for image/video/title/subtitle columns. Search bar, sort by any metric, pagination, performance tier badges, lightbox for full-size view, detail side panel with all metrics.
1. Add a Creatives Gallery widget
- In edit mode, click More (⋯) in the bottom toolbar and select Creatives Gallery.
- In the Properties Panel, map the image URL field to a column containing ad creative image URLs, and select at least one metric (e.g., spend or impressions).
- Close the Properties Panel.
Result: The widget displays a grid of creative cards with thumbnail images and metric values. If no image column exists in the table, placeholder cards appear.
Dashboard Filters
2. Add dashboard filters
- Click the Filter button in the header bar (next to the date picker).
- In the Filter Manager, click a dimension name under Available Filters to activate it. Repeat to add multiple filters.
- Click Close (ESC). Filter chips appear in the header bar.
- Click a chip to open its dropdown and select values to filter by.
Note: Multiple active filters combine with AND logic. Conflicting filters that match zero rows show an empty widget state — the page does not crash. Dashboard filters apply to all widget types including Heatmap and Creatives Gallery.
3. Use “Select only” to isolate a value
- Click a filter chip to open its dropdown.
- Click Select only next to any value. That value stays checked and all others are deselected.
4. Remove and re-add a filter
- Open the Filter Manager and hover over a filter in Active Filters to reveal the Remove filter (trash) icon.
- Click it to remove the filter and its chip from the header bar.
- Click the dimension name in Available Filters to re-add it — values reload fresh.
5. Filter from a different data table
- Open the Filter Manager, scroll to the bottom of Available Filters, and click Browse Other Tables.
- Type a table name (e.g.,
data_dictionary) and click Load table columns. - Click a column from the loaded list to add it as a filter chip.
Result: The chip label shows the column name and its source table, e.g., Column Name: All (data_dictionary).
6. Filters persist after page reload
- Add filters and save the dashboard.
- After reloading, the same filter chips reappear in the header bar with values intact.
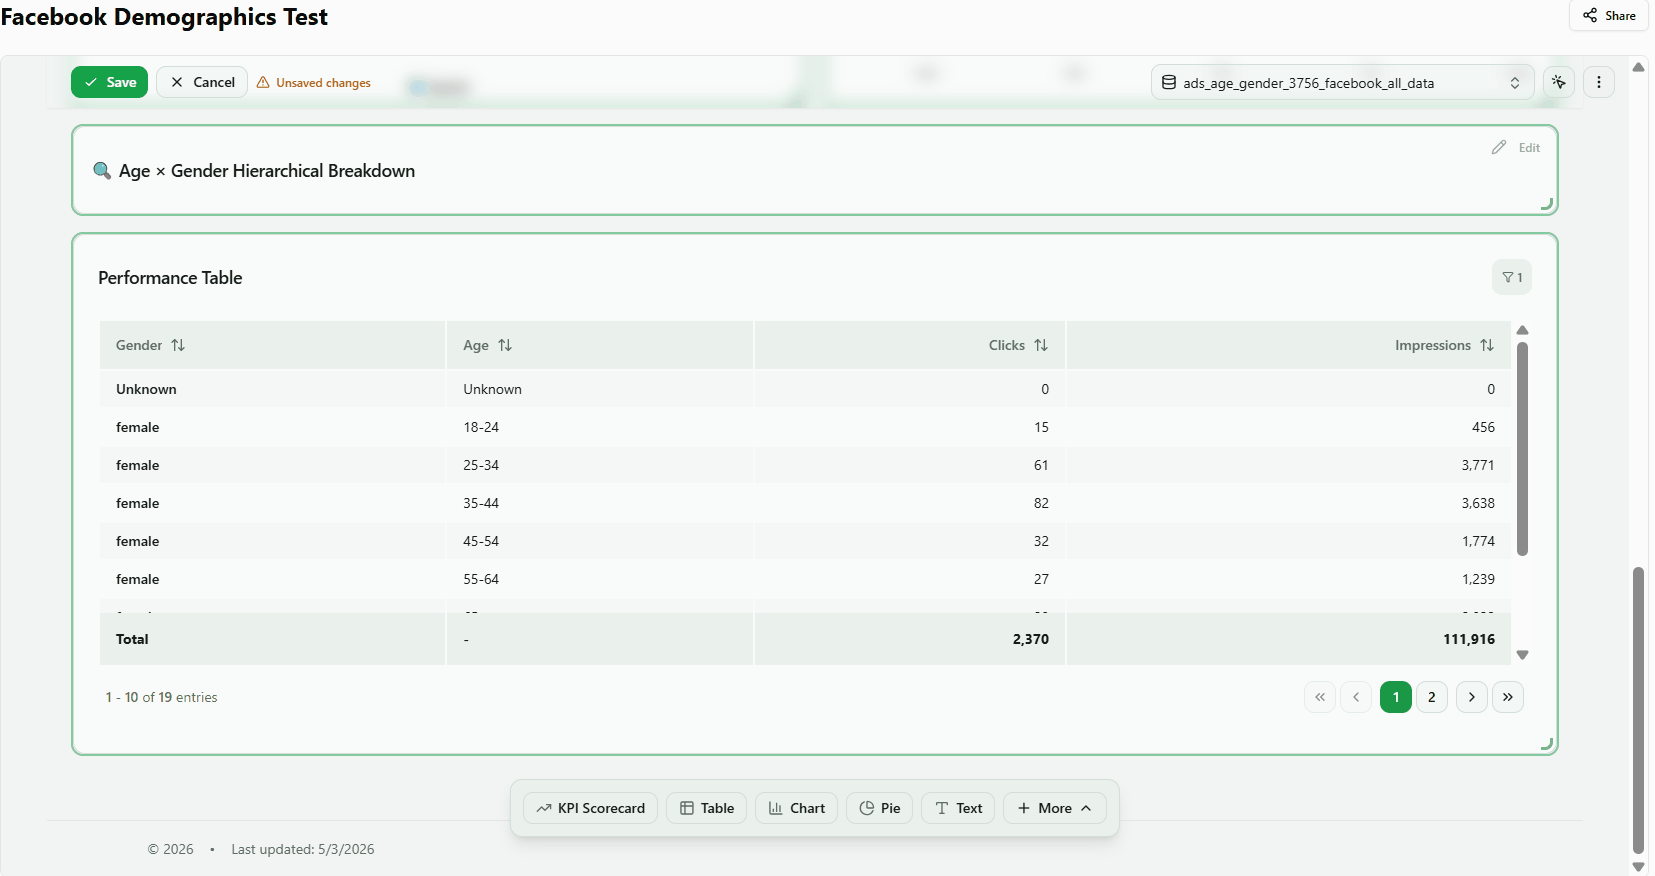
Widget-Level Filters
7. Add a widget-level filter
- Open a widget’s Properties Panel and expand the Filters section.
- Click +, then choose a Field (e.g., campaign_name), an Operator (e.g., contains), and a Value.
- Click Add. The filter appears with a toggle switch (enabled by default).
Result: The widget reloads with filtered data. Toggle the switch off to disable the filter temporarily. The badge in the section header shows enabled/total count (e.g., 1/1). Widget-level filters only affect this widget — other widgets on the dashboard are unaffected.
8. Share a filter across widgets
- Create a widget-level filter on Widget A.
- Open the Filters section on Widget B and click the filter listed under Available from other widgets.
Result: Both widgets share the same filter definition. A chain icon with a usage count appears next to the filter name. Editing the filter in one widget updates both.
9. Combine widget and dashboard filters
- Widget-level filters and dashboard-level filters apply simultaneously with AND logic.
- To exclude a widget from dashboard filters, expand its Filters section and disable Inherit filters from dashboard.
Result: With inheritance off, the widget shows its full dataset regardless of active dashboard filter chips.
10. Toggle filter inheritance per widget
- Open a widget’s Filters section in the Properties Panel.
- Inherit filters from dashboard is on by default. Toggle it off to isolate this widget from all dashboard-level filters.
Result: The widget returns to its unfiltered total while other widgets continue to respect dashboard filters.
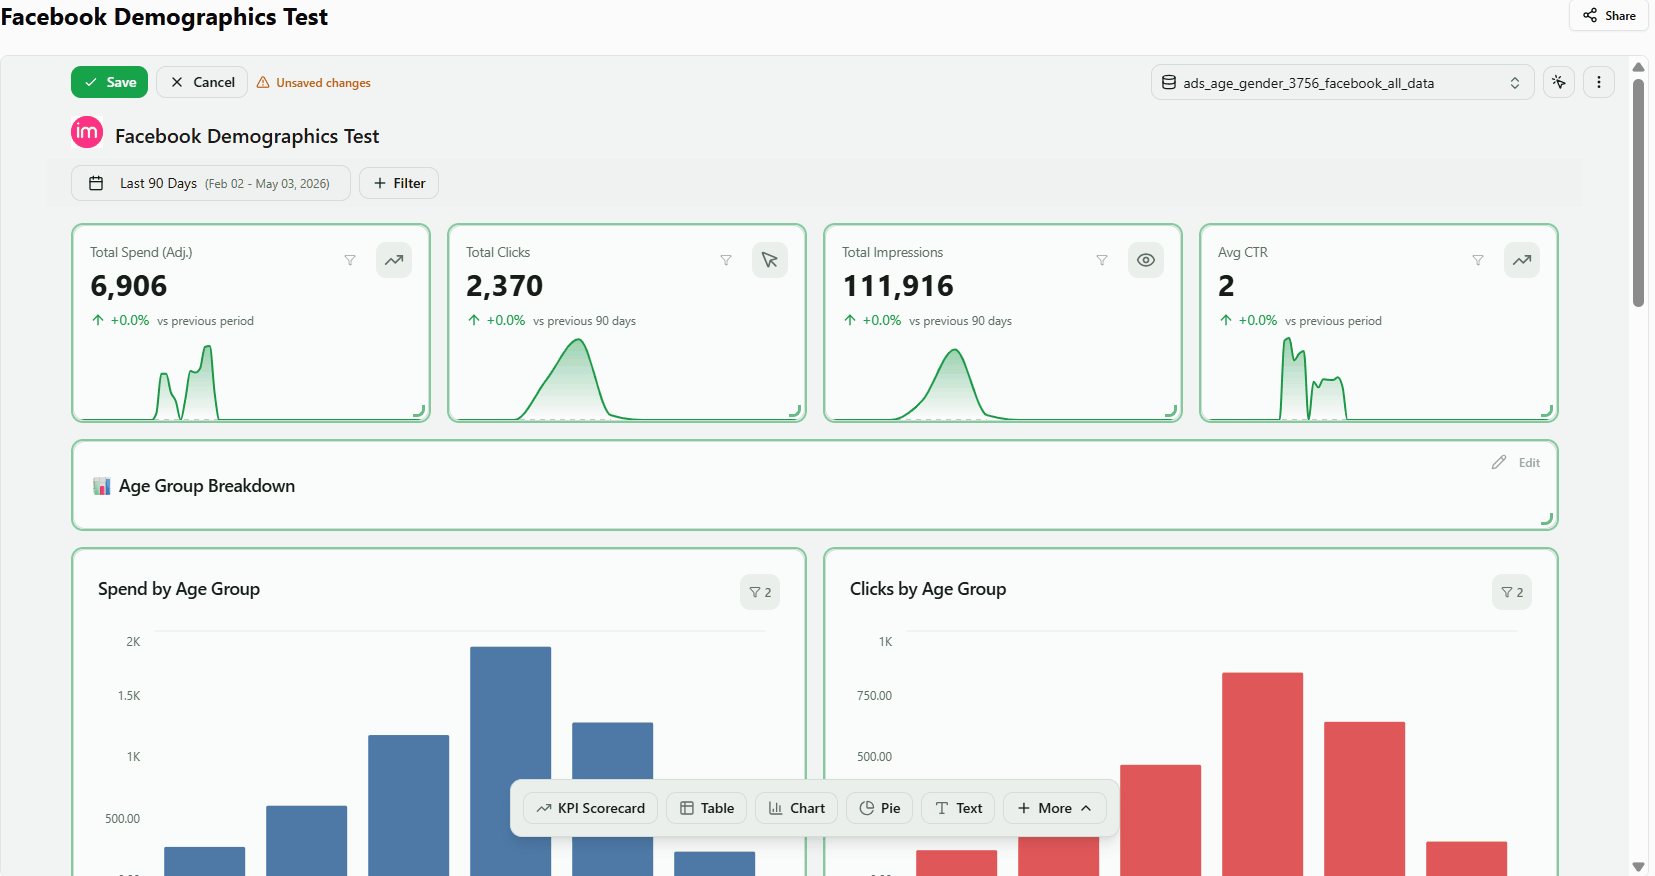
Date Range
11. Choose a date range preset
- Click the date range button in the header (e.g., “Last 30 Days”).
- Select a preset: Today, Last 7 Days, Last 30 Days, Last 90 Days, or All Time.
Result: All widgets reload for the selected period. Longer periods generally produce higher aggregate values.
12. Select a custom date range
- Click the date range button and click a start date in the calendar, then click an end date.
- You can also type dates directly into the Start Date and End Date text inputs.
Result: The date button updates to show the custom range and all widgets reload.
13. Navigate calendar months
- With the date picker open, click ← or → to move between months.
- Select your start and end dates from the navigated month.
Cross-Widget Interactions
14. Click a widget to filter others
- Save the dashboard and exit edit mode.
- Click a bar, slice, or cell in any chart or heatmap widget.
Result: An Active Interaction Bar appears at the top of the dashboard showing the selected dimension value. Other widgets filter to that value automatically. Click X on the bar (or click the same element again) to clear the interaction and restore all widgets.
Note: Cross-widget interaction only works in view mode, not edit mode.
15. Format metric numbers
- Open the Data section in the Properties Panel.
- Click the expand arrow next to a metric name to reveal formatting options: Decimals, Format (Number / Currency / Percentage), Prefix, and Suffix.
- Adjust as needed — the widget preview updates immediately.
Errors and Misc
16. Widget error states
- No data table selected: widgets show a “Select a data table” prompt. The page does not crash.
- No metric selected: a KPI shows a “Select a metric” placeholder. Open the Properties Panel and select a metric to resolve it.
17. Ask AI
- Save the dashboard to switch to view mode.
- Click Ask AI in the header toolbar. An AI panel opens where you can ask questions about your dashboard data.
Was this article helpful?
Thanks for the feedback!