Atlassian Jira
Description
Atlassian Jira is a powerful project and issue tracking platform that provides a robust API for accessing and managing tasks, workflows, and development progress across teams. Its API enables seamless integration with external tools to automate reporting, synchronize data, and enhance productivity.
Setup guide
Follow our setup guide to connect Atlassian Jira to Improvado.
Click the Make a new connection button on the Connections page and select Atlassian Jira in the Data sources catalog.
Please, provide us with the Jira Main URL, Username, and API Token.
Please enter your Jira Main URL in one of the following formats:
https://{your-company}.atlassian.net(e.g.,https://demo.atlassian.net)https://{your-company}.jira.com(e.g.,https://demo.jira.com)https://jira.{your-company}.com(e.g.,https://jira.demo.com)
Use your email address for your Jira account, which you used to generate the API token as the Username.
Generate an API Token by following Atlassian's instructions in this documentation.
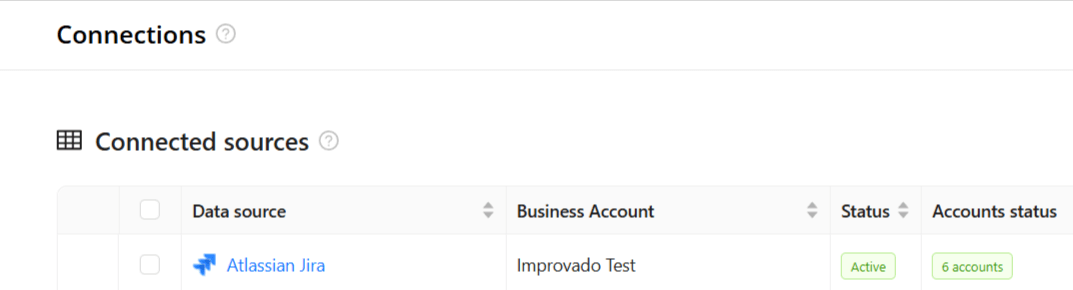
After completing the connection process, the Atlassian Jira connection will appear in your Connected sources list.
When the connection status is Active, and the account status column shows a number of accounts, you can move on to data extraction.
To extract data from the connected sources, check the instructions on how to set up data extraction.
Release notes
You can find information about the latest API changes in the official Release notes.
Was this article helpful?
Thanks for the feedback!