For many marketing teams, Google Analytics can feel like Mount Everest. Tackling the platform and leveraging its power is vital to creating a solid, data-driven foundation on which to build your campaigns, but that doesn’t mean it’s easy.
All marketing teams understand the struggle of diving into so many reports with so little available time. If you’re feeling daunted by the task, you’re not alone—in 2022, 89% of marketers said they wanted to understand Google Analytics on a deeper level. One of the best ways to do this is to build a Google Analytics dashboard.
In this article, you’ll learn the ins and outs of a Google Analytics dashboard, including which metrics to include to create a single source of truth for your marketing efforts.
What Is a Google Analytics Dashboard?
An analytics dashboard from Google is an all-in-one, centralized hub of visualizations that displays your website data in a clean, digestible way. You can customize the widgets showcasing the data to create your ideal overview.
The best part? The dashboard displays real-time data that it automatically pulls from your site. You can choose to visualize your data in a variety of formats, including:
- Charts,
- Tables,
- Maps,
- Scorecards,
- And more.
The alternative is sorting through thousands of rows of data to find the information you’re seeking. Obtaining essential data elements for decision-making can be a bloated, overwhelming, and time-consuming process. That’s why you need a dashboard.
Dashboards deliver real-time, actionable data and organize it visually. Your analytics dashboard offers a quick overview of your KPIs and important metrics over a certain period of your choosing. This overview allows you to strategize effectively, take action, improve performance, and seize growth opportunities.
Analytics dashboards will also play a critical role in collaborating with your team. Once you create your dashboard, it’s shareable with anyone in your organization. Having your most essential data and metrics displayed in a single location means you can ensure that everyone is on the same page and taking steps in the right direction.
Discover 25 best marketing dashboard templates
5 Benefits of a Google Analytics Dashboard
Most organizations prioritize knowing more about their site than just the traffic coming in. An effective dashboard pulls vital information from different sources and creates a visual display of end-to-end insights into your marketing funnel. That might include SEO, eCommerce, social media, and more.
There are a variety of Google Analytics Dashboard templates and examples readily available to simplify your reporting efforts. Here are the top five benefits of using a Google Analytics Dashboard in your organization.
1. Customization
A custom analytics dashboard can be incredibly beneficial for organizations. You can pull in data from your paid advertising, SEO content, social metrics, and more. Customization gives you total control over what you see and how you see it.
2. Centralization
While having extensive reports laid out for you to dig into is valuable in specific circumstances, it’s better to have an overview of daily activity. The tricky thing about reports is that they’re often scattered across the various tools you use to keep your site healthy. Using a Google Analytics Dashboard provides maximum visibility into the most actionable metrics in a centralized location.
All you have to do is log in and see the overview.
3. Transparency
When running a marketing team, keeping everyone in the loop on what matters most can be challenging. With the ability to visualize actionable metrics in a single location, you may avoid slowed or delayed campaigns and miscommunication. A Google Analytics Dashboard offers transparency and accessible insights at any given time.
4. Channel Insights
The marketing mix with which most companies work in our modern era is complicated. There are many channels to juggle and countless metrics to track. If you keep your analytics from each channel separate from each other, you’ll have difficulty getting an overview of your positioning.
Google Analytics allows you to pull information from different marketing channels and compare them. The relationship between those channels may reveal some of your most vital data to make crucial decisions.
5. Funnel Visibility
We touched on this before, but it can’t be stressed enough. Building a marketing funnel is one of the most important undertakings of a marketing executive. If you don’t make it trackable and measurable, it’s hard to take advantage of it. Using Google Analytics allows you to see into each stage of your funnel and find where the holes are.
It’s also essential to determine how each stage of your funnel works and how it communicates with the others. The customer journey is a crucial conversation, and your data can give you a clear picture of it. (Try running a cohort analysis to see deeper into your funnel.)
5 Metrics to Include in a Google Analytics Dashboard
Dashboards can come in various formats and serve different purposes. To create the proper visualization for your needs, you’ll want to include specific elements to keep the dashboard functional.
If you’re starting out, these are five metrics you’ll want to track in a Google Analytics Dashboard.
1. Impressions
An impression is when your website, ad, or content is found and loaded. Whenever you place content in front of people, that counts as an impression. This is an important metric to track to gain further insight into the extent of your reach.
2. Clicks
Similarly, your clickthrough rate shows how often potential customers see your site and click through to visit it. Your clicks might come from paid or organic search rankings.
3. CPM
Cost per thousand (CPM) is also known as cost per mile. It’s a term that indicates the cost of 1,000 ad impressions on a single web page. Tracking this metric can help you understand your positioning and what you’re paying for paid rankings.
4. Conversion Rate
A metric you’re likely familiar with is your conversion rate—the number of people who visit your site or landing page and follow through with your CTA. Tracking your conversions is crucial because this number allows you to see whether or not your marketing efforts are paying off.
5. Top Keywords
Tracking your top-performing keywords can be a great way to refine your overall marketing strategy.
The 6 Types of Widgets in Google Analytics
As we mentioned above, your Google Analytics Dashboard is a collection of widgets that displays real-time data from your website. Think of a widget as a mini-report that can showcase data in various ways. From simple numeric metrics to complete graphs, you have many options.
Google Analytics allows you to define the functionality of your widgets within the dashboard itself. Each dashboard can have one or many widgets that display different dimensions and metrics.
There are two main types of widgets in Google Analytics. The first is standard widgets, which show you processed data. These are updated whenever you refresh the page or alter the date range.
The second type is real-time widgets. These are the bread-and-butter of your dashboard because, as the name suggests, they display your site data in real time. Real-time widgets update their metrics automatically for active website users. Depending on the widget, they can display Active User or Pageview metrics.
Now that you’re equipped with the lay of the land, let’s jump into the types of widgets in Google Analytics.
1. Timeline
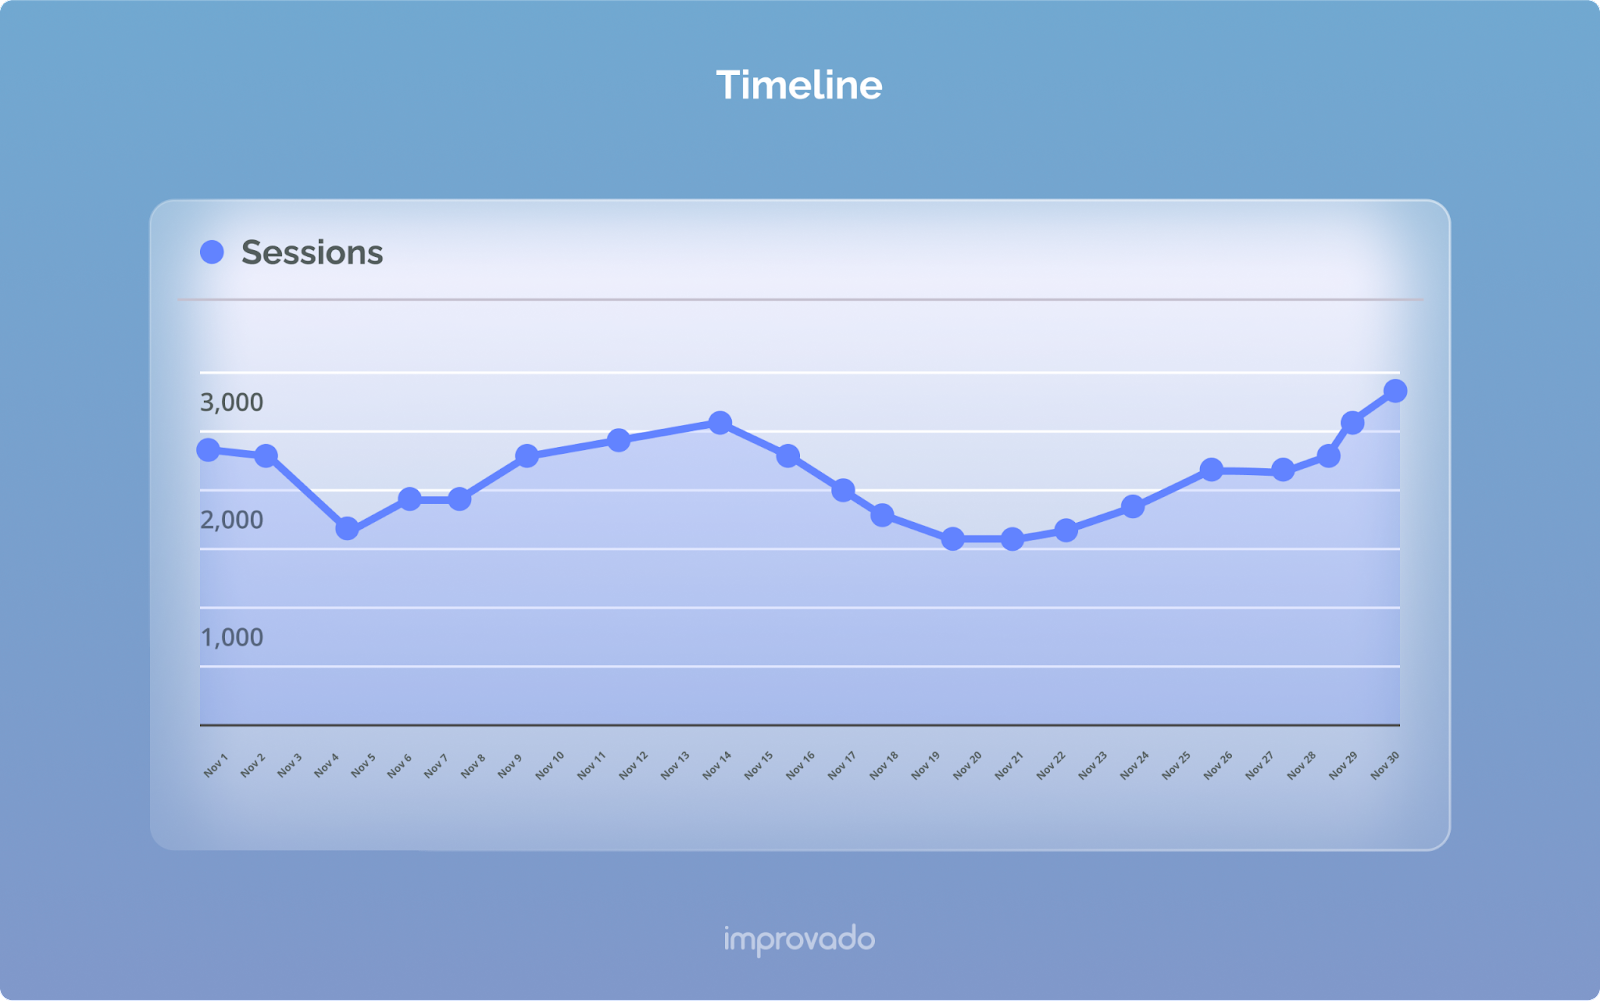
A timeline can be either a standard or a real-time widget that displays a graph of the selected metric over a specified period. Typically, the metric uses connected dots to visualize progression or growth over months, weeks, or days (depending on your selections). If it’s a real-time widget, a timeline can display a graph of pageviews on your site for the last 60 seconds or the last 30 minutes.
2. Metrics
Metrics are another form of standard widgets that show your data as a single value number. This perfect addition to your dashboard displays simple pieces of data in a clear way, such as daily or monthly active users.
3. Geo Map
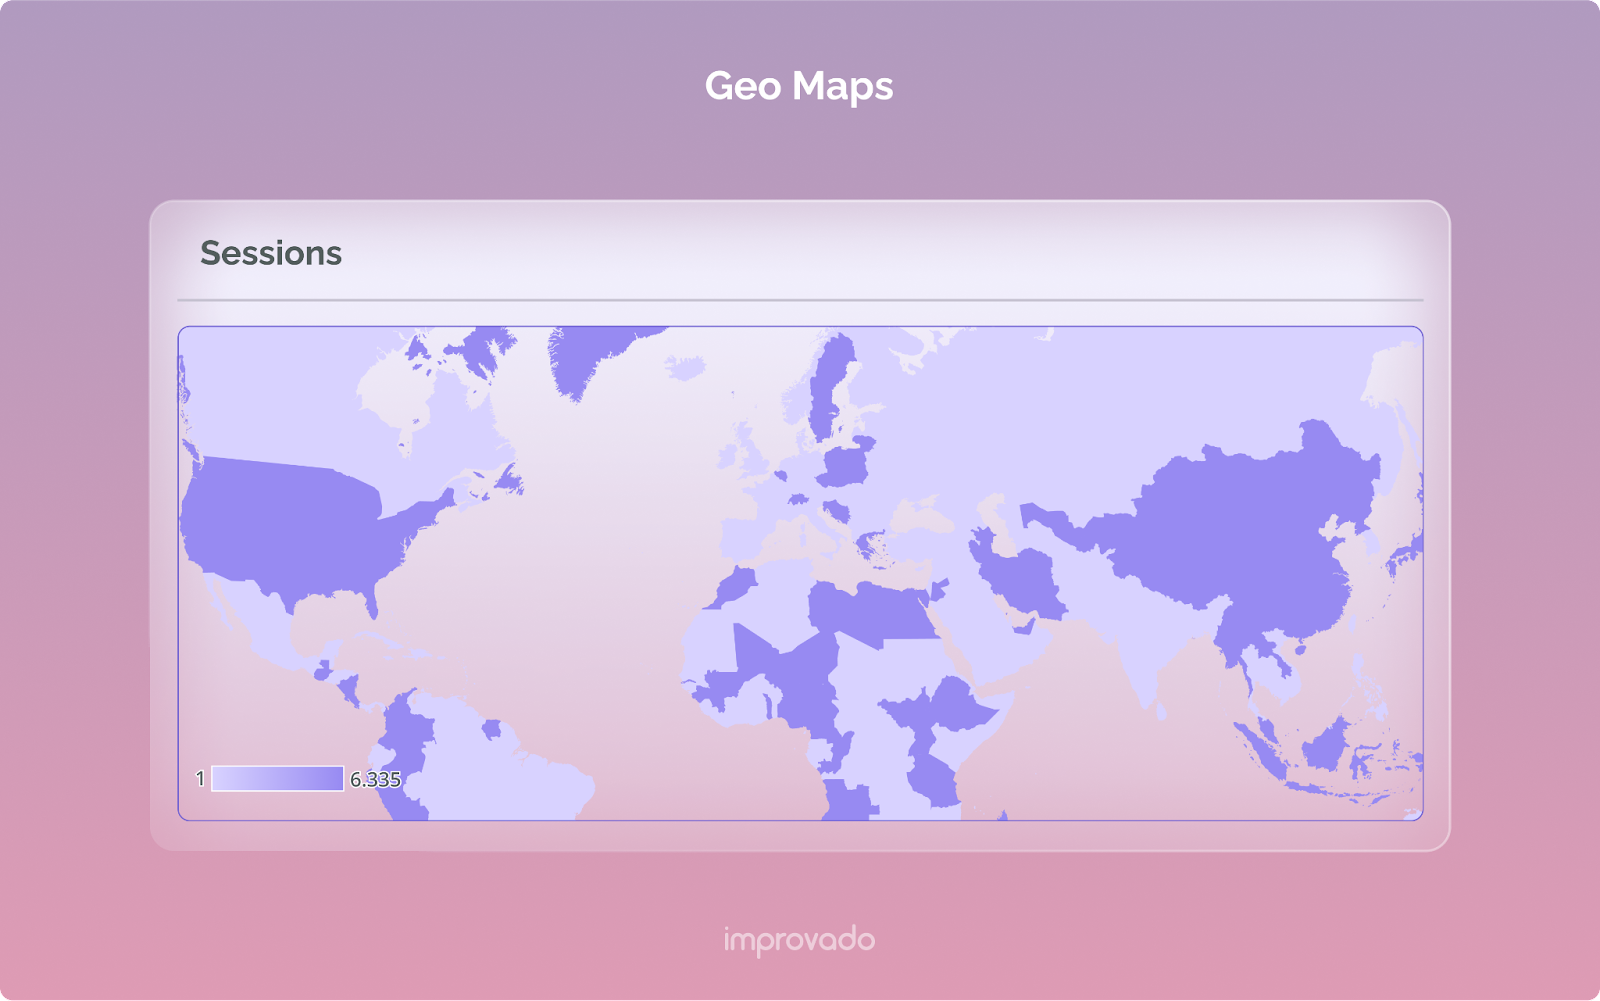
The geomap can be either a standard or a real-time widget that visualizes Google Analytics metrics across an entire map or a selected region. If you’re trying to get an overview of users based on location, the geomap will allow you to get an accurate birds-eye view.
4. Bar
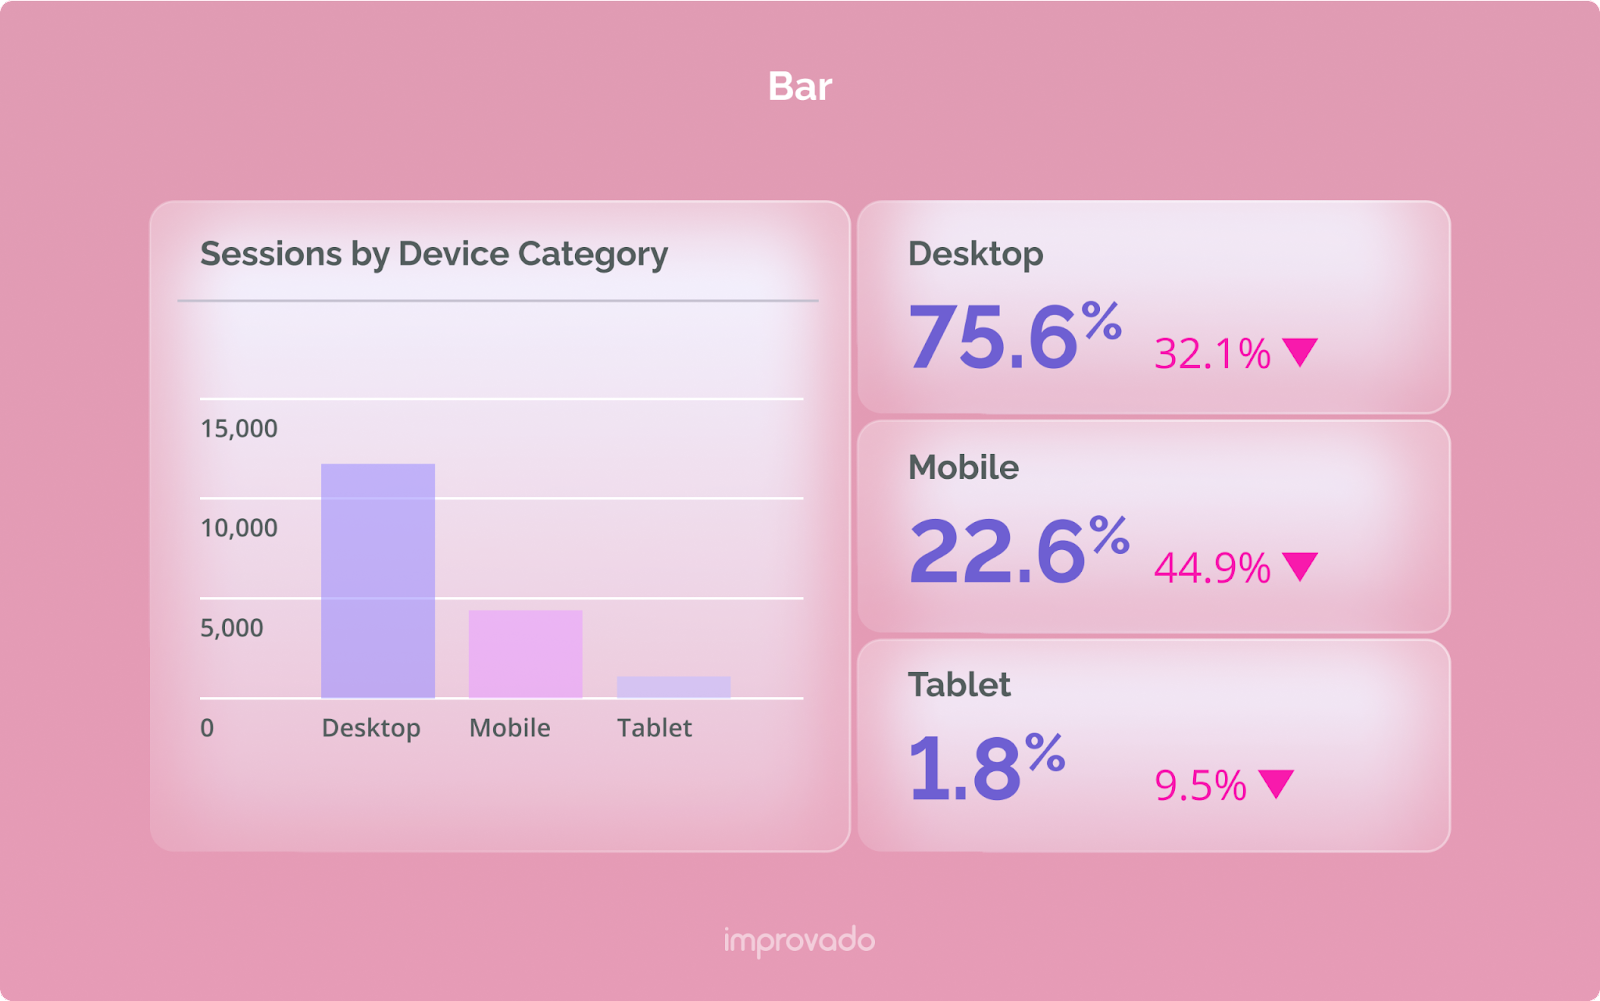
Bar widgets are standard widgets that can be useful for showcasing discrete or discontinuous data and showing the relationships between certain parts to the whole. This widget could be used to visualize and compare conversions coming from different traffic sources.
5. Pie

Pie charts are standard widgets that display data as a percentage of the whole. This visualization can allow your team to visualize goal ratios by channels and other metrics that require understanding data contributions.
6. Tables
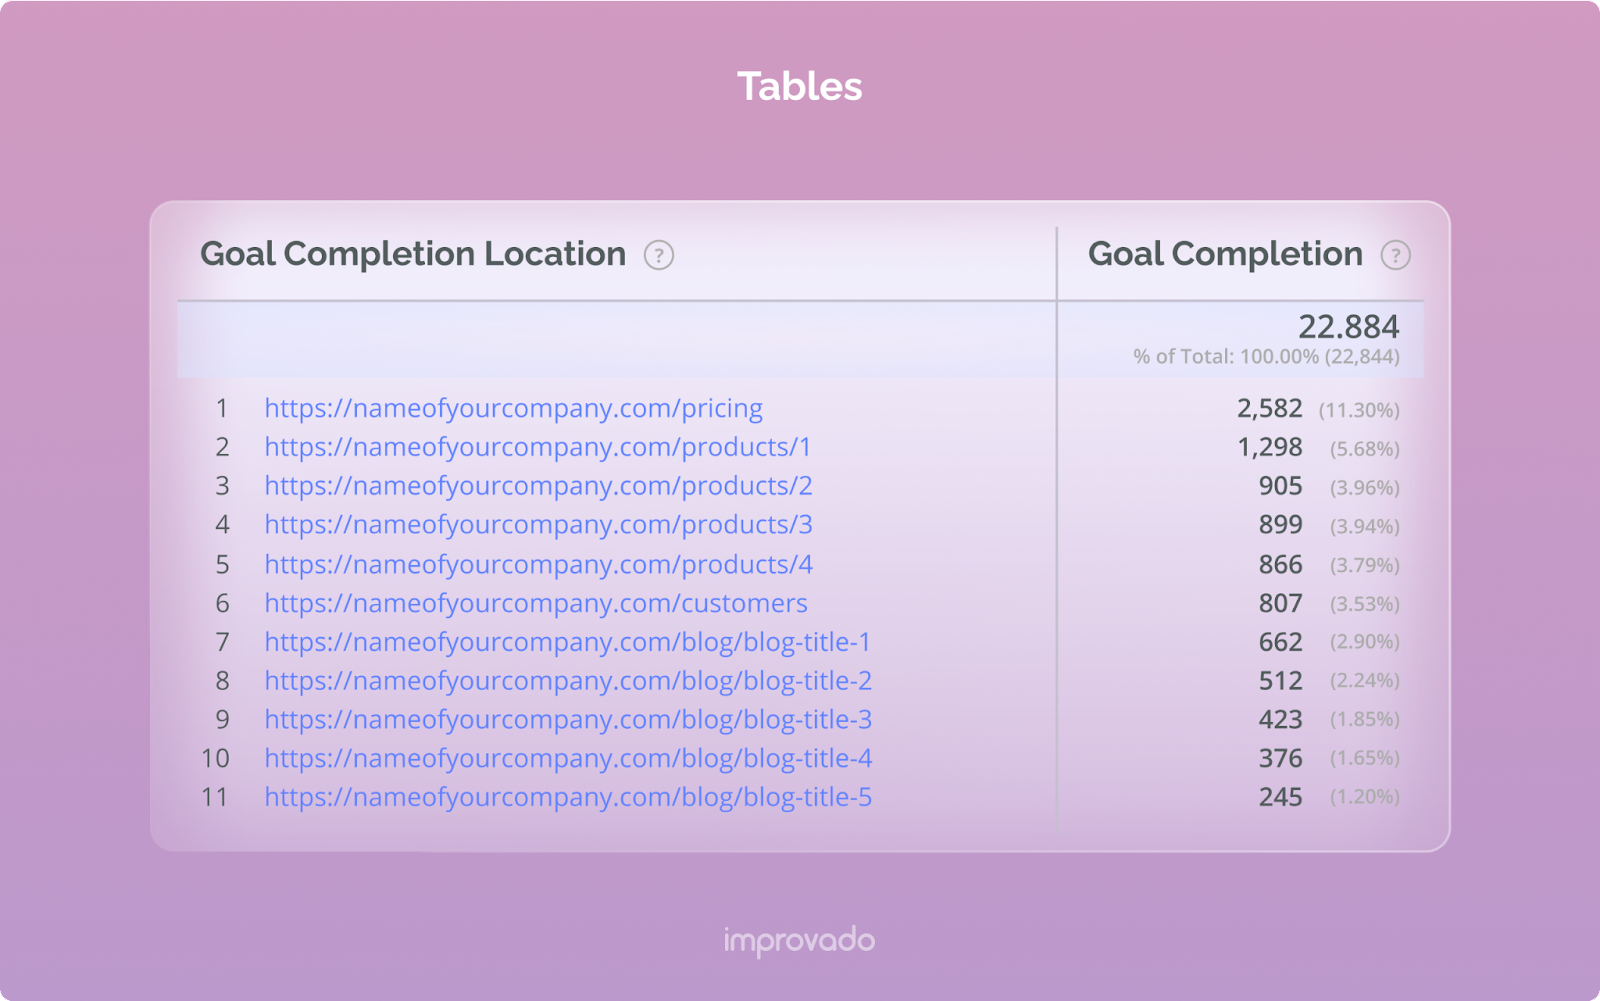
A table can be either a standard or a real-time widget. It’s a classic display of data using rows and columns. Standard tables can display the correlation between metrics or provide a deeper look into a specific metric. Real-time tables can plot a table of active users against up to three selected dimensions.
3 Ways to Build a Dashboard from Google Analytics Data
The number one benefit of building a dashboard from Google Analytics data is that you can easily see what’s working and what isn’t. A dashboard lets you drop unprofitable efforts and scale profitable ones. Of course, to see that level of success from your data, you’ll need to consider how you’re building your dashboard.
These are three ways to get started.
1. Custom Google Analytics Dashboards
Building a custom dashboard from scratch can be helpful if you know the exact metrics you want to track. If you’re coming into this with a preconceived plan, creating a custom dashboard will offer the flexibility and moldability you need to see the most critical metrics in a single view.
Step 1: Log in to your Google Analytics account.
Step 2: Select the view you’re seeking from the provided list (if applicable).
Step 3: Navigate to the left and click “Customization.”
Step 4: Select “Dashboards.”
Step 5: Select “Create.”
Step 6: Choose “Blank Canvas” to create a custom dashboard.
Step 7: Name your dashboard.
Step 8: Select “Create Dashboard.”
Step 9: Choose your desired widgets.
After that, you’re all set. You can choose the widgets and set them up to display the selected metrics. It can take a few tries to get it right, but eventually, you’ll see an overview of your critical data in a single space.
2. Looker Studio
If you’re slightly less familiar with compiling your analytics data and want additional guidance, try Looker Studio (formerly Google Data Studio). This is where Google houses its templates for dashboards, meaning you’ll have plenty from which to choose.
Whether you’re looking for the perfect Google Ads Overview, a YouTube Channel Report, or a Search Console Report, Google has a template.
Getting started with Looker Studio is easy.
Step 1: Log in to your Looker Studio account.
Step 2: Open the “Template Gallery.”
Step 3: Browse the templates until you find your desired dashboard.
From there, the setup is straightforward. Begin by selecting your desired metrics and making adjustments to create your ideal dashboard.
3. Improvado
If you’re looking for the ultimate solution to navigate toward your business goals, use Improvado. The solution specializes in automating your entire marketing reporting process. Marketing teams typically spend 27% of their time on manual reporting, which can eat into productivity levels, morale, and cash flow.
Improvado is the way forward. Its customizable connectors, dashboard, and reports ensure data quality and advanced marketing analytics, so you don’t have to invest your valuable time.
Improvado’s ETL solution allows you to:
- Automatically pull data from multiple sources.
- Transform data.
- Unify disparate naming conventions.
- Eliminate duplicate data entries.
- Map data.
- Push analysis-ready data to any BI, analysis, or visualization tool.
Automate Your Reporting with Improvado
By choosing Improvado, your marketing team will save time, minimize errors, obtain real-time data, and cut time to insight. In addition, your company can use our professional services and have our expert team build a dashboard for you.
Leverage Improvado’s extensive experience and expertise in the marketing sphere and schedule a demo today.
FAQ
How do Improvado's dashboards differ from those of other analytics tools?
How does Improvado support the creation of custom dashboards?
How can I embed Google Analytics into a website dashboard?
What do Improvado dashboards look like?
How can I create a dashboard in Google Analytics?
What are the benefits of using a marketing analytics dashboard?
How does Improvado integrate with Google Analytics to provide website data?
Where can dashboards be built using Improvado?


.png)