When an order is manually triggered, it enters a download queue on our side before synchronization begins. The extraction process starts once the order reaches the front of the queue. The wait time can vary depending on how busy the download queue is at that moment.
This queuing mechanism ensures orderly processing and optimal system performance, so your extraction will start as soon as possible based on queue availability.
We usually delete extraction orders after a migration that requires switching to new reports and creating new extracts (for example, during an API version migration). Old extracts have no use after the migration and will always fail, so we remove them and create new ones as part of the process.
You will receive an email notification specifying the exact date when your old orders will be deleted.
If you want to closely replicate the numbers shown in the Klaviyo campaign report, you should use the Query Campaign Values endpoint. This endpoint aligns more closely with how the UI calculates campaign performance.
Campaign Stats is based on Query Metric Aggregates endpoint. The report provides event data aggregated by related campaigns. The date field represents when the event (e.g., email opened) happened, not when the campaign or flow email was sent.
Campaign Values is based on Query Campaign Values. The date field represents when the campaign or flow message was sent. Opens, clicks, revenue, orders, etc. will be associated with the message, no matter when they happen.
No, the data table will still exist. Deletion of data tables will be supported in the next version of this feature.
Yes, but for file destinations - no existing files will be affected by historical load. We'll only delete data in our internal storage, and new files will not have data you've deleted.
Yes, you can specify the date range for your load in Run load feature. Learn more.
You can connect any data source in two simple steps:
The created connection will appear at the top of the Connected sources list. You can find a setup guide for a Data source on the right side of the Authorization page.
Click on the Extract button for the required Connection in the Connected sources list.
Then, you can set up the data extraction in four simple steps:
You can check out a more in-depth guide here.
Extraction template selection depends on the specific Data source and the type of data you want to extract. Here are some steps to help you choose the appropriate Extraction template:
If you didn’t find the needed global Extraction template, you can create a custom one:
You can check out a more in-depth guide here.
You can connect any destination in two simple steps:
The created connection will appear at the top of the Connected destinations list.
You can check out a more in-depth guide here or find a setup guide for the specific Destination here.
We acknowledge the importance of privacy and data protection regulations, such as the General Data Protection Regulation (GDPR) and the California Consumer Privacy Act (CCPA), and are committed to complying with these regulations and protecting the privacy of our customers' personal data.
We have implemented robust security measures and processes to ensure the confidentiality, integrity, and availability of personal data. We also provide our customers with transparency and control over their personal data, including the ability to access, rectify, and delete their data.
As part of our commitment to GDPR and CCPA compliance, we have appointed a Data Protection Officer (DPO) to ensure that our processes and procedures align with these regulations. Our DPO is available to answer any questions or concerns related to data protection and privacy. Please don't hesitate to reach out to our DPO at dpo@improvado.io.
At our company, we believe in the importance of trust and transparency with our customers. We are committed to maintaining the highest standards of privacy and security to protect our customers' personal data. By choosing to work with us, our customers can trust that their data is being handled with care and in compliance with GDPR and CCPA regulations.
You can check out a detailed guide here.
Click the Create a template button on the Extraction Templates page.Then, you can a new custom Extraction template in two simple steps:
You can check out a more in-depth guide here.
You can create custom Google Analytics 4 Extraction templates with flexible dimension settings and any set of compatible dimensions and metrics available in the GA4 API. Learn more here.
You can find an extensive overview of all common Report types by Data sources in the Improvado Data Dictionary. It includes metrics, properties, dimensions, etc.
If you didn’t find Report types you were looking for - you can create a request for a new Request type via the Service Desk.
You can check out a detailed guide here.
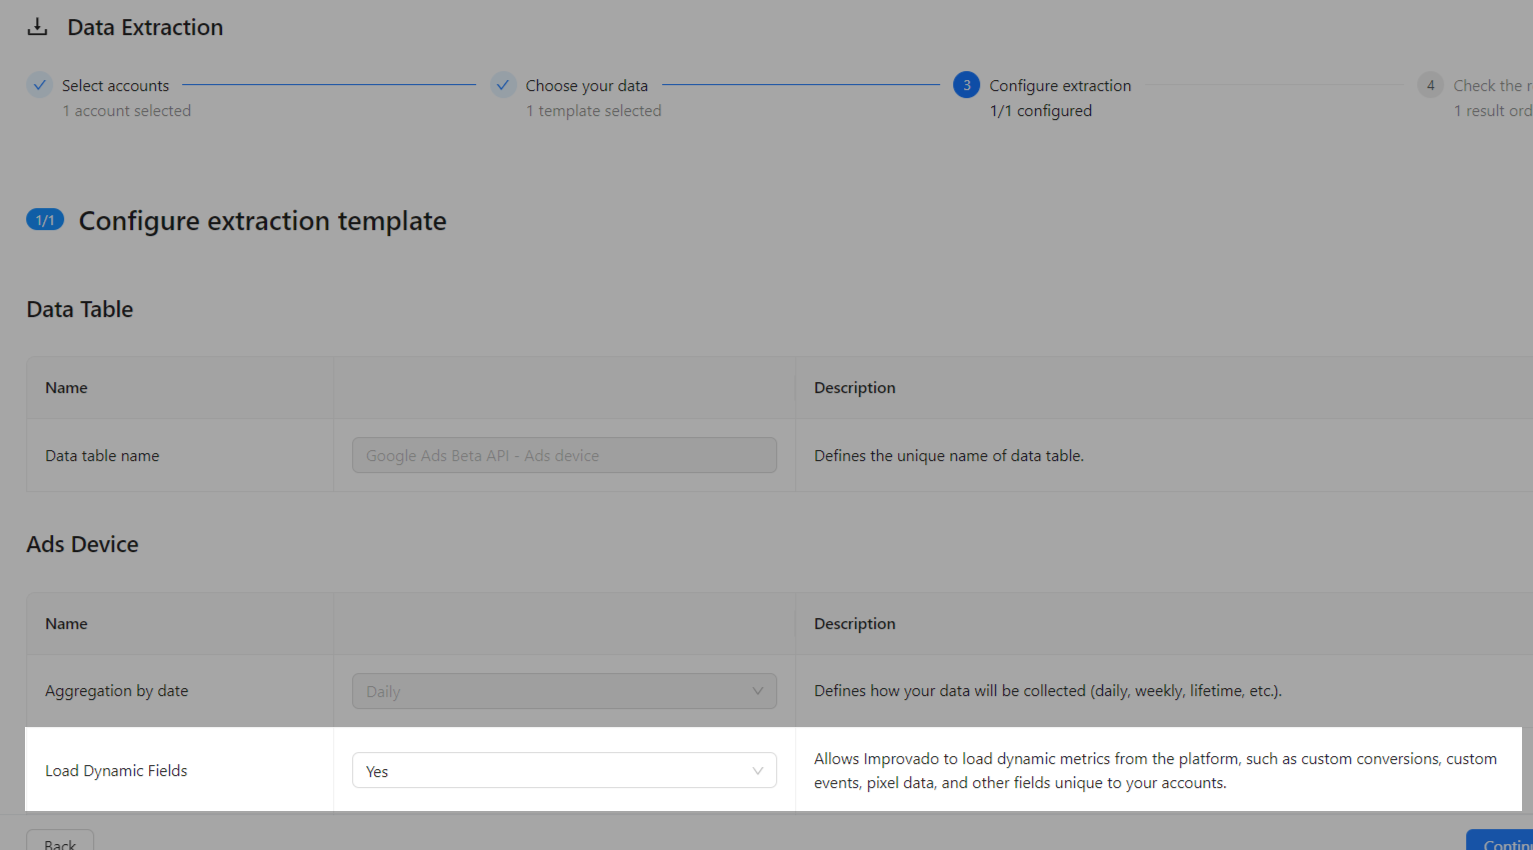
You can enable custom conversions by setting the Load Dynamic Fields field to Yes on the third step of the Data extraction setup.

It allows Improvado to load dynamic fields from the platform, such as custom conversions, custom events, pixel data, and other fields unique to your accounts.
Note: Only certain Data sources and Report types support this feature.
Learn more here.
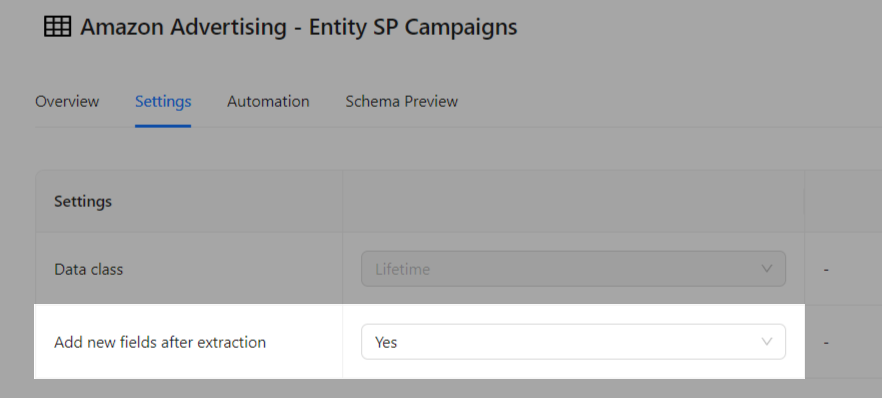
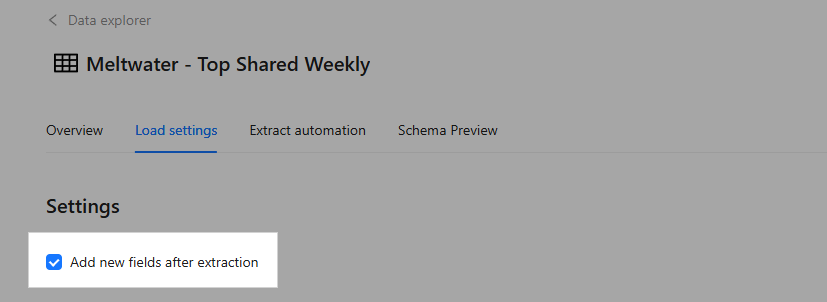
Follow these simple steps to be able to add new dimensions & metrics to the data schema of your Data Table:
Learn more here.

The list of Data source accounts is updated daily. You can also update the list of accounts by clicking the Sync Accounts button on the Connection Details page. The duration of the account synchronization depends on the Data source service processing speed and the size of the data.
To check the freshness of your data, you can refer to the Last update column in the Data Table. This column displays the timestamp of the last data sync.
You can also manually trigger a data sync by clicking the Sync data now button from the Data Table page. This will update the data with the latest information.
You can check out a more in-depth guide for Data Tables here.
If you want to keep a fixed data schema of the Data Table, then follow these simple steps:
Learn more here.

You can find an extensive overview of all common Report types by Data sources in Improvado Data Dictionary. It includes metrics, properties, dimensions, etc. You can use filters to find all the necessary information for each Report type.You can also check the data structure of your Data Table by selecting the Data Preview tab on the Data Table Details page.