Azure SQL Data source
Note: This article covers Azure SQL Data source setup process. You can learn how to load data to Azure SQL Destination here.
How to connect Azure SQL
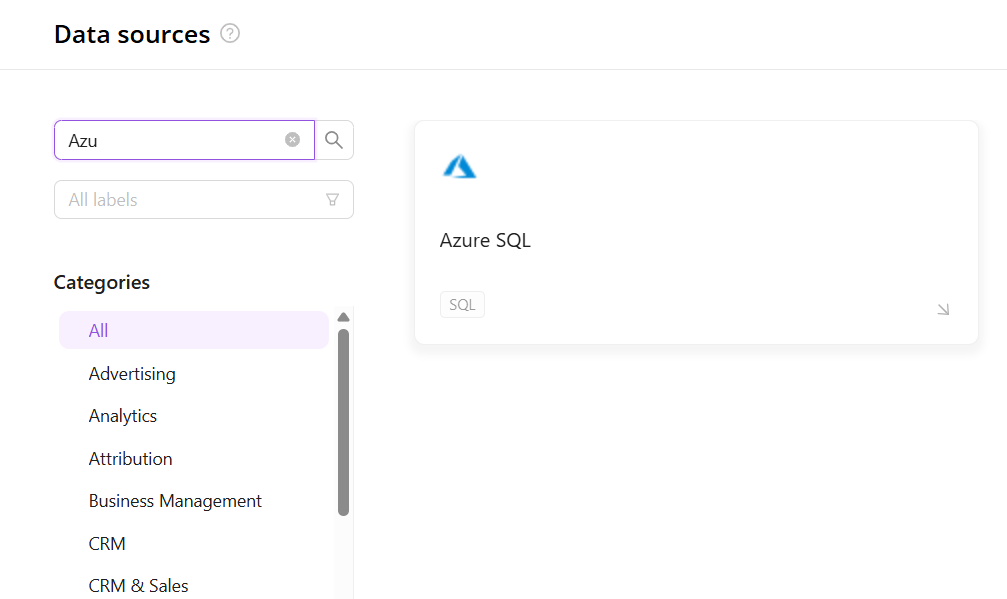
- On the Data sources page, click on the Azure SQL tile.
You can find it using the search field or just open the SQL category.
- On the Azure SQL authorization page, fill in the following fields:
- Enter the Host.
- Enter the Port.
- Enter the UID.
- Enter the Password.
- Enter the Database Name.
- Enter the Schema.
- Make sure you have the following permissions:
| Access level | Scope |
|---|---|
| View access | information_schema and tables inside it |
| Schema specified in the autorization form and tables inside it |
- Whitelist the following IP addresses for your cluster:
- Main Cluster:
- US Cluster:
- EU Cluster:
- FIll in the form and click the Authorize button.
Due to the limitations of the ORDER BY clause in Azure SQL, you must be careful with the choice of breakdowns such as text and ntext, as it will become more expensive due to the CAST operation (e.g, for text type, we’ll cast it to text -> varchar(max)). Please carefully consider the performance implications and potential alternatives before including these breakdowns in your extraction.
How to extract data from Azure SQL
Step 1 - Select table
- Select a table from the schema you specified during authorization.
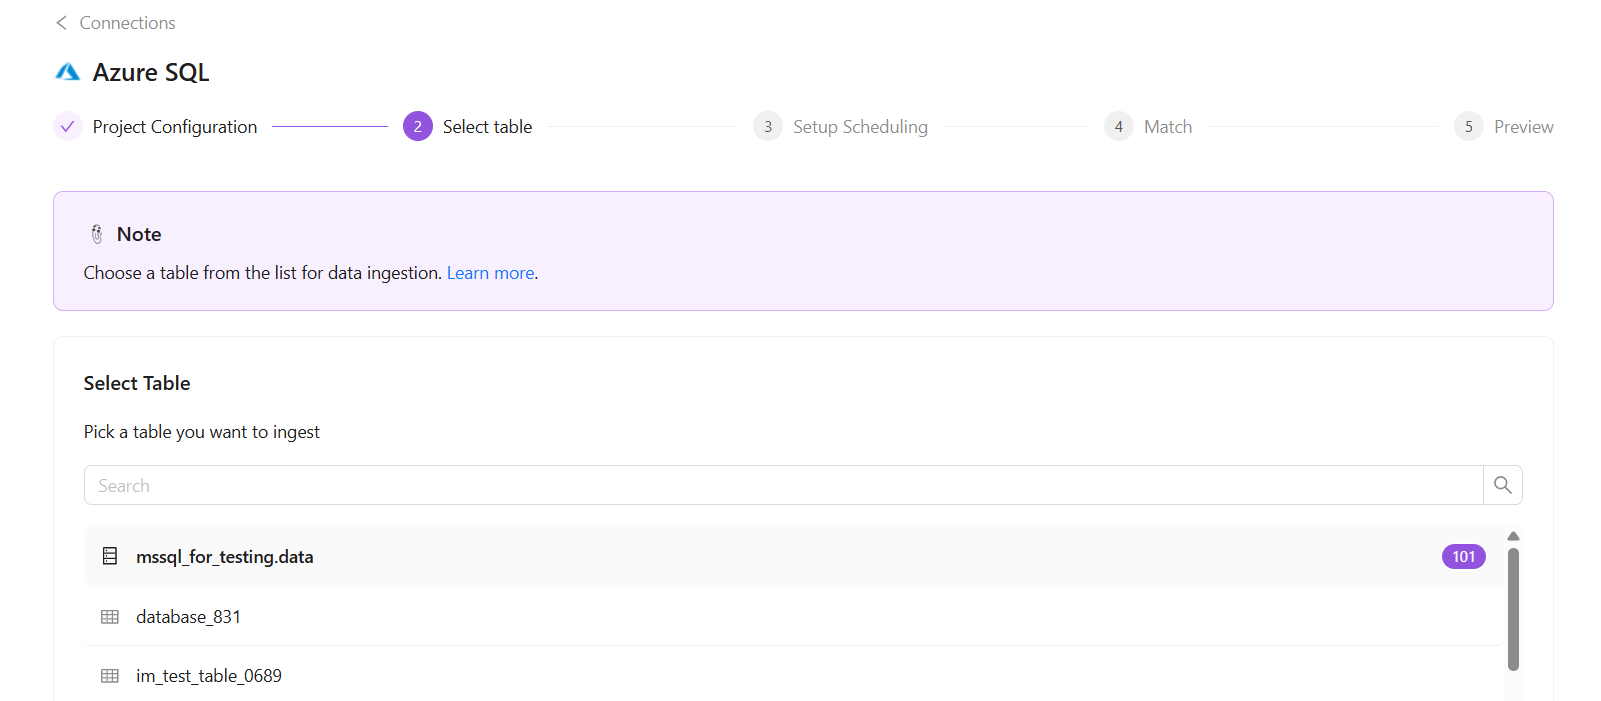
- Click Continue to proceed to the next step.
Step 2 - Match
- Enter your Data Table name. Remember, you can't change this later.
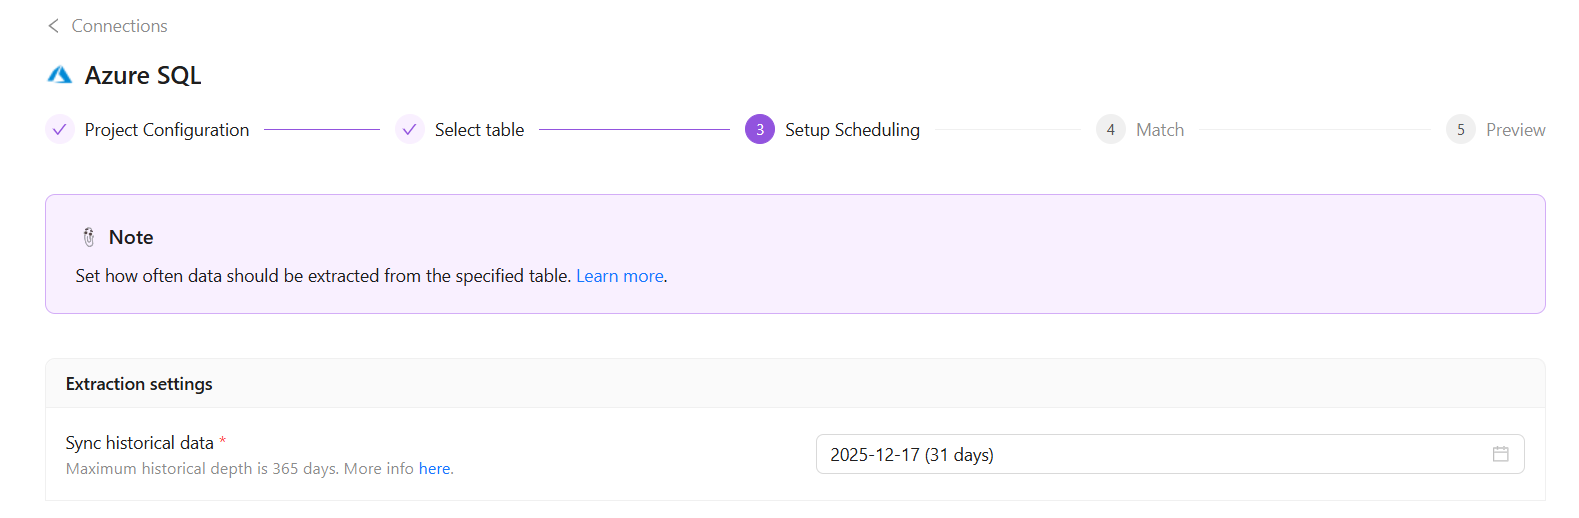
- Select Sync historical data period. This setting allows you to extract historical data from the selected date range during the initial data extraction.
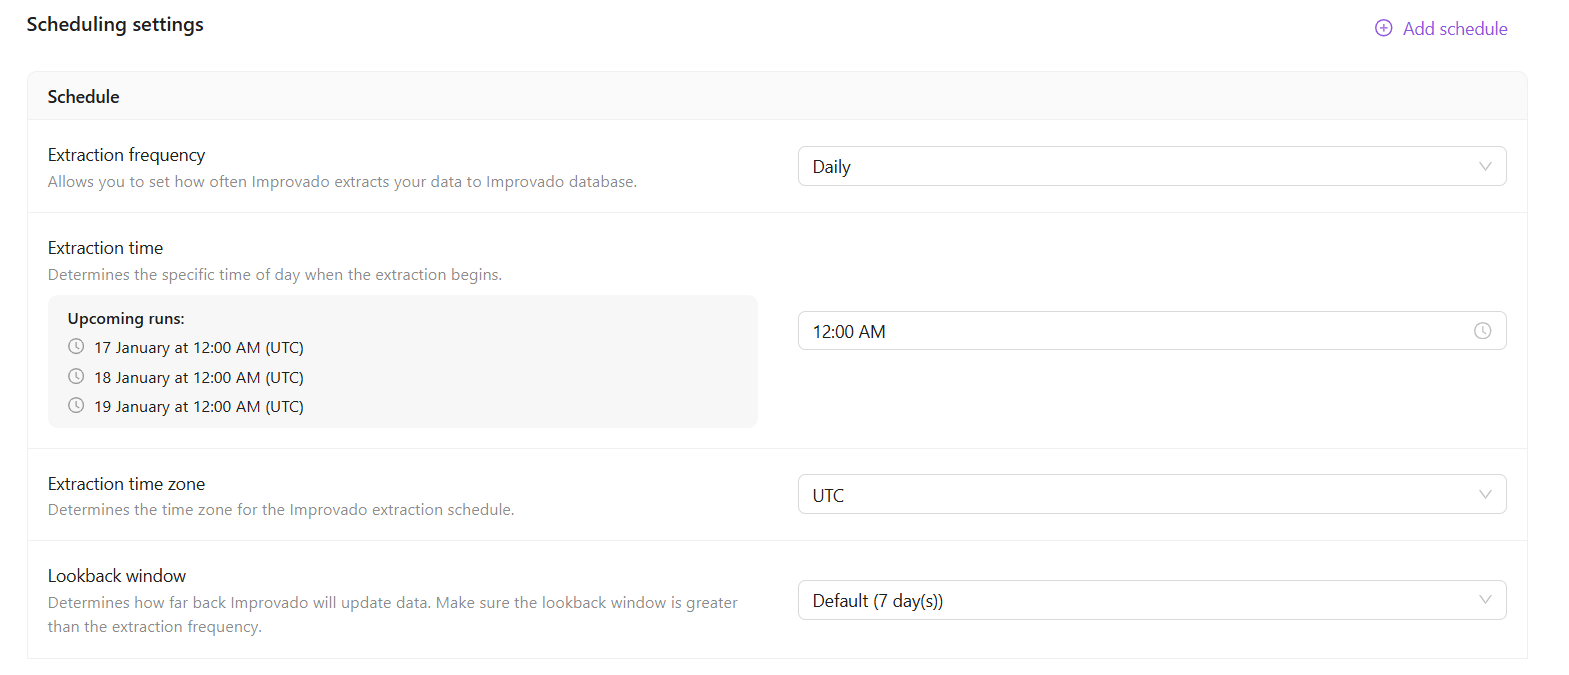
- Configure your Extraction scheduling. Allows you to set how often your data is extracted to Improvado storage.
- Select the fields you need to import. By default, all fields are selected.
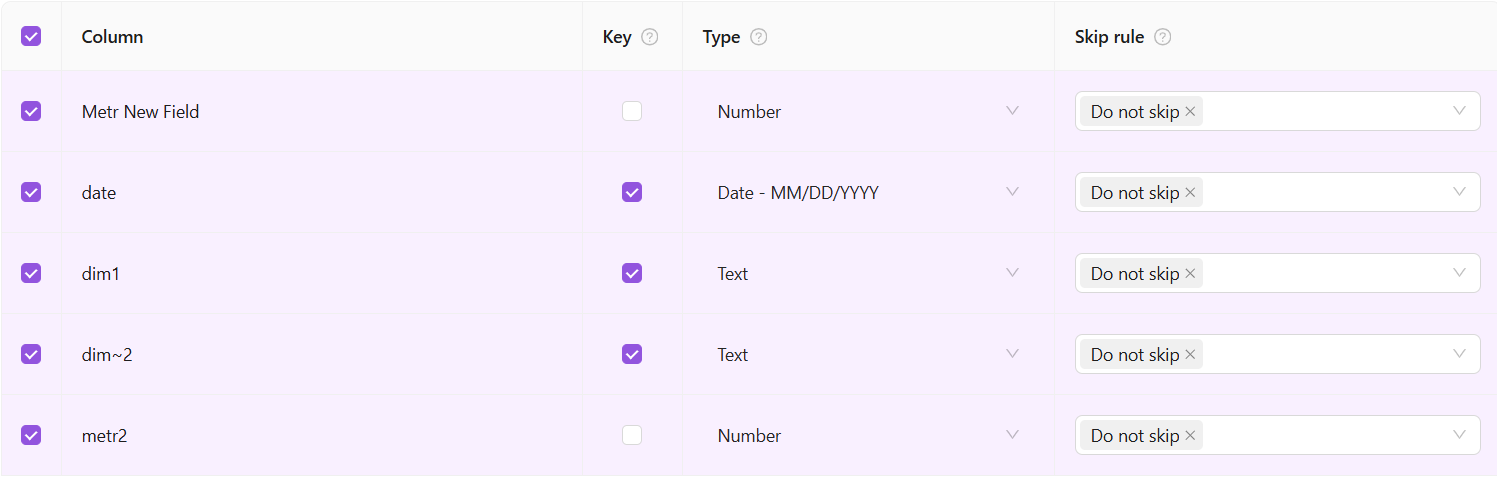
- Check the field type. Each field in a data table can be assigned a String, Number, or Date type.
- The date field is a unique date-key in the database and should be singular. You have the flexibility to choose from a wide range of date formats for this field.
- If you have field with numeric values that you don't want to include in your calculations, change the type from Number to Text.
You can learn more about how to work with dates in Flat Data here.
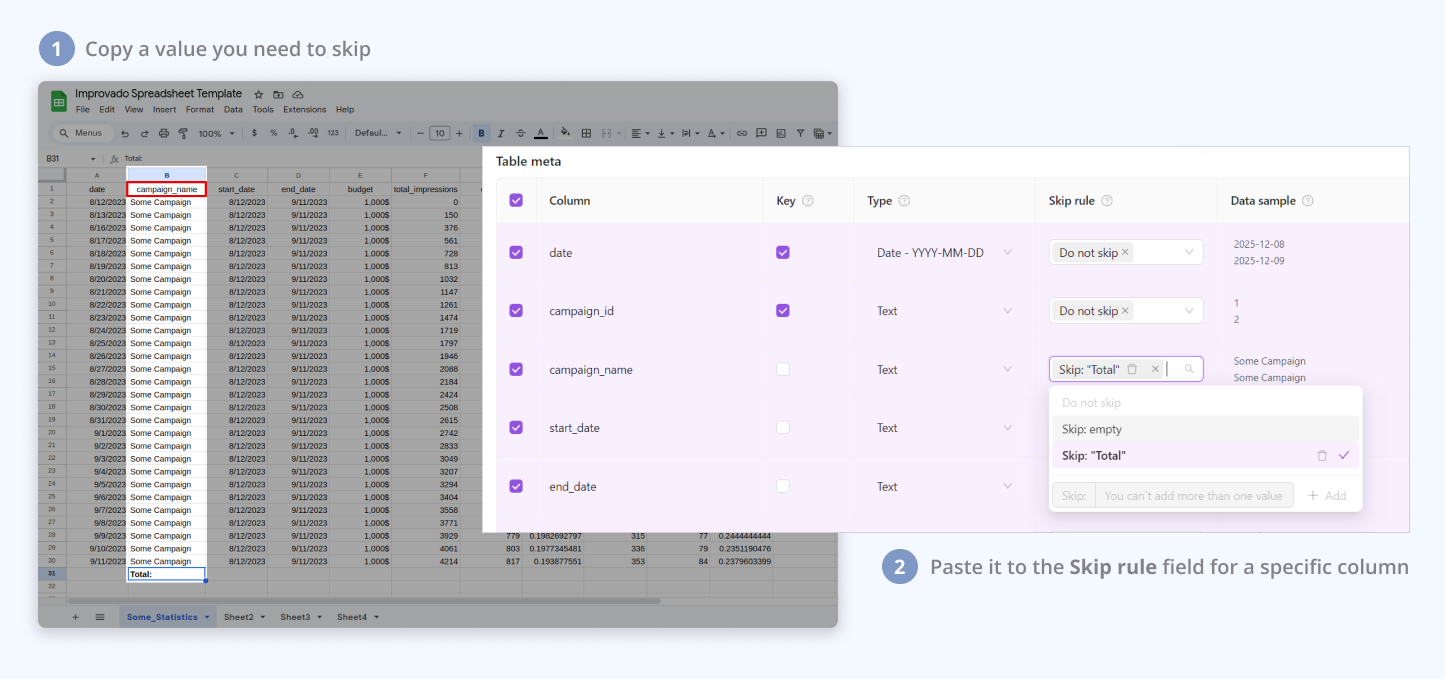
- The Skip rule allows you to exclude empty rows and rows with specific values in a selected field:
- Default to 'Do Not Skip': Ensures all data is initially included.
- Multi-Select Options: Combine 'Skip: empty' and 'Skip: value' for targeted exclusions. Selecting 'Do Not Skip' disables other skip options.
- Custom Rule addition: Add one custom rule; the form is disabled afterward to maintain focus
- Custom Rule deletion: Hover over and click on the red-highlighted basket icon next to the rule to exclude it.
Usage Note: the component is designed for straightforward value-based selections and does not support complex expressions like '<10'.
- Choose Write strategy that will be used when extracting data from your files and uploading it into Improvado Storage. Learn more.
- Set the Data table name which will be used for loading data to your destination.

- Click on the Import N fields button to continue.
Step 3 - Preview
- Check the structure of data that will be extracted.
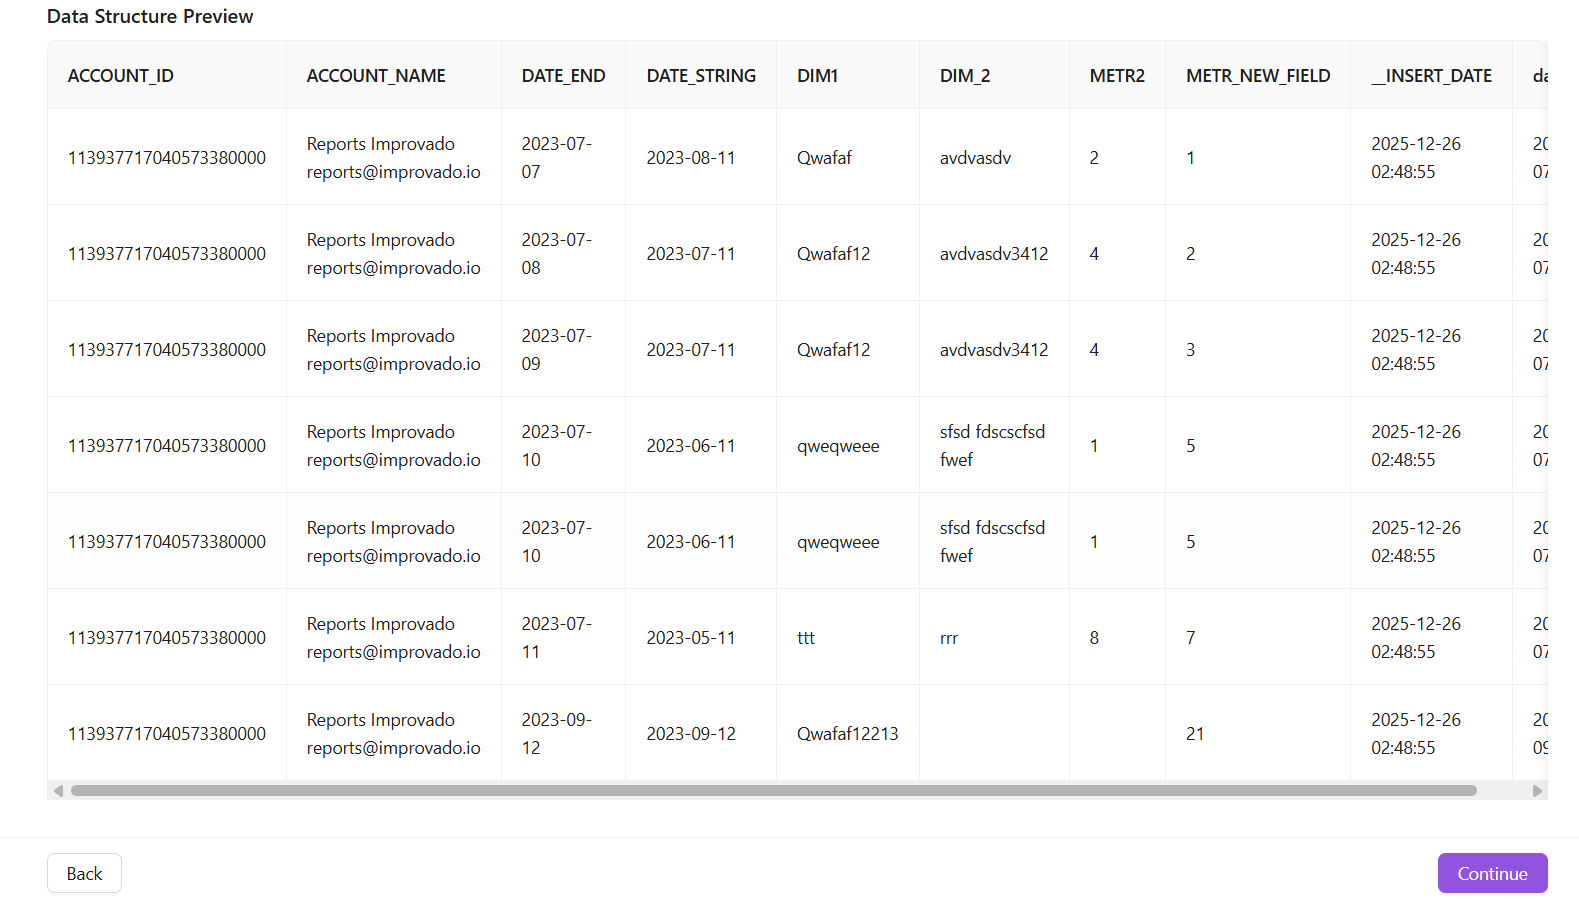
- Once you've reviewed the fields, click the Continue button to confirm settings and proceed with data extraction.
Connection Details page
Overview tab
You can find your Azure SQL connection on the Connections page.
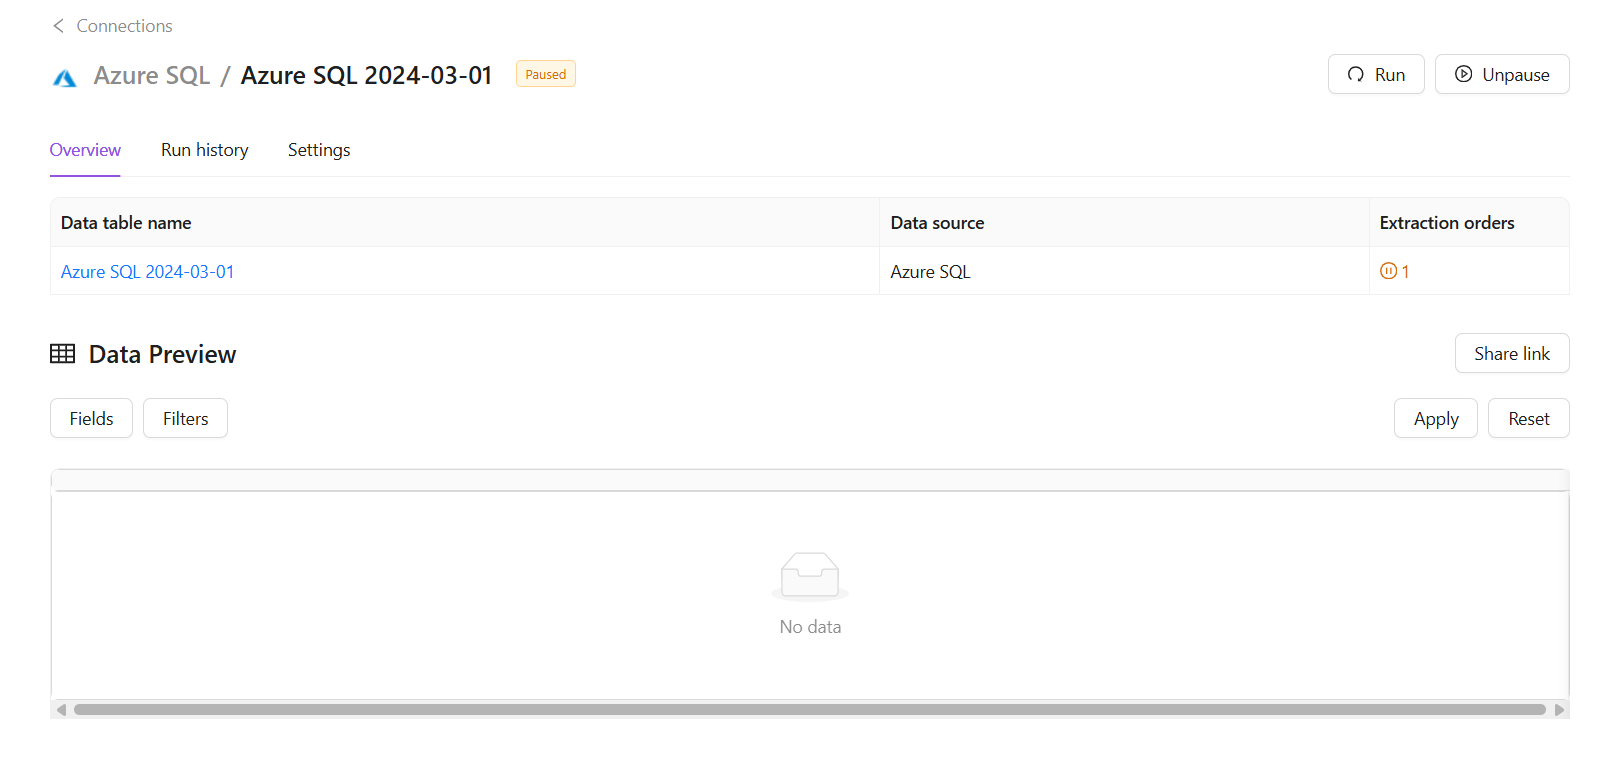
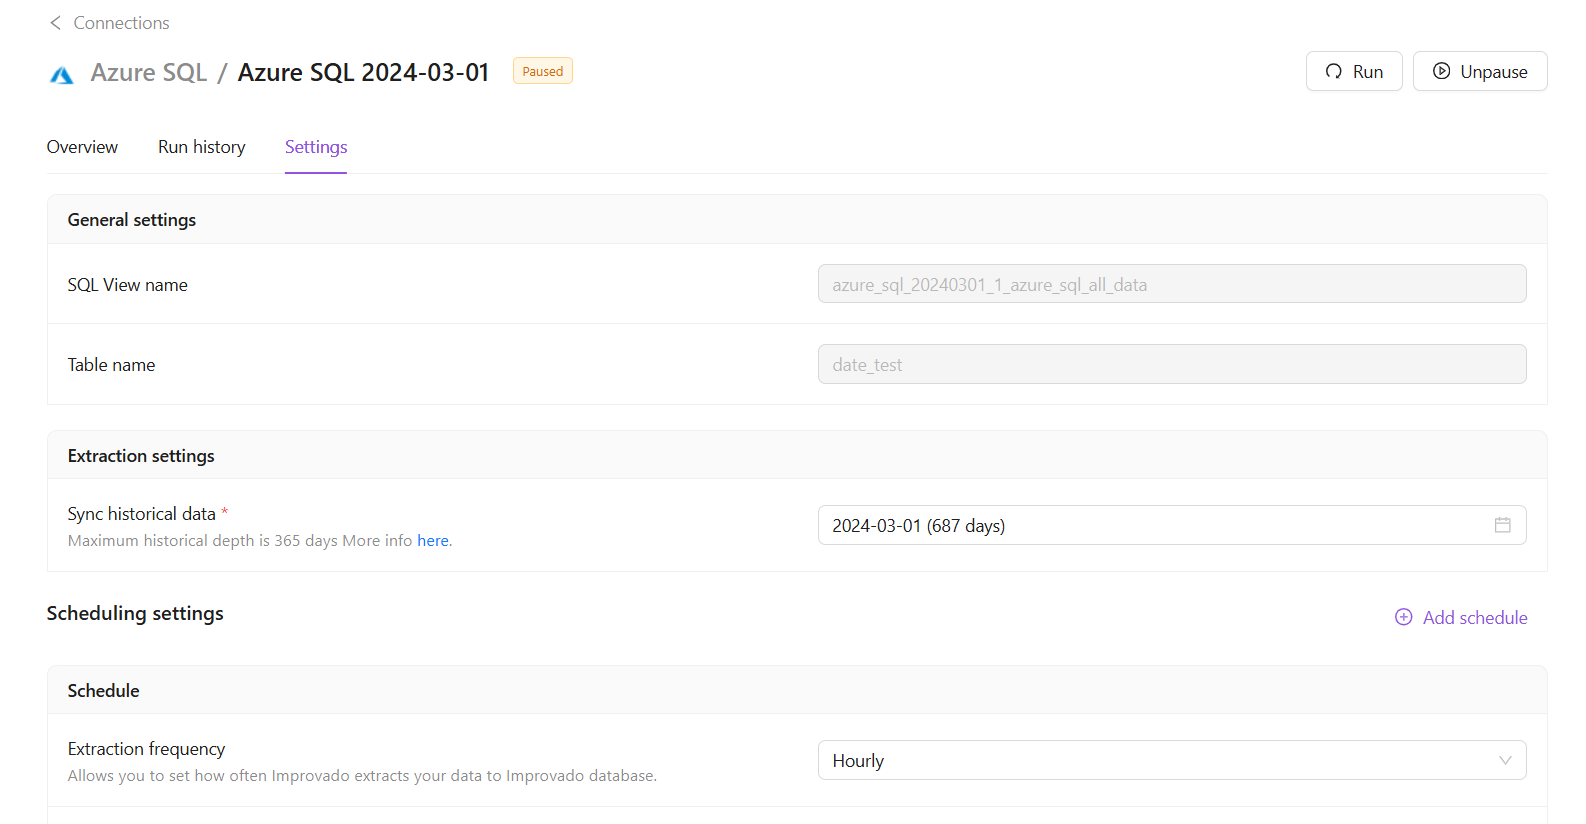
Settings tab
Here you can change Extraction scheduling and Table meta for your data extraction.
Was this article helpful?
Thanks for the feedback!