Note: This article covers Azure SQL Destination setup process. This guide doesn’t cover the DataPrep setup for Azure SQL.
You can learn how to extract data from Azure SQL data sourcehere.
Description
Azure SQL is a fully managed relational database service provided by Microsoft in the Azure cloud, offering scalability, high availability, and built-in security features for storing and managing structured data.
Setup guide
Follow our setup guide to connect Azure SQL to Improvado.
You should have write access to the database and the following permissions:
```BULK INSERT```
```INSERT```
```CREATE```
```UPDATE```
```DELETE```
```ALTER INDEX```
```SELECT``` (for tables and data)
Access to the system tables, like:
~```sys.partition_functions```
~```sys.partition_schemes```
~```sys.columns```
~```sys.tables```
~```sys.schemas```
~```sys.types```
~```sys.partition_range_values```
~```sys.dm_db_partition_stats```
~```sys.objects```
~it is recommended to have access to the whole ```sys``` schema
Usage permission on the schema ```dbo```
Where to find necessary credentials in Azure
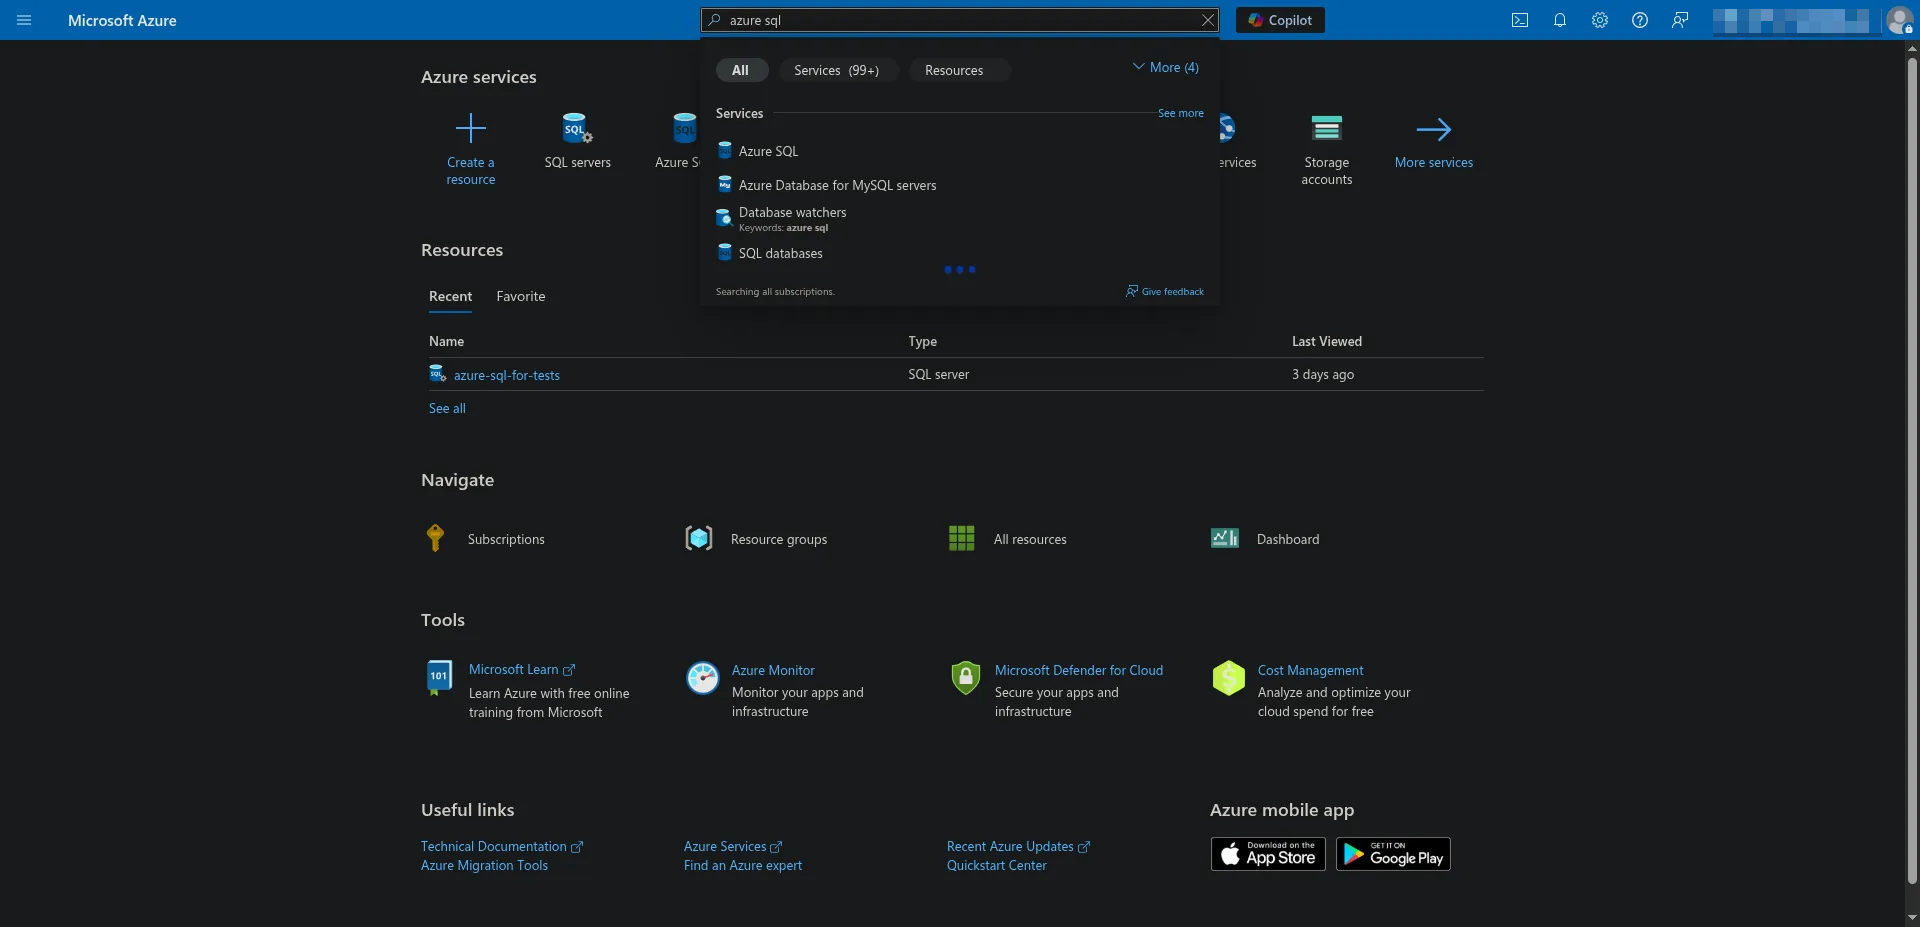
In Azure platform, search for Azure SQL and select the Azure SQL item with DB icon:
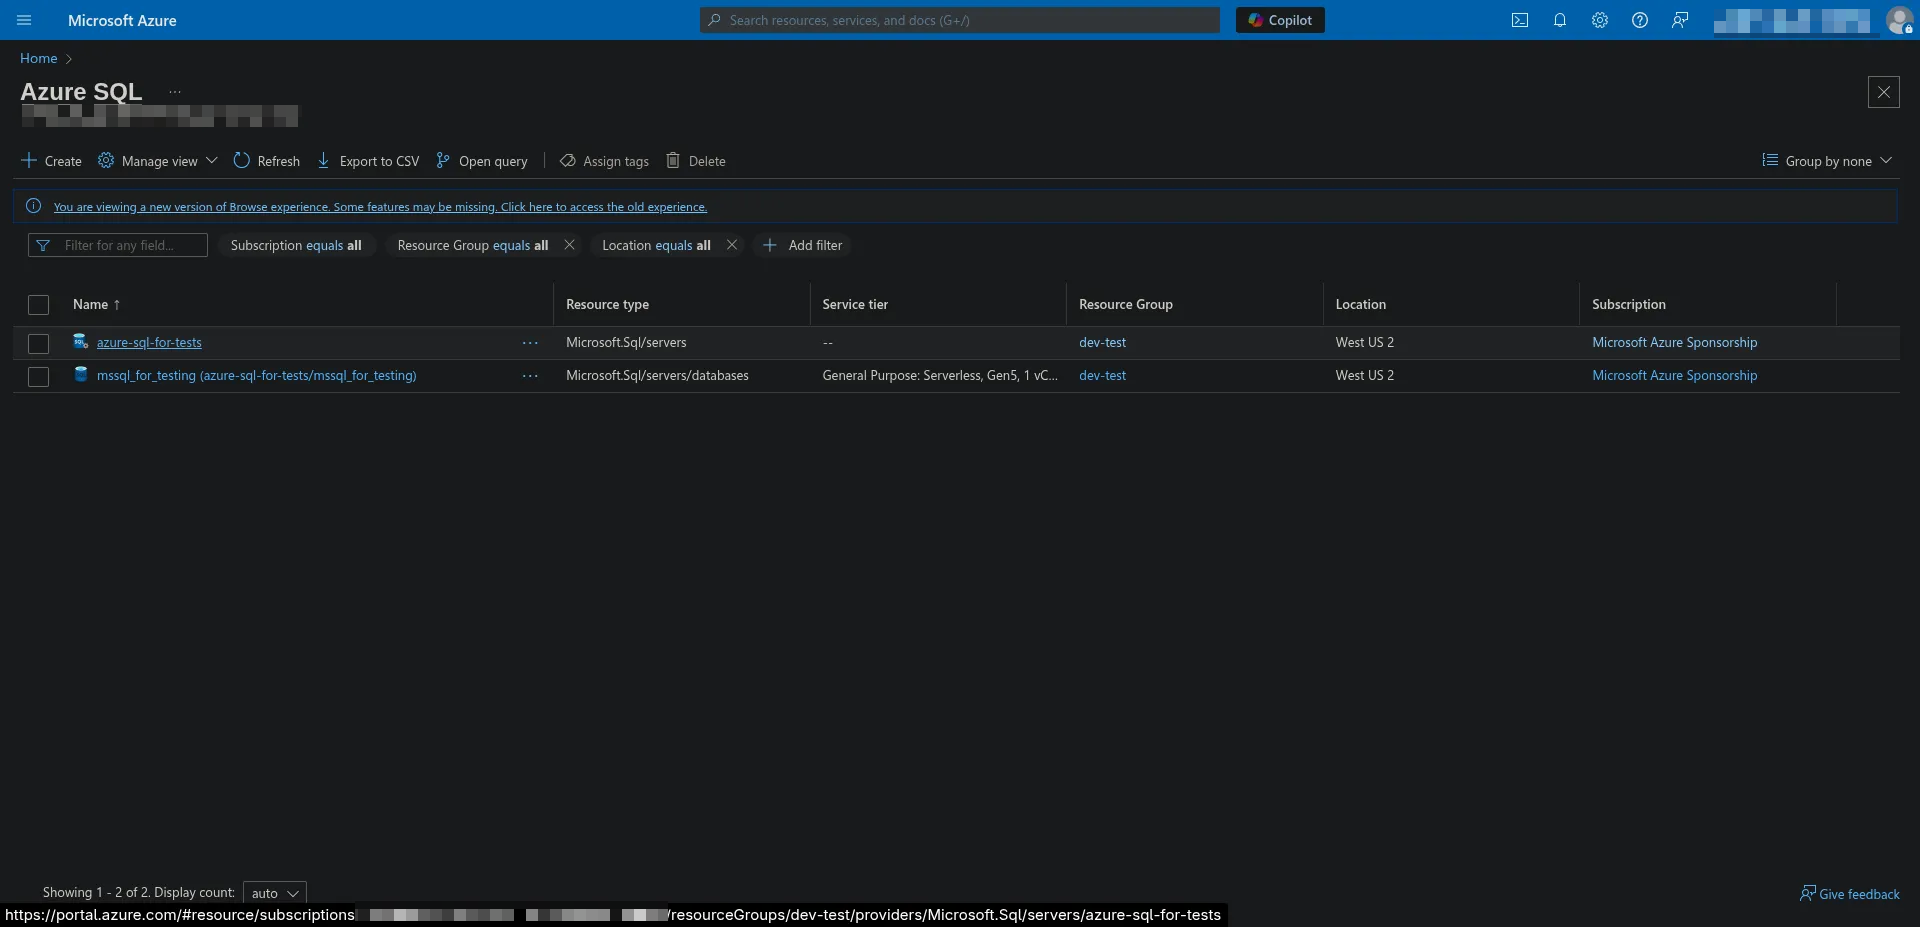
On the Azure SQL Overview page, you’ll see all the created Azure SQL databases. Select the one that you want to use for loading data from Improvado:
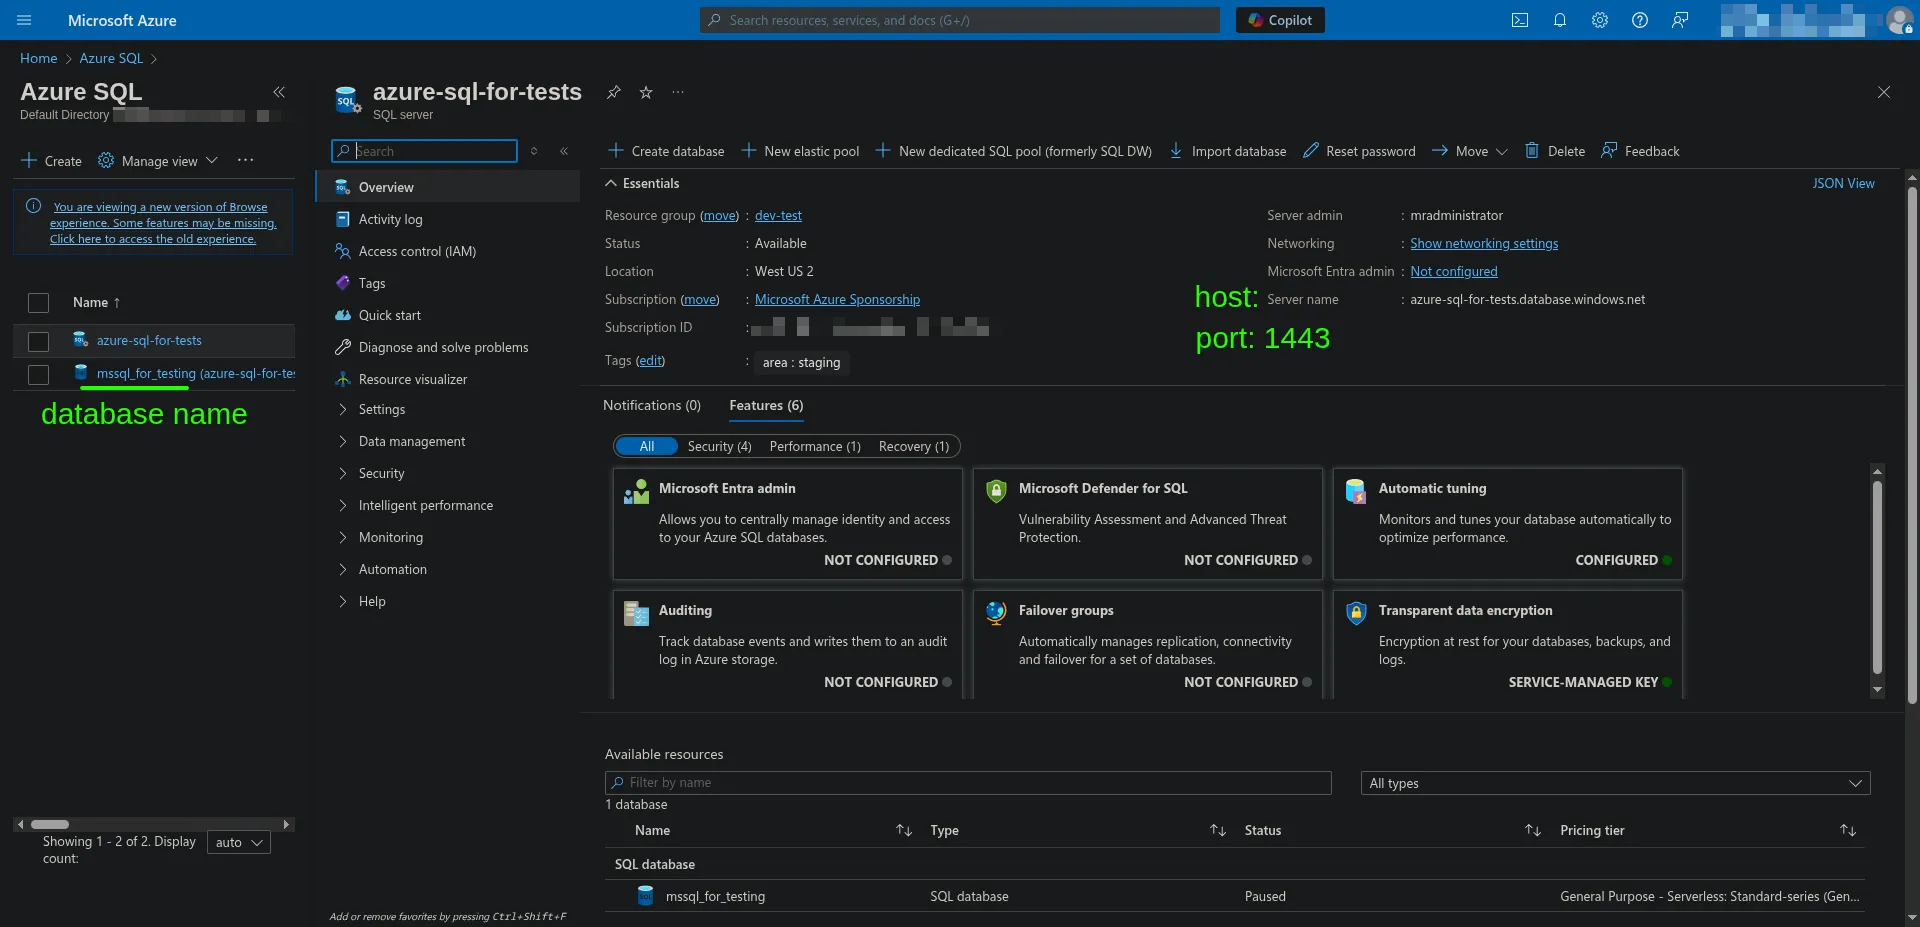
Go to Overview tab of your Azure SQL DB. In the Essentials section, copy Server name value (e.g., ```azure-sql-for-tests.database.windows.net```). It’ll be entered in Host input in Improvado destination connection form.
The default Port in Azure SQL is ```1433```.
Note the Database name on the left sidepanel. (e.g. ```azure_sql_for_tests``` on our screenshot).
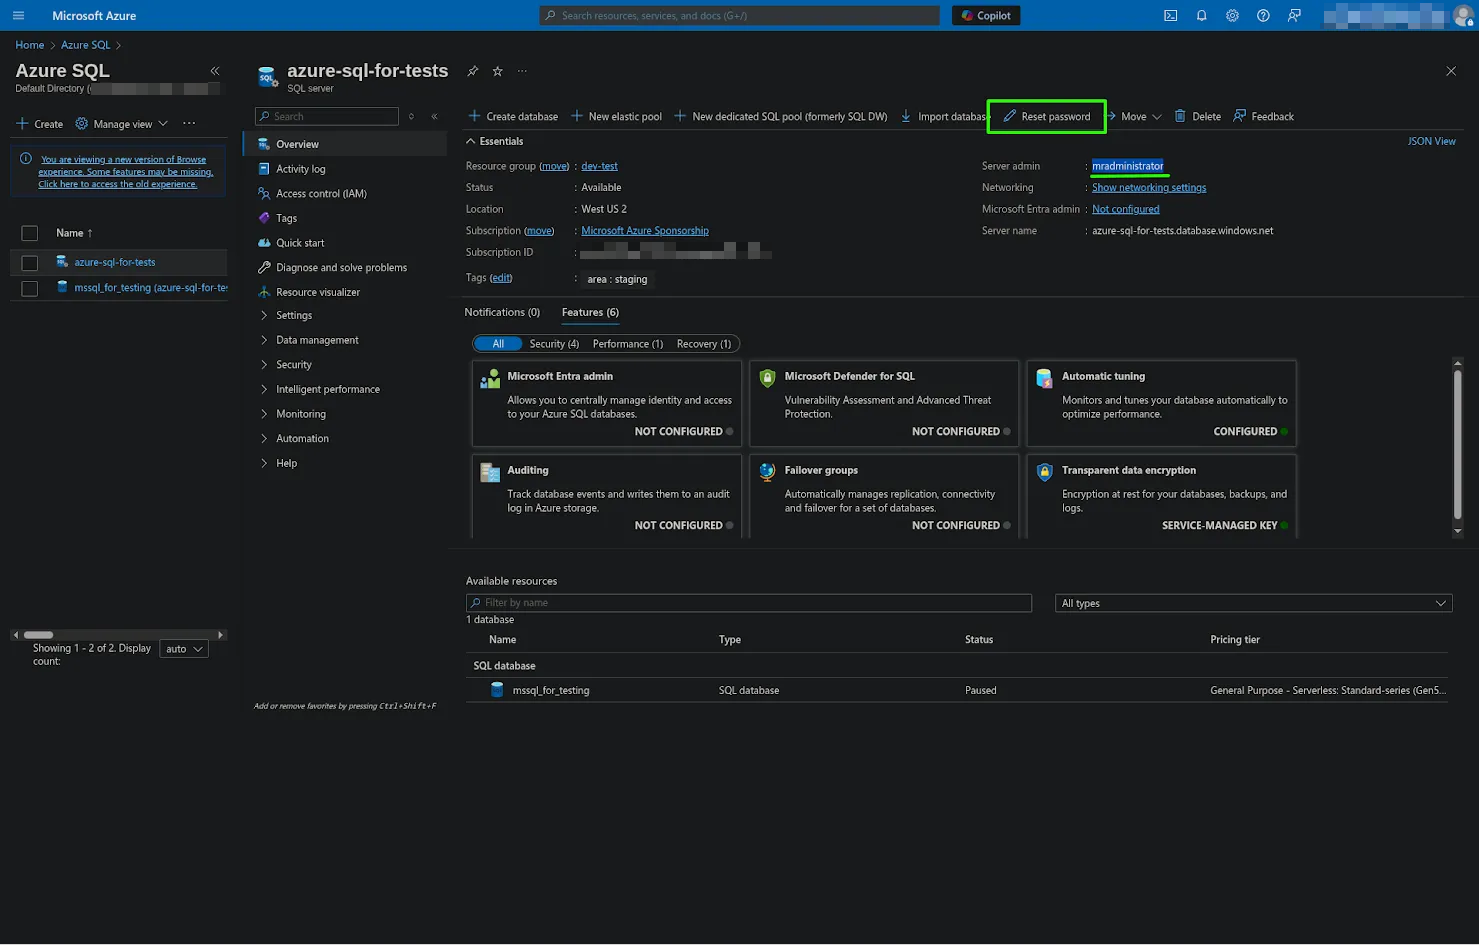
On the same tab, take note of Server admin input. It’ll be entered in UID input in Improvado destination connection form.
Password is not displayed on the Azure UI, but you can reset it with Reset password button.
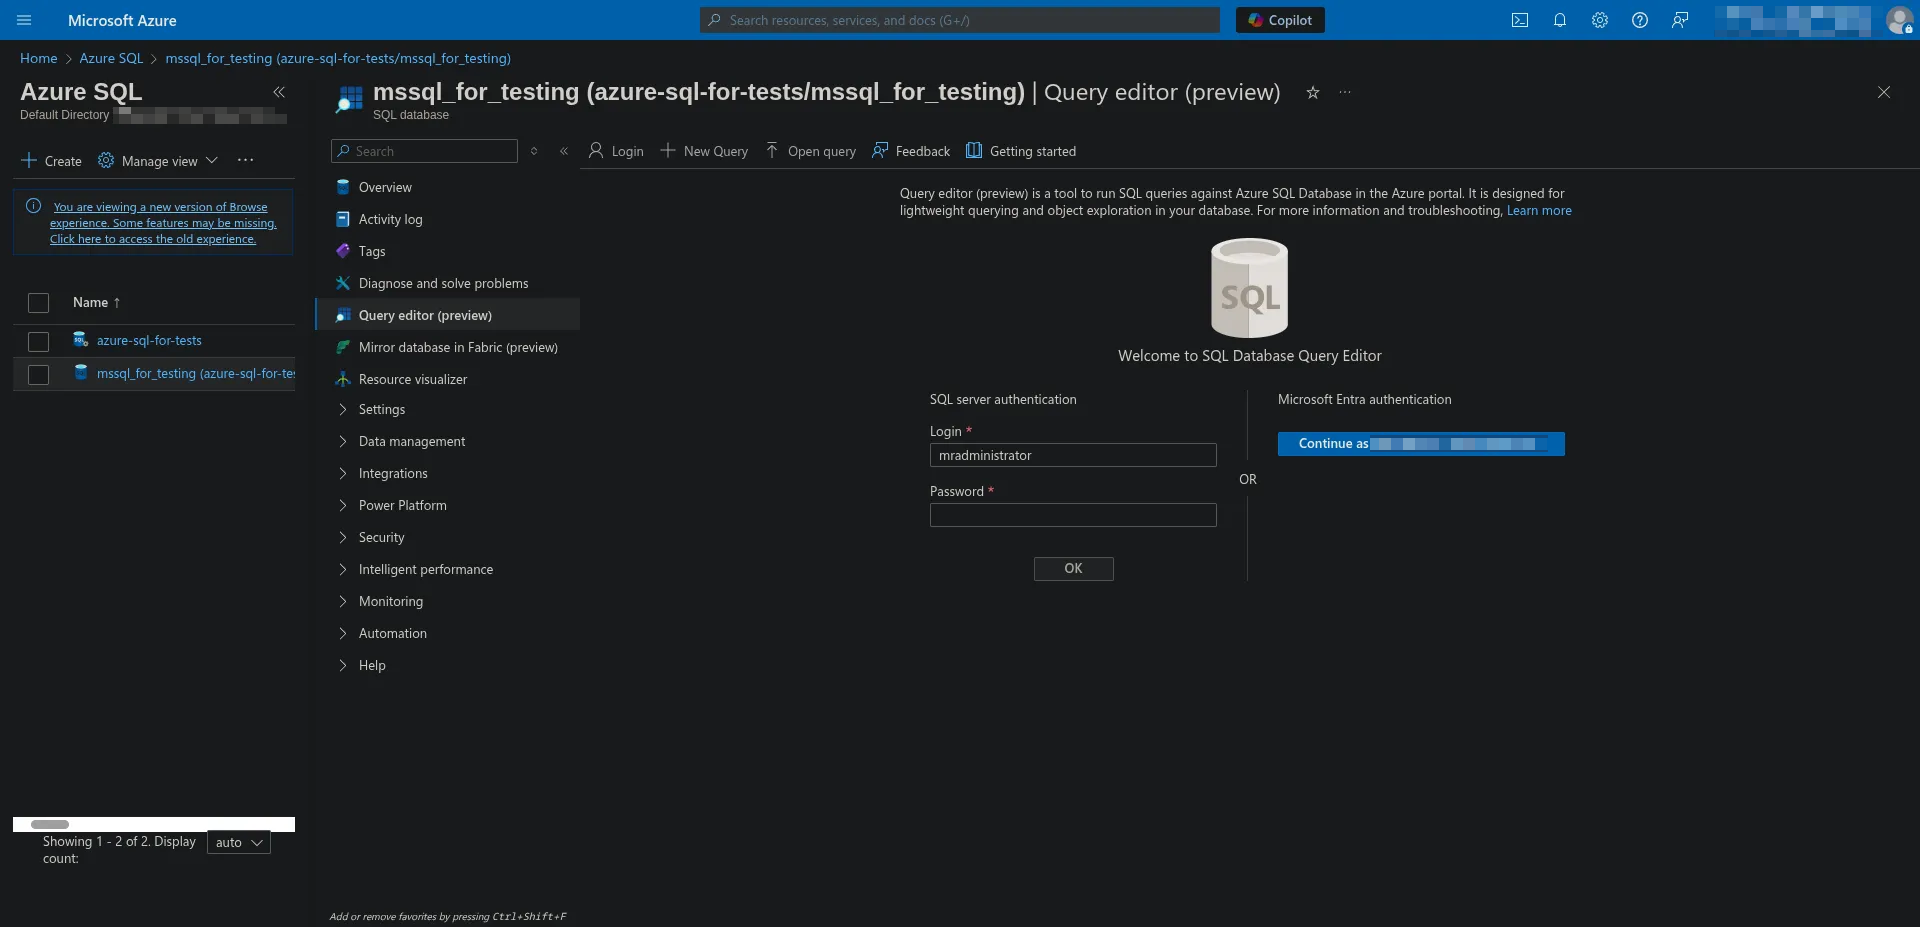
To find Schema, go to Query editor tab and authorize to continue:
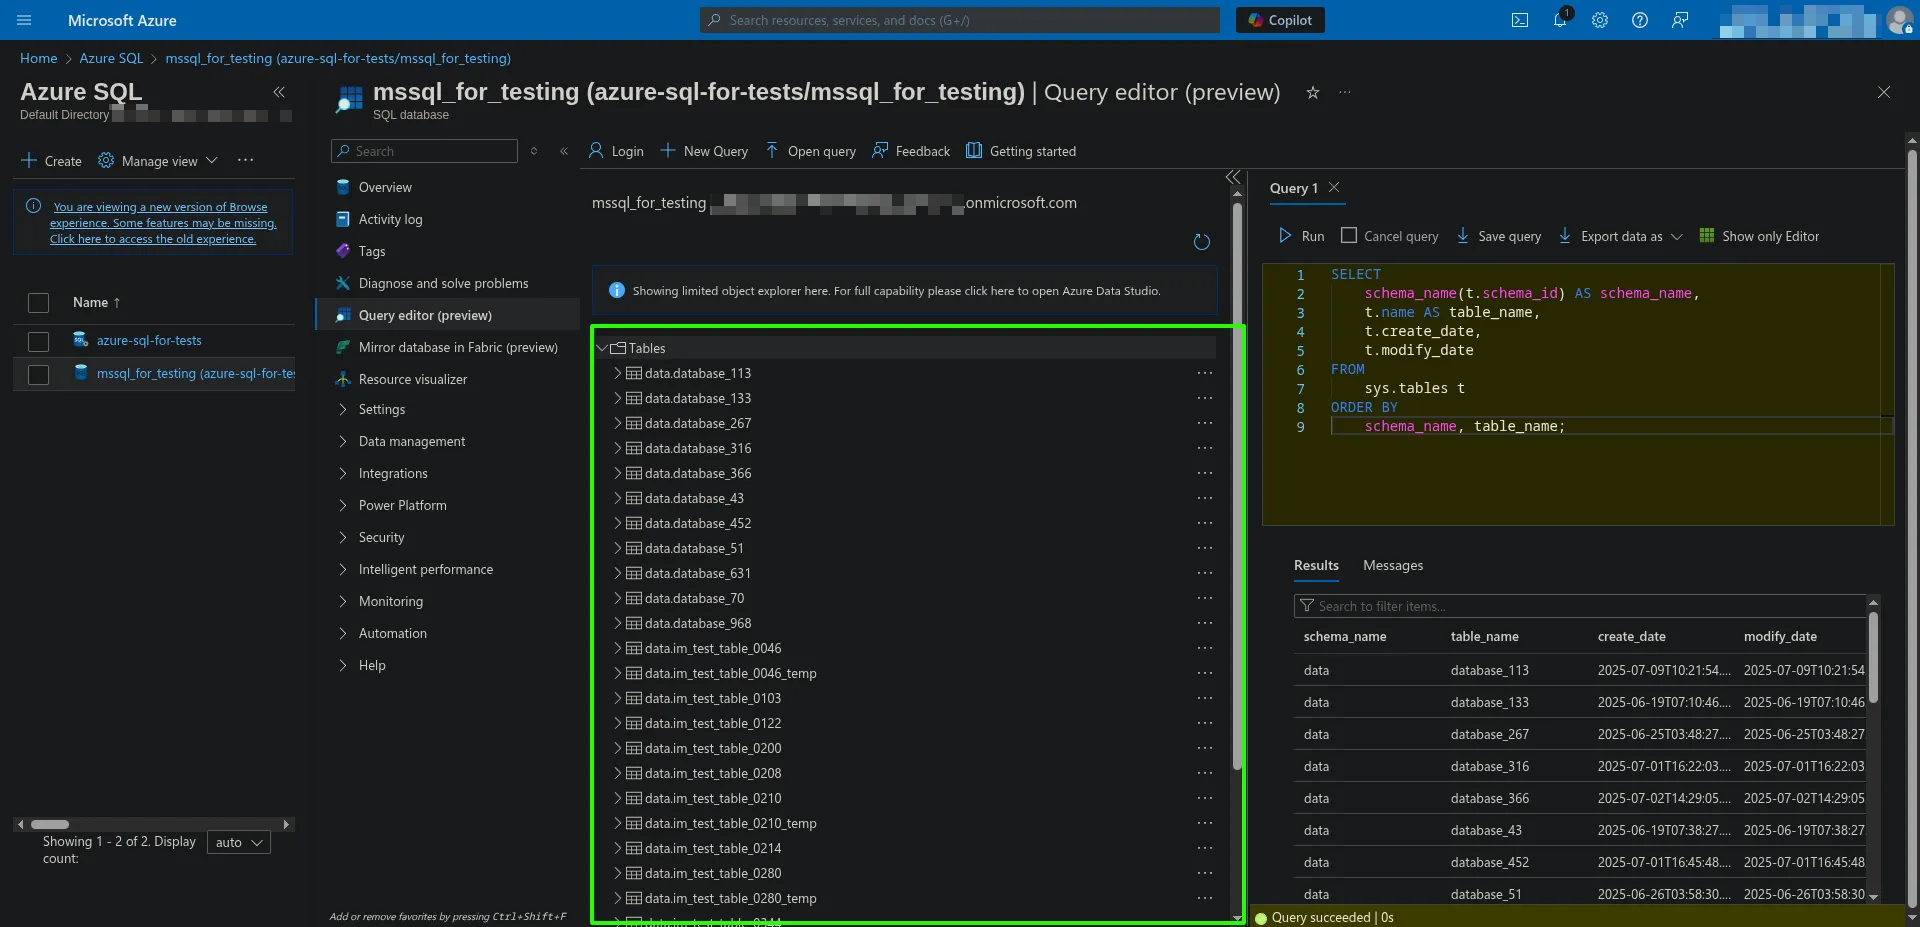
After authorization, you can see the list of schemas & tables in Tables folder:
After you got all these credentials, please fill in them in our platform. Learn more in Complete configuration section.
{% docs-informer info title="How to create a dedicated user (example)" %}
Connect to ```master``` db via DBeaver
Run this query to create a login in Azure SQL:
CREATE LOGIN improvado_load WITH PASSWORD = '.....';
In DBeaver connection setting, switch to the database that you want to use for data load.
Then, run the following query to create a user with login from previous query:
CREATE USER improvado_load FOR LOGIN improvado_load;
GRANT CREATE SCHEMA, CREATE TABLE, CREATE PROCEDURE TO improvado_load;
GRANT SELECT, INSERT, UPDATE, DELETE, ALTER ON SCHEMA::dbo TO improvado_load;
GRANT SELECT, INSERT, UPDATE, DELETE, ALTER ON SCHEMA::{{your_schema_name}} TO improvado_load;
GRANT ALTER ON DATABASE::{{your_database_name}} TO improvado_load;
GRANT SELECT ON SCHEMA::{{your_schema_name}} TO improvado_load;
GRANT ADMINISTER DATABASE BULK OPERATIONS TO improvado_load;
GRANT VIEW DATABASE STATE TO improvado_load;
Enter a name for your Destination connection in the Title.
Enter the Host.
Enter the Port.
Enter the UID.
Enter the Password.
Enter the Database Name. {%dropdown-button name="database-name"%}
{%dropdown-body name="database-name"%}
Database Name must satisfy the following regular expression: ```r'^[a-zA-Z@_#]([\w@$#])*$'```
{%dropdown-end%}
(Optional) Specify the Schema of your database.
Select the necessary Use static IP option from the dropdown. {%dropdown-button name="use-static-ip"%}
{%dropdown-body name="use-static-ip"%}
Select Yes for Use static IP option if you allow Improvado to connect your database by the static IPs mentioned on the Destination connection page.
Select No if you have permitted access to your database from any IP. In this case, Improvado will connect your database using dynamic IPs not listed on the Destination connection page.
{%dropdown-end%}
Select the necessary Partition by option from the dropdown. {%dropdown-button name="partition-by"%}
{%dropdown-body name="partition-by"%}
Partitioning is the way of splitting data for uploading to the file. Azure SQL provides two types of data partitioning:
Daily – suitable for medium-sized datasets, good for frequent updates, but might take up extra disk space;
Monthly – suitable for large-sized datasets, stores data on a disk in the most efficient way.
You must carefully choose your partitioning option, as you won't be able to change it in the future.
{%dropdown-end%}
Select the necessary Use Columnstore Index from the dropdown.
Select the necessary Use binary strings option from the dropdown. {%dropdown-button name="use-binary-strings"%}
{%dropdown-body name="use-binary-strings"%}
The "Use binary strings" determines whether string fields are encoded in binary format when loading data.


.png)