
Zendesk
Description
Zendesk provides software-as-a-service products related to customer support, sales, and other customer communications.
Setup guide
Follow our setup guide to connect Zendesk to Improvado.
Zendesk is removing API-token authentication. New API tokens can no longer be created after October 27, 2026, and all existing tokens are deactivated on April 30, 2027. New connections should use OAuth 2.0 (see the OAuth option below). Existing API-token connections keep working until the sunset — reconnect them via OAuth before April 30, 2027.
Step 1. Click the Connections in the left navigation bar.
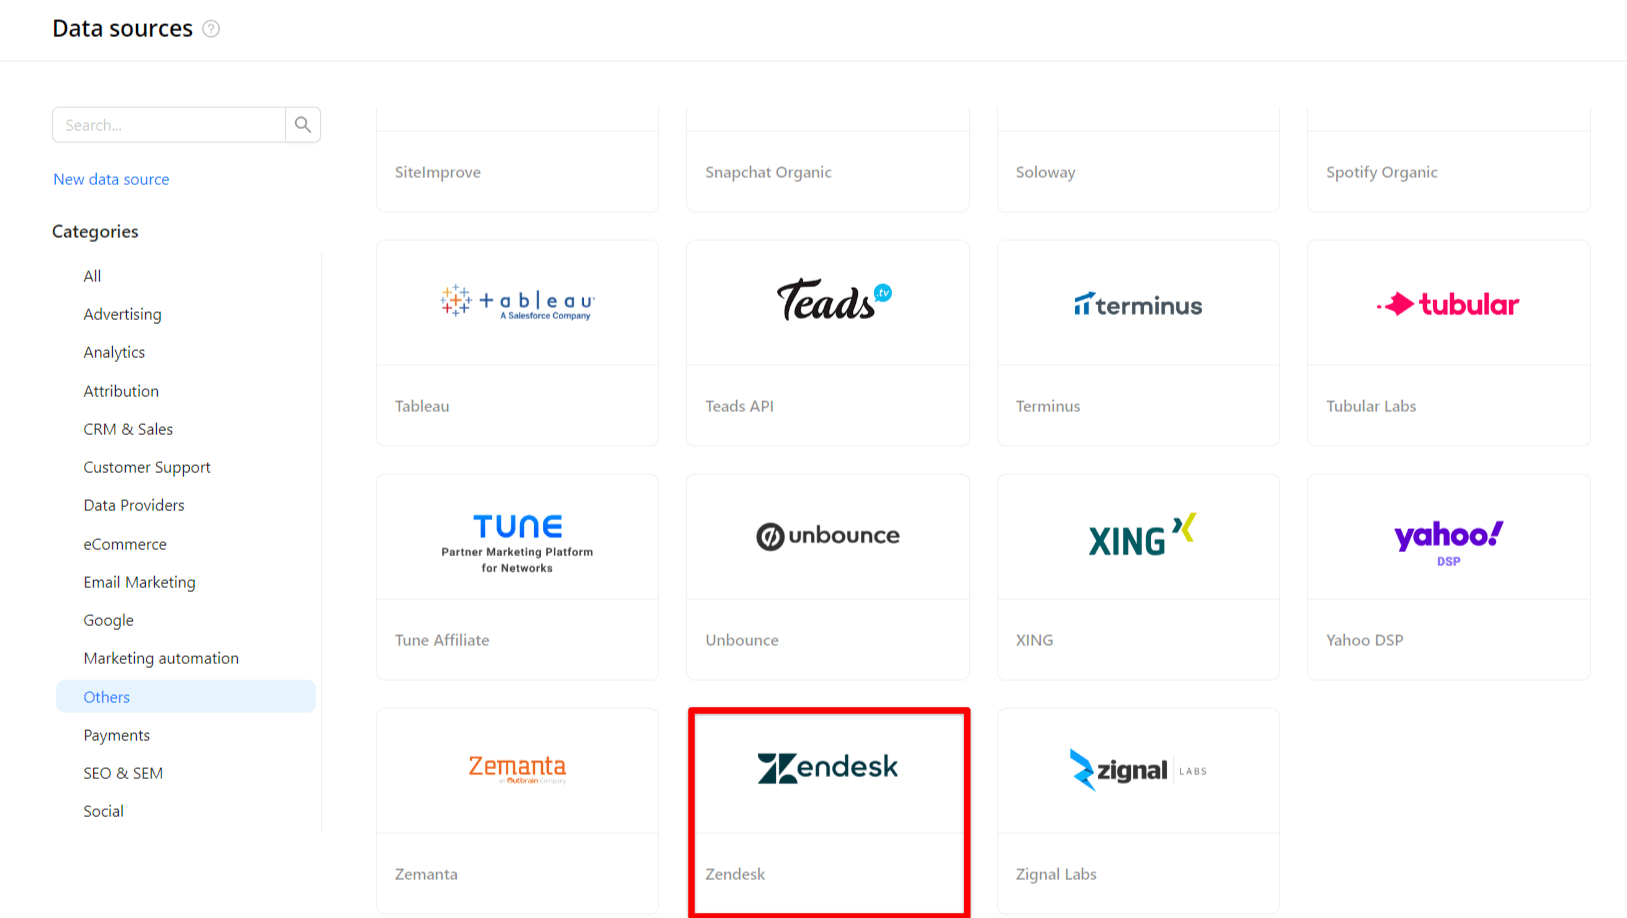
Categories on the Data sources page group all available platforms. Use a search to find the required one.
Step 2. Click on the Zendesk tile.
Choose authorization option:
The simplest option — there is no OAuth client to create. Improvado authorizes access through its own registered Zendesk OAuth app. In the Improvado connection form, select OAuth 2.0 (recommended) and enter your Subdomain. Click Authorize, sign in to Zendesk, and approve read access. You will be redirected back to Improvado automatically.OAuth 2.0 (recommended)
Use this only for existing connections. Zendesk stops issuing new API tokens after October 27, 2026 (see the note above). To authorize your account, fill in the required fields following the steps below: Go to your Zendesk account. You can find your Subdomain in the page URL: Step 3.2. Go to the Settings tab. Step 3.3. Set the Token Access toggle to ENABLED. Step 3.4. Click the plus button on the top right of the Active API Token list. Step 3.5. Copy the API Token. Step 3.6. Enter copied values into the Improvado authorization form. Also, you can find the additional information here: API Basics | Zendesk Developer Docs.API Token (legacy, deprecated)
https://<strong><your_subdomain></strong>.zendesk.com.
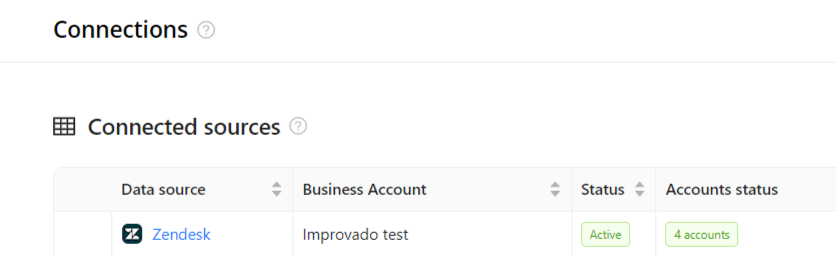
Step 4. After completing the connection process, the Zendesk connection will appear in your Connected sources list.
Step 5. When the connection status is Active, and the account status column shows a number of accounts, you can move on to data extraction.
To extract data from the connected sources, check the instruction on how to set up data extraction.
Schema information
The schema information shows all report types you can use to extract data from Zendesk.
Release notes
You can find information about the latest API changes in the official Release notes.
Was this article helpful?
Thanks for the feedback!
Questions? The Improvado team is always happy to help. Send us an email, contact your Customer Success Manager, or raise a request in the Improvado Service Desk.