Microsoft Entra ID Single Sign-On
Feel free to contact your Customer Success Manager for any additional information.
Microsoft Entra ID Single Sign-On allows you to log in to Improvado via your Azure account and safely share access to Improvado between different Azure accounts.
How to Set up Single Sign-On via Azure
Ensure your Azure account is active and the Whitelabel for your Improvado account is already set up.
Step 2. Get the required credentials from Azure platform:
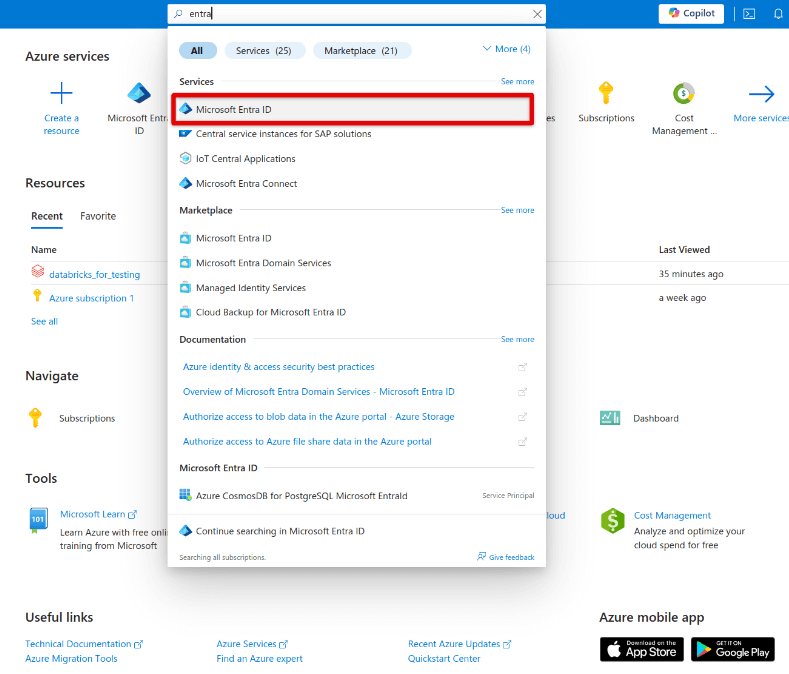
In the Azure Portal, go to Entra ID.
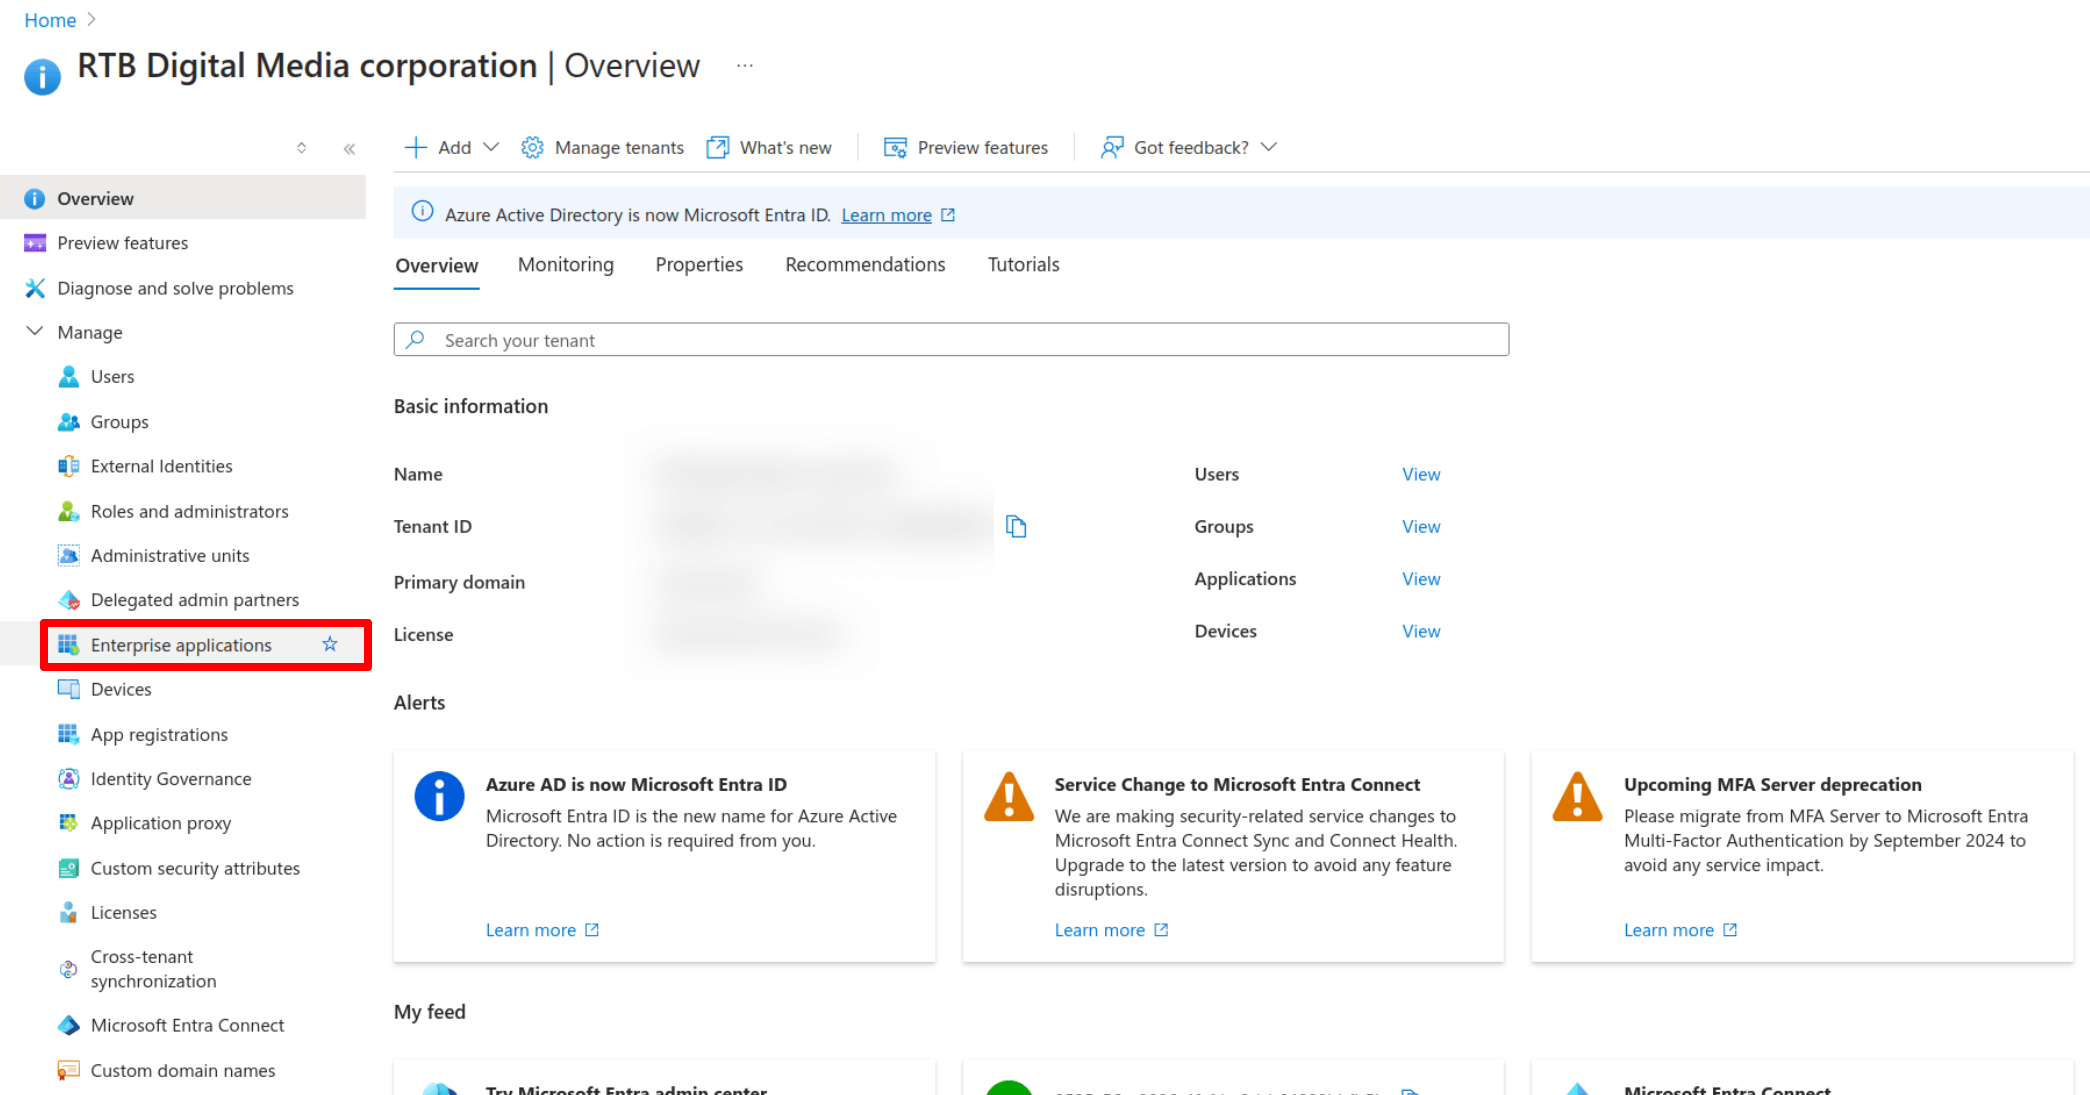
Go to Enterprise applications.
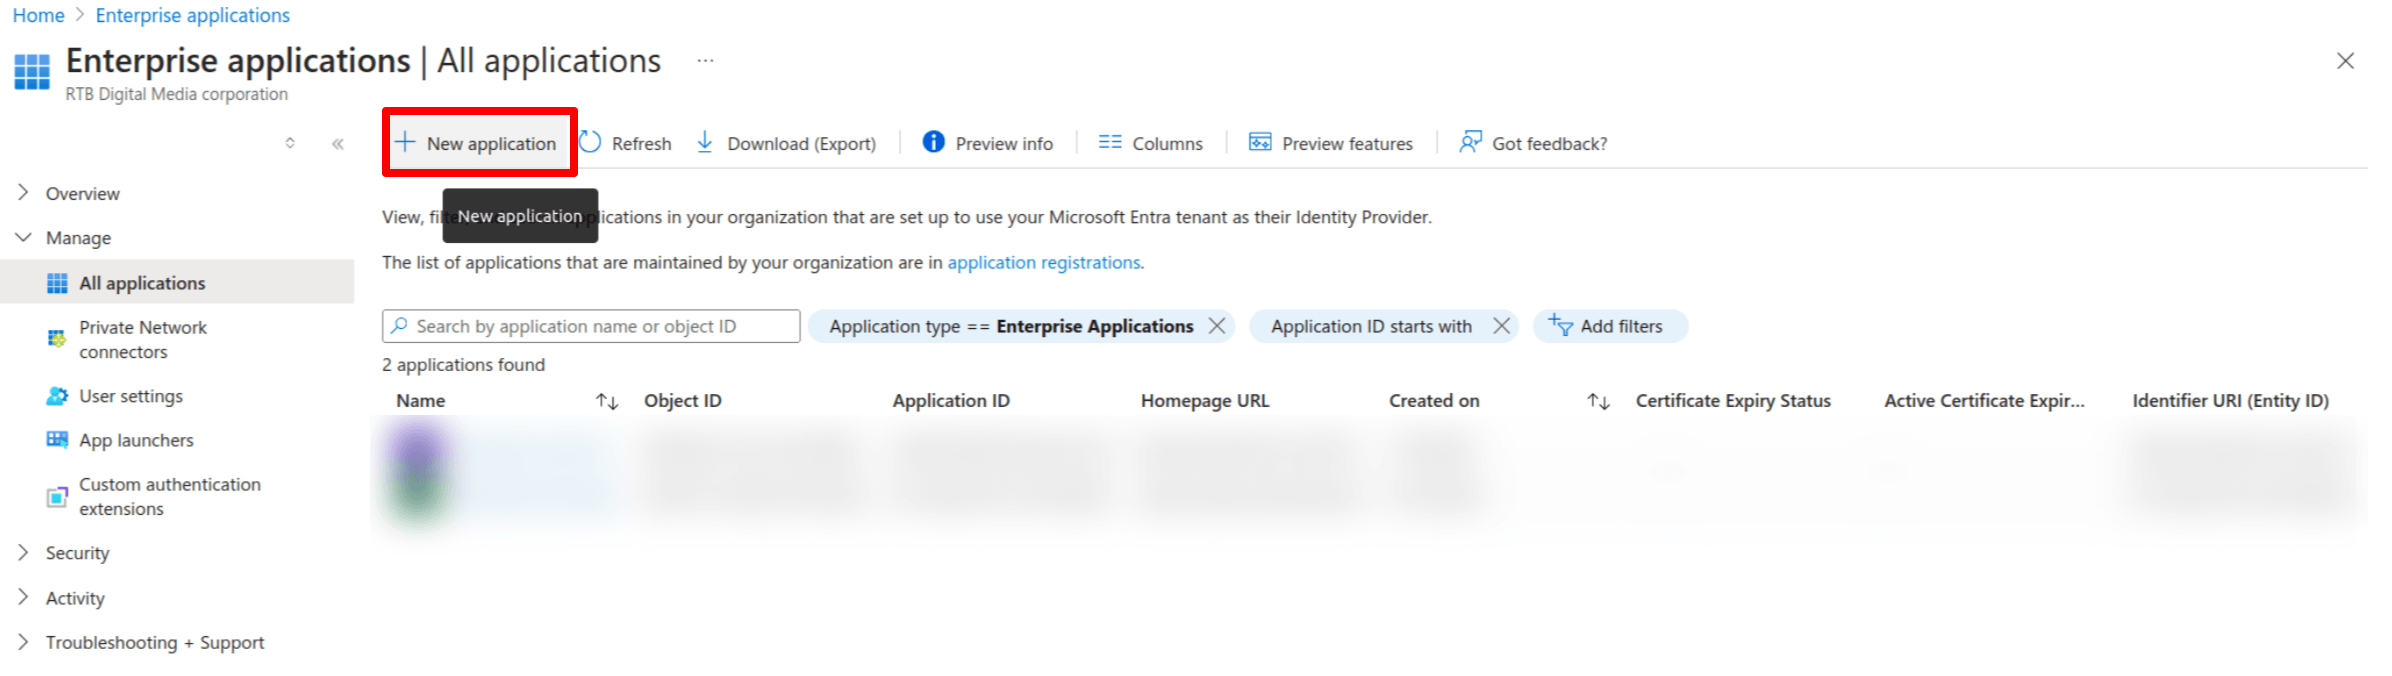
Click New application.
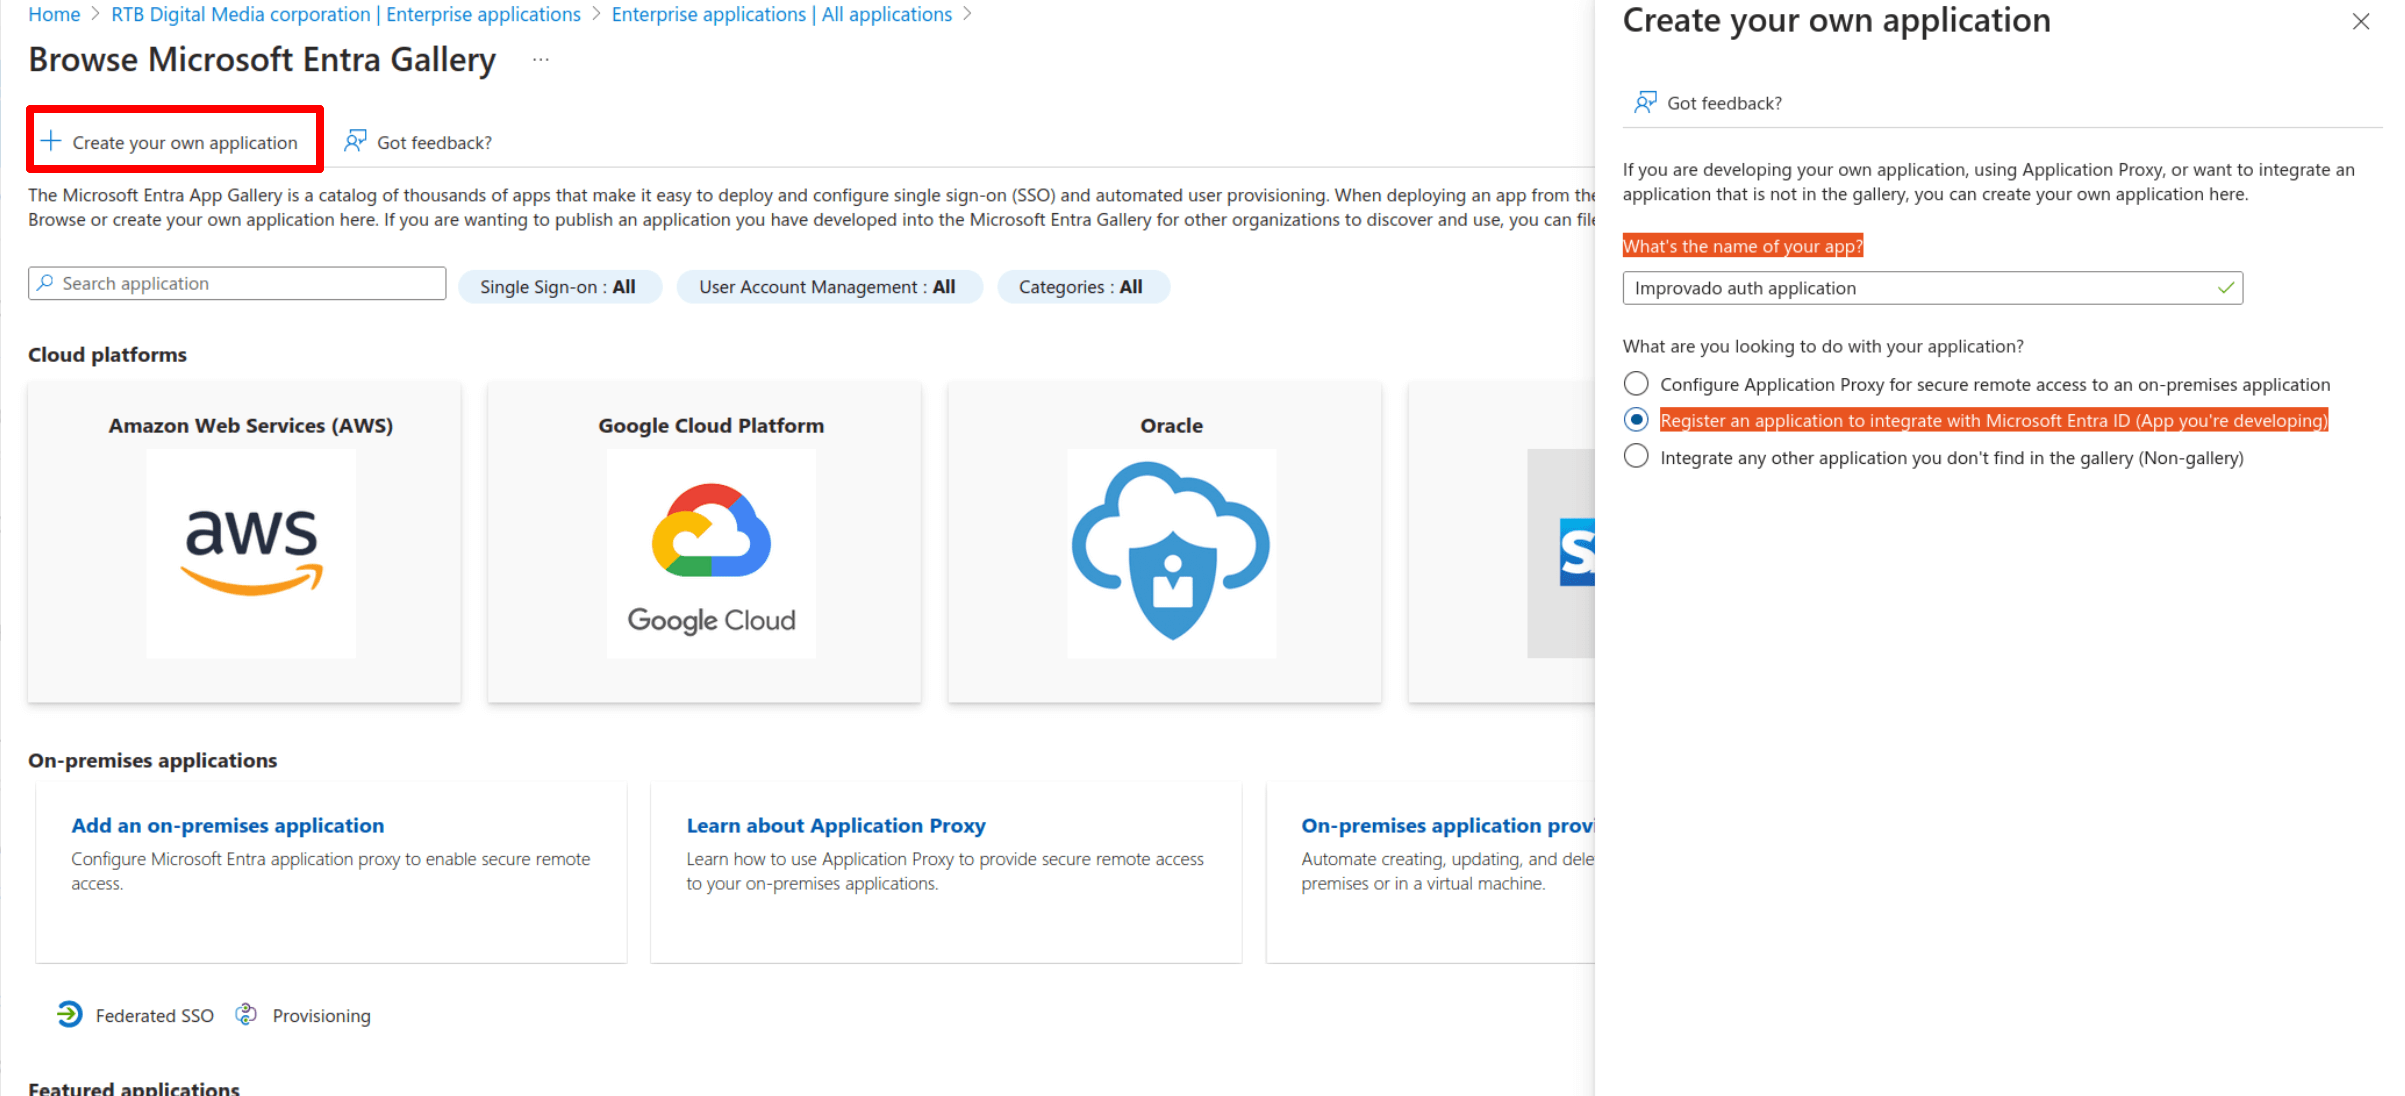
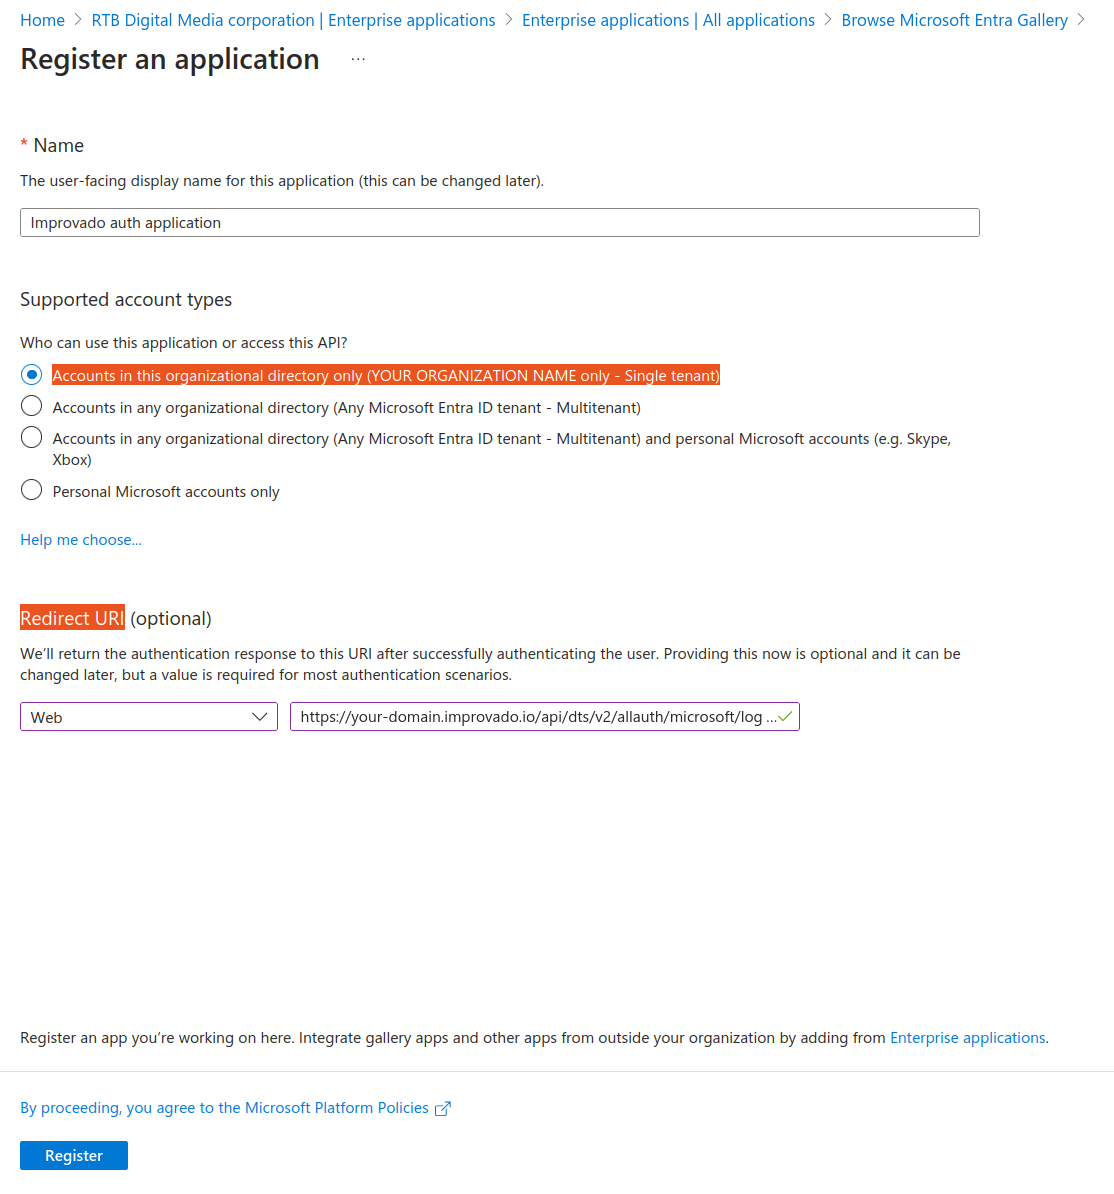
Click Create your own application, enter the name of your app and select Register an application to integrate with Microsoft Entra ID (App you’re developing).
Select Supported accounts types — Accounts in this organizational directory only and set Redirect URI https://<whitelabel-domain>/api/dts/v2/allauth/microsoft/login/callback/.
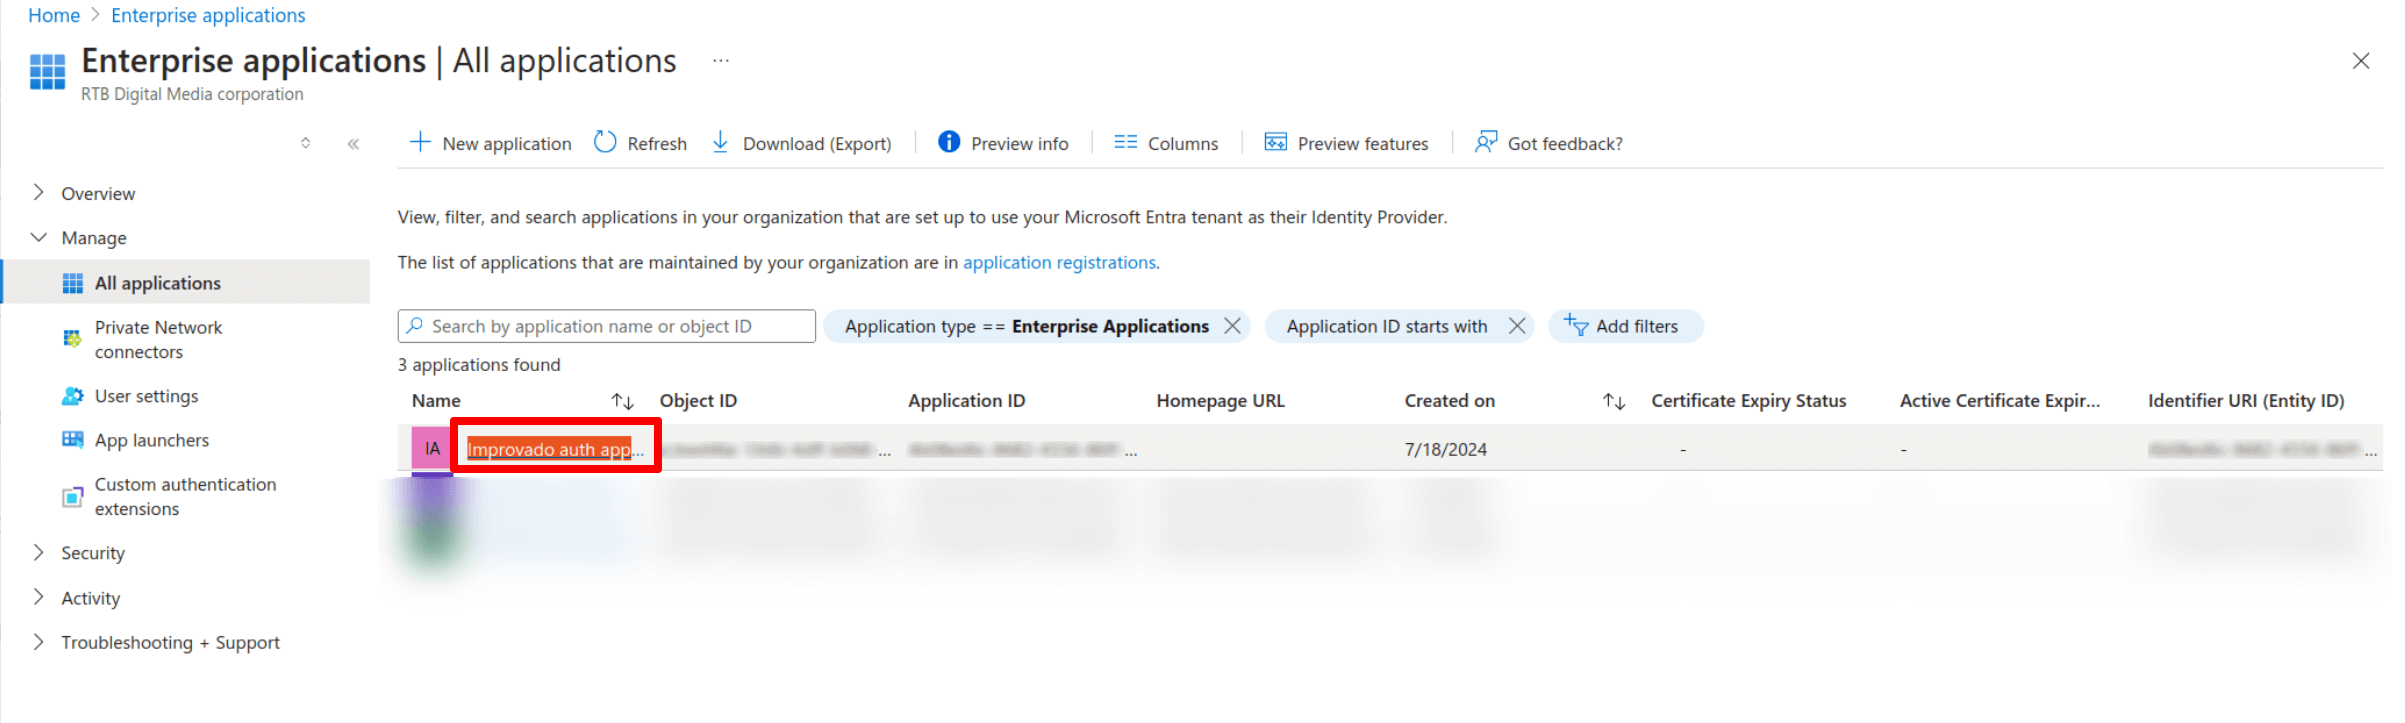
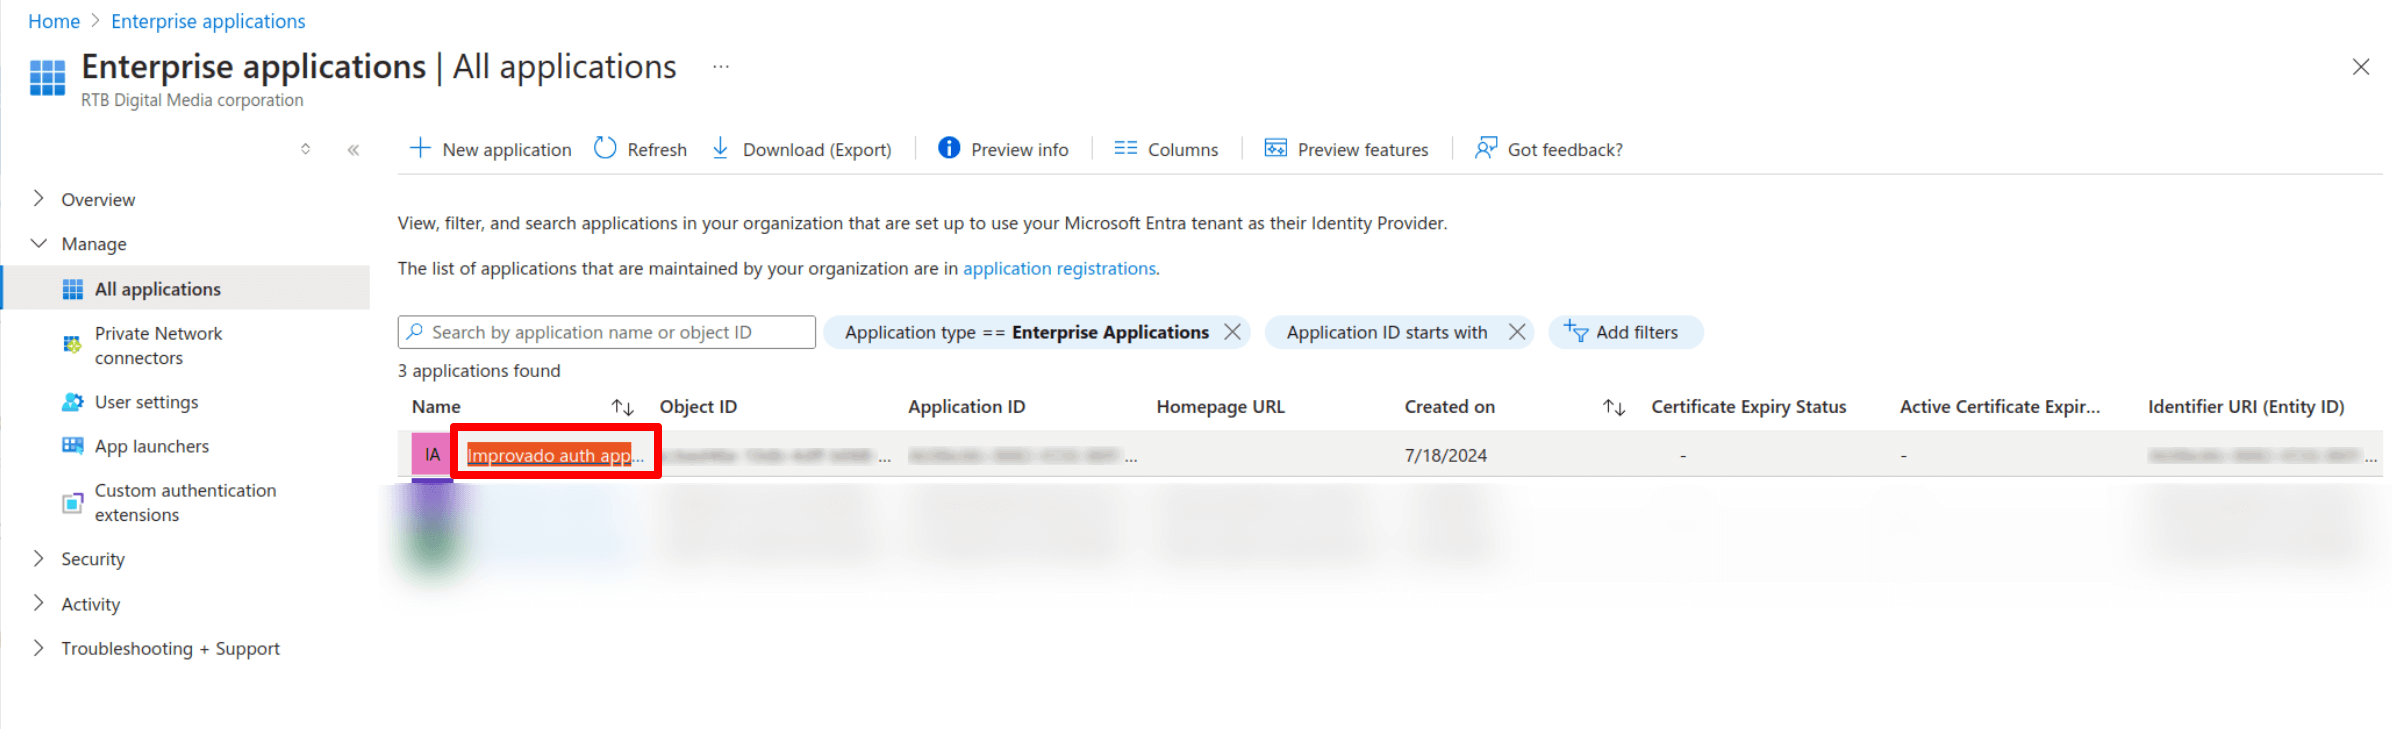
Return to All applications.
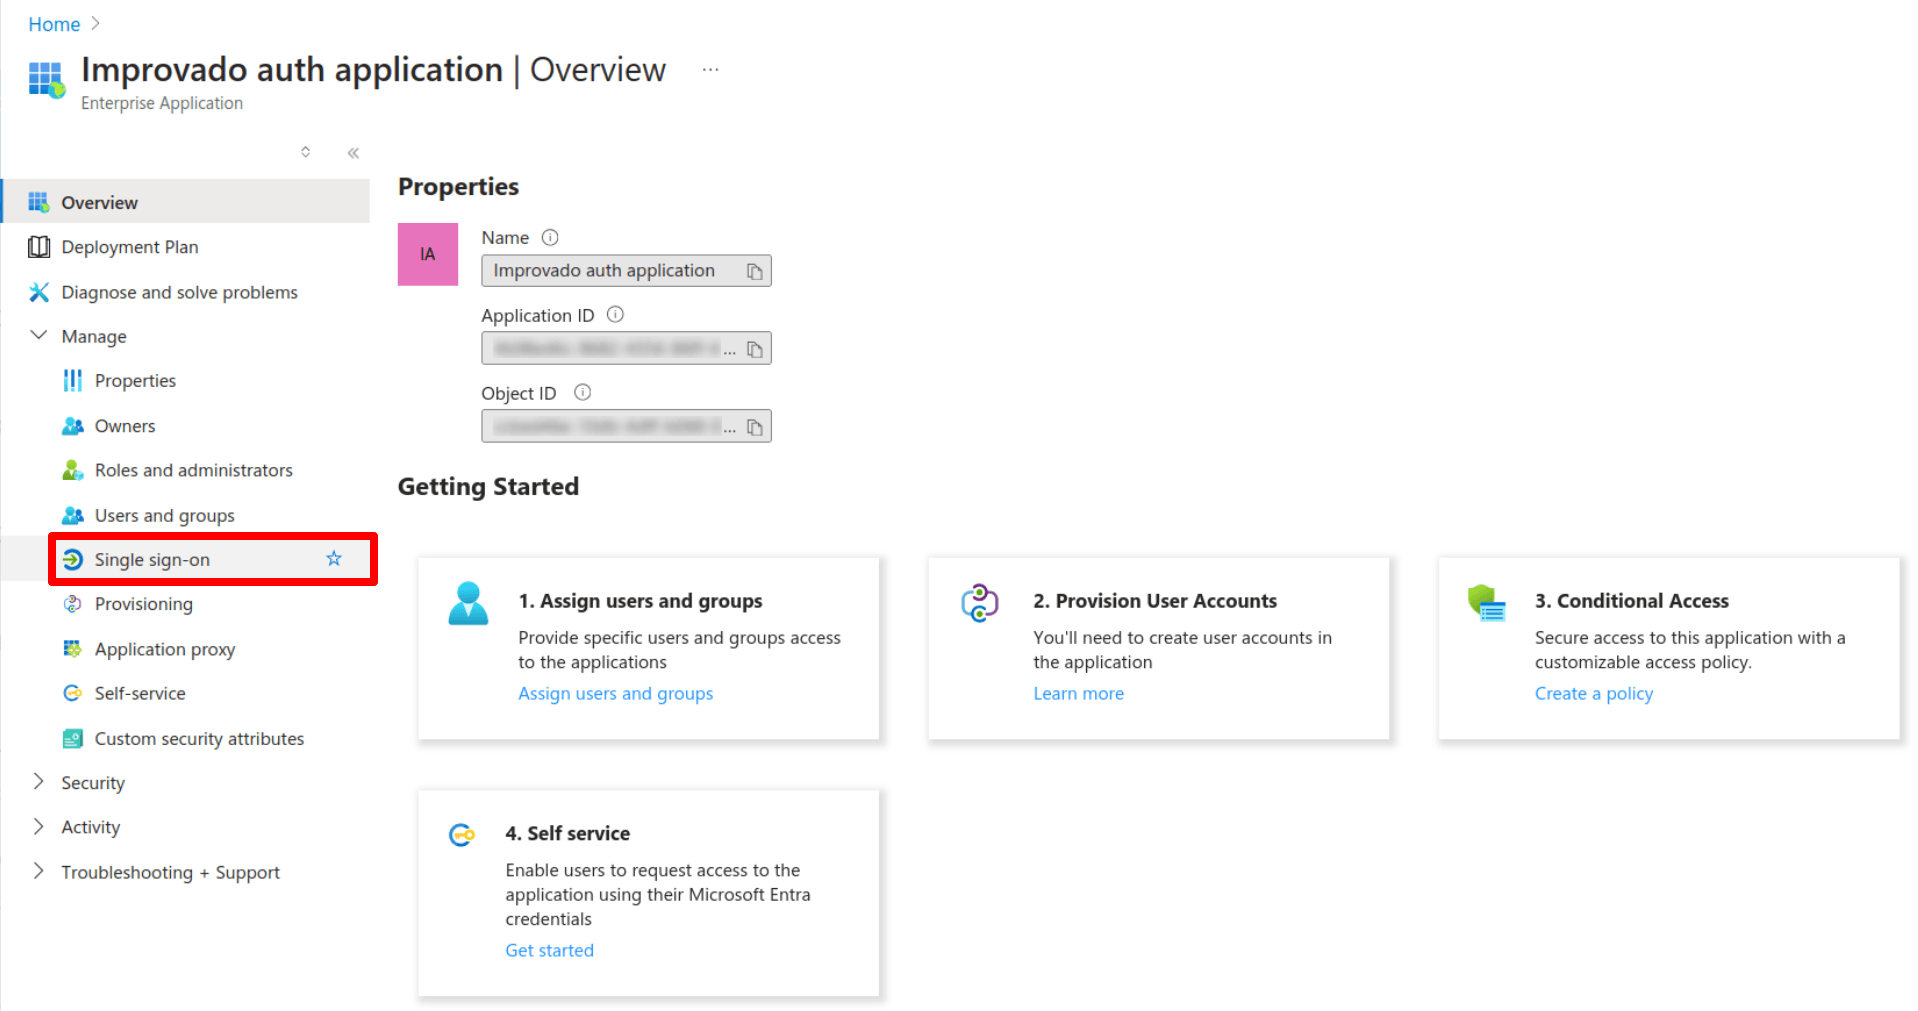
Select Single sign-on.
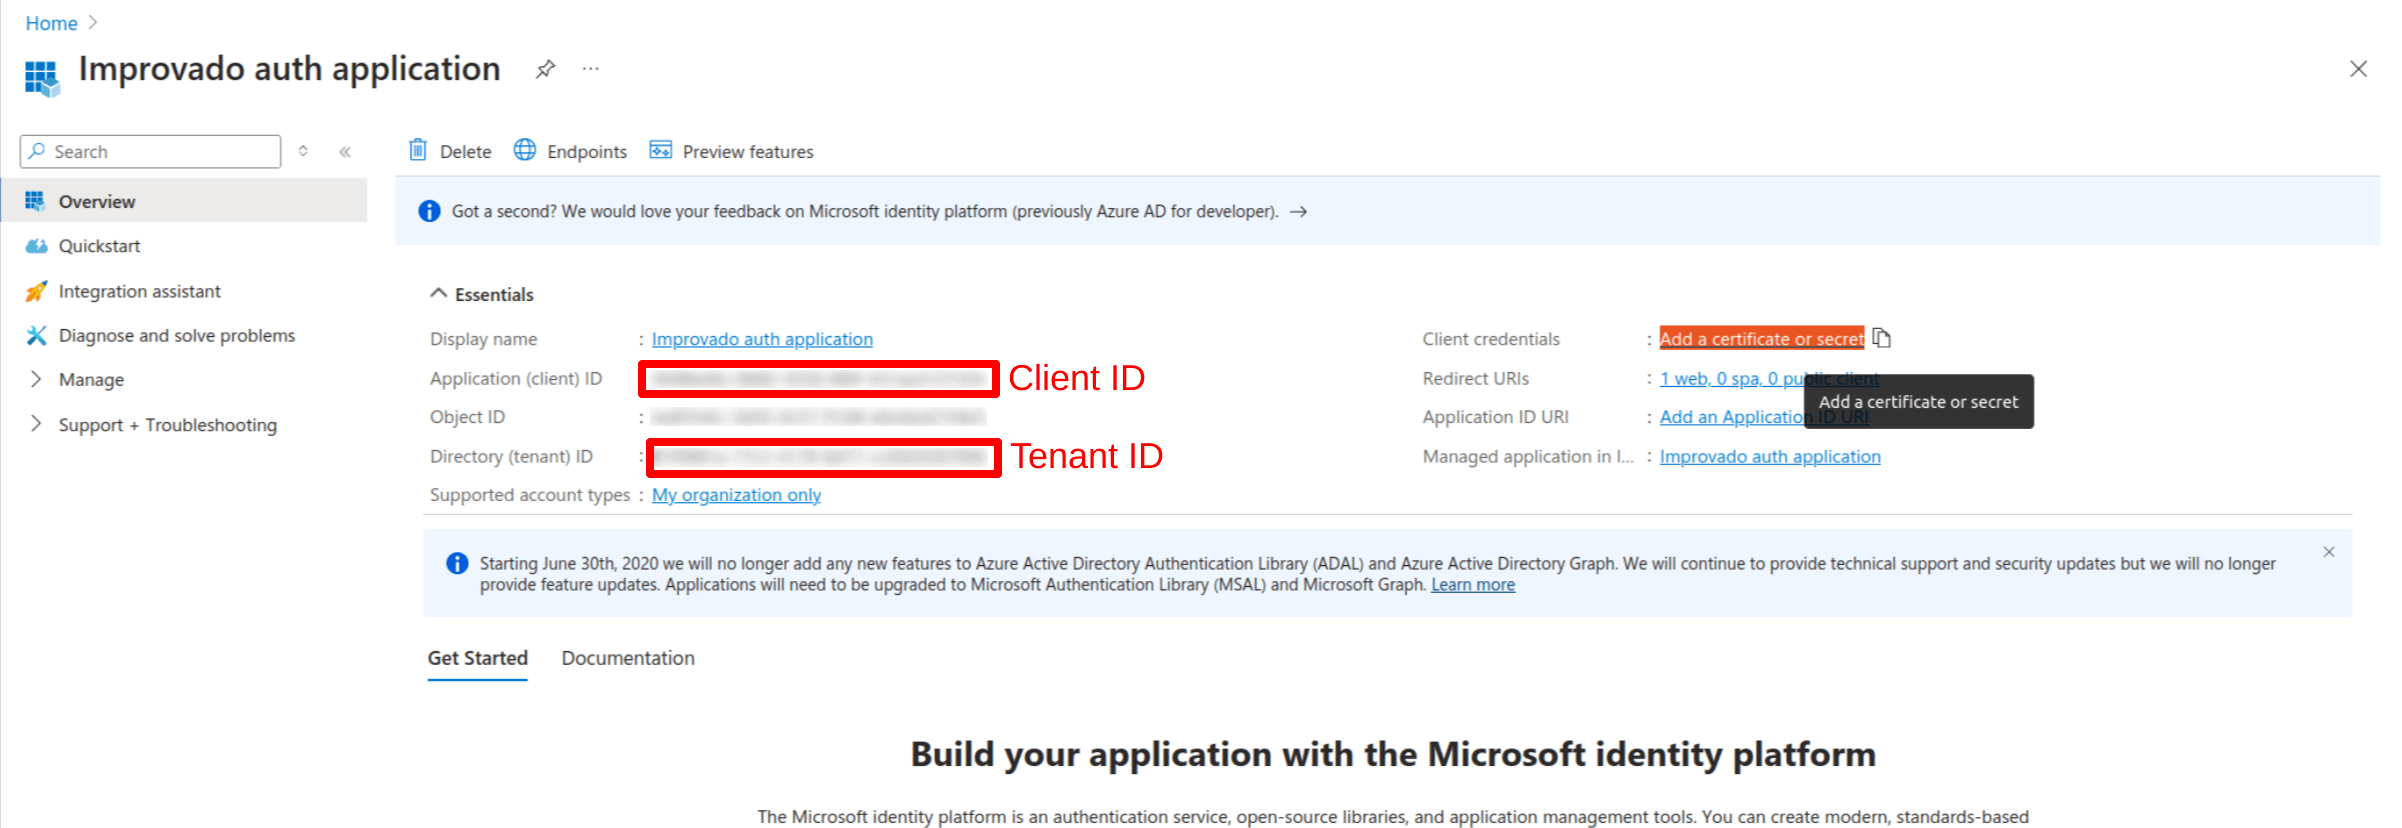
Click Go to application.
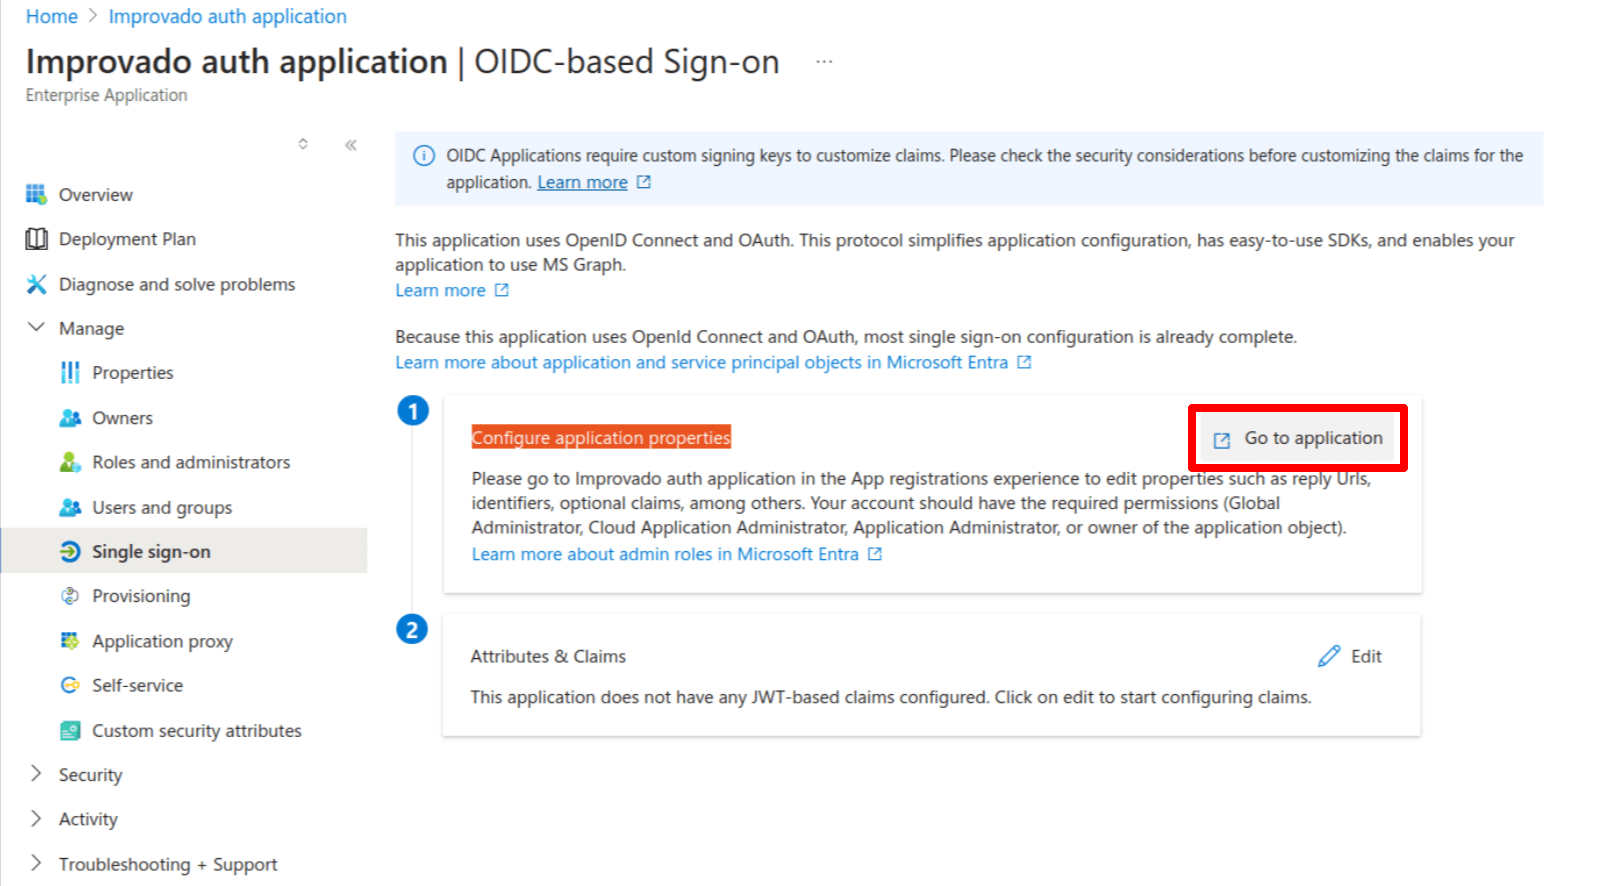
Copy Client ID and Tenant ID, then click Add a certificate or secret.
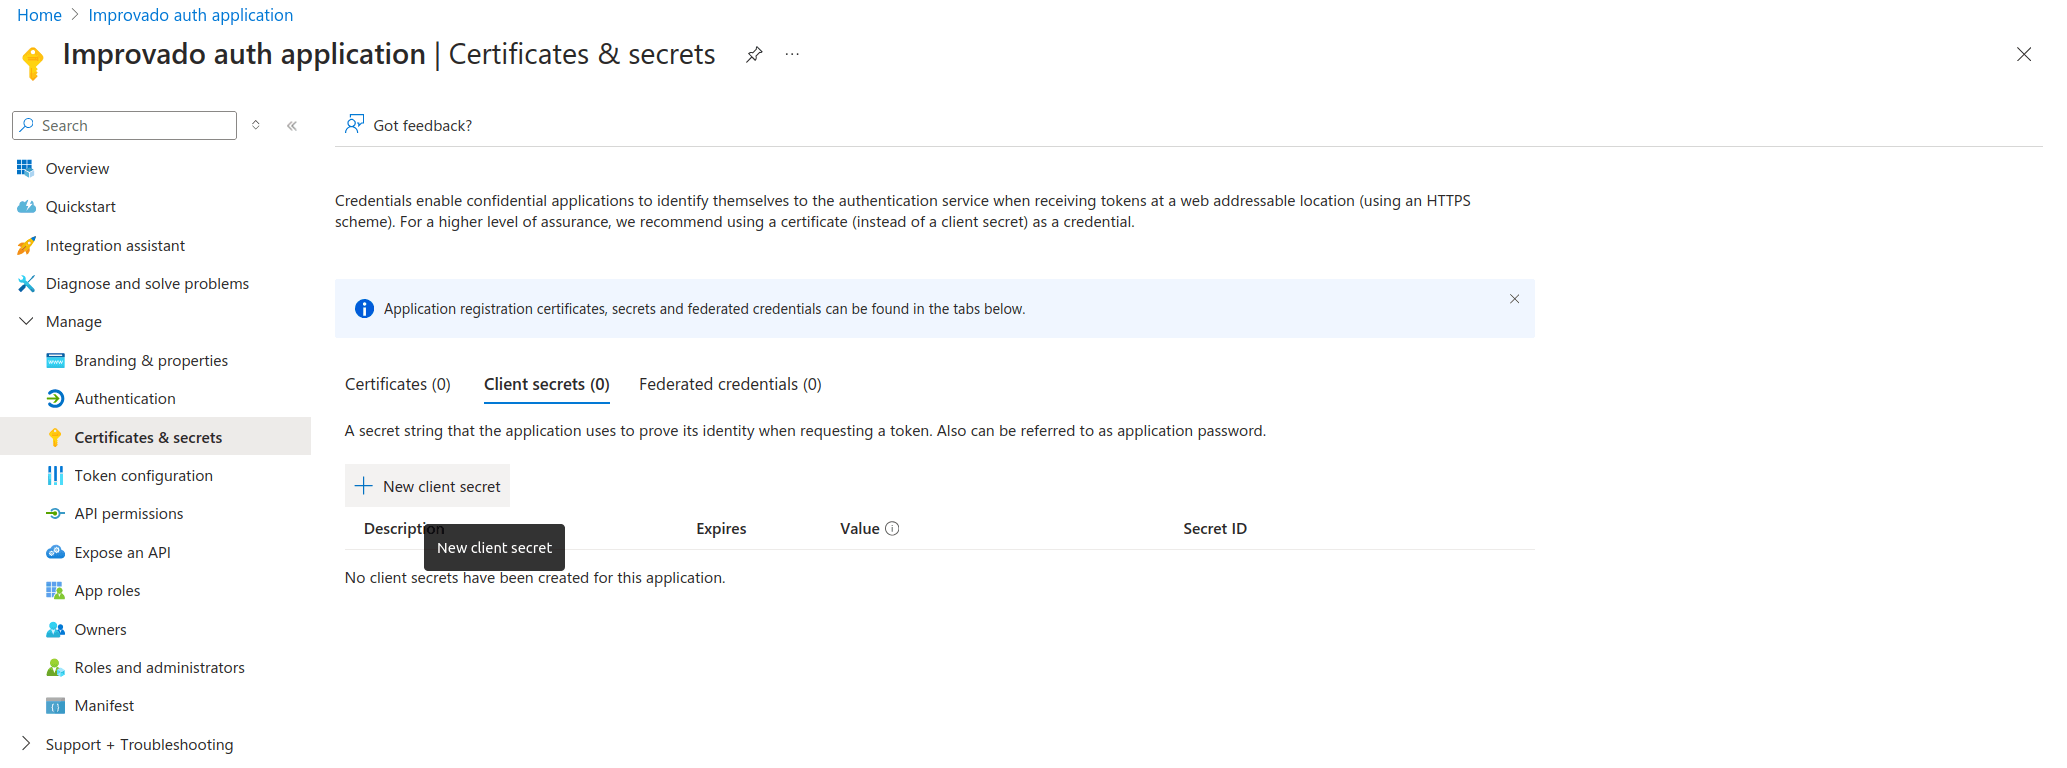
Click New client secret.
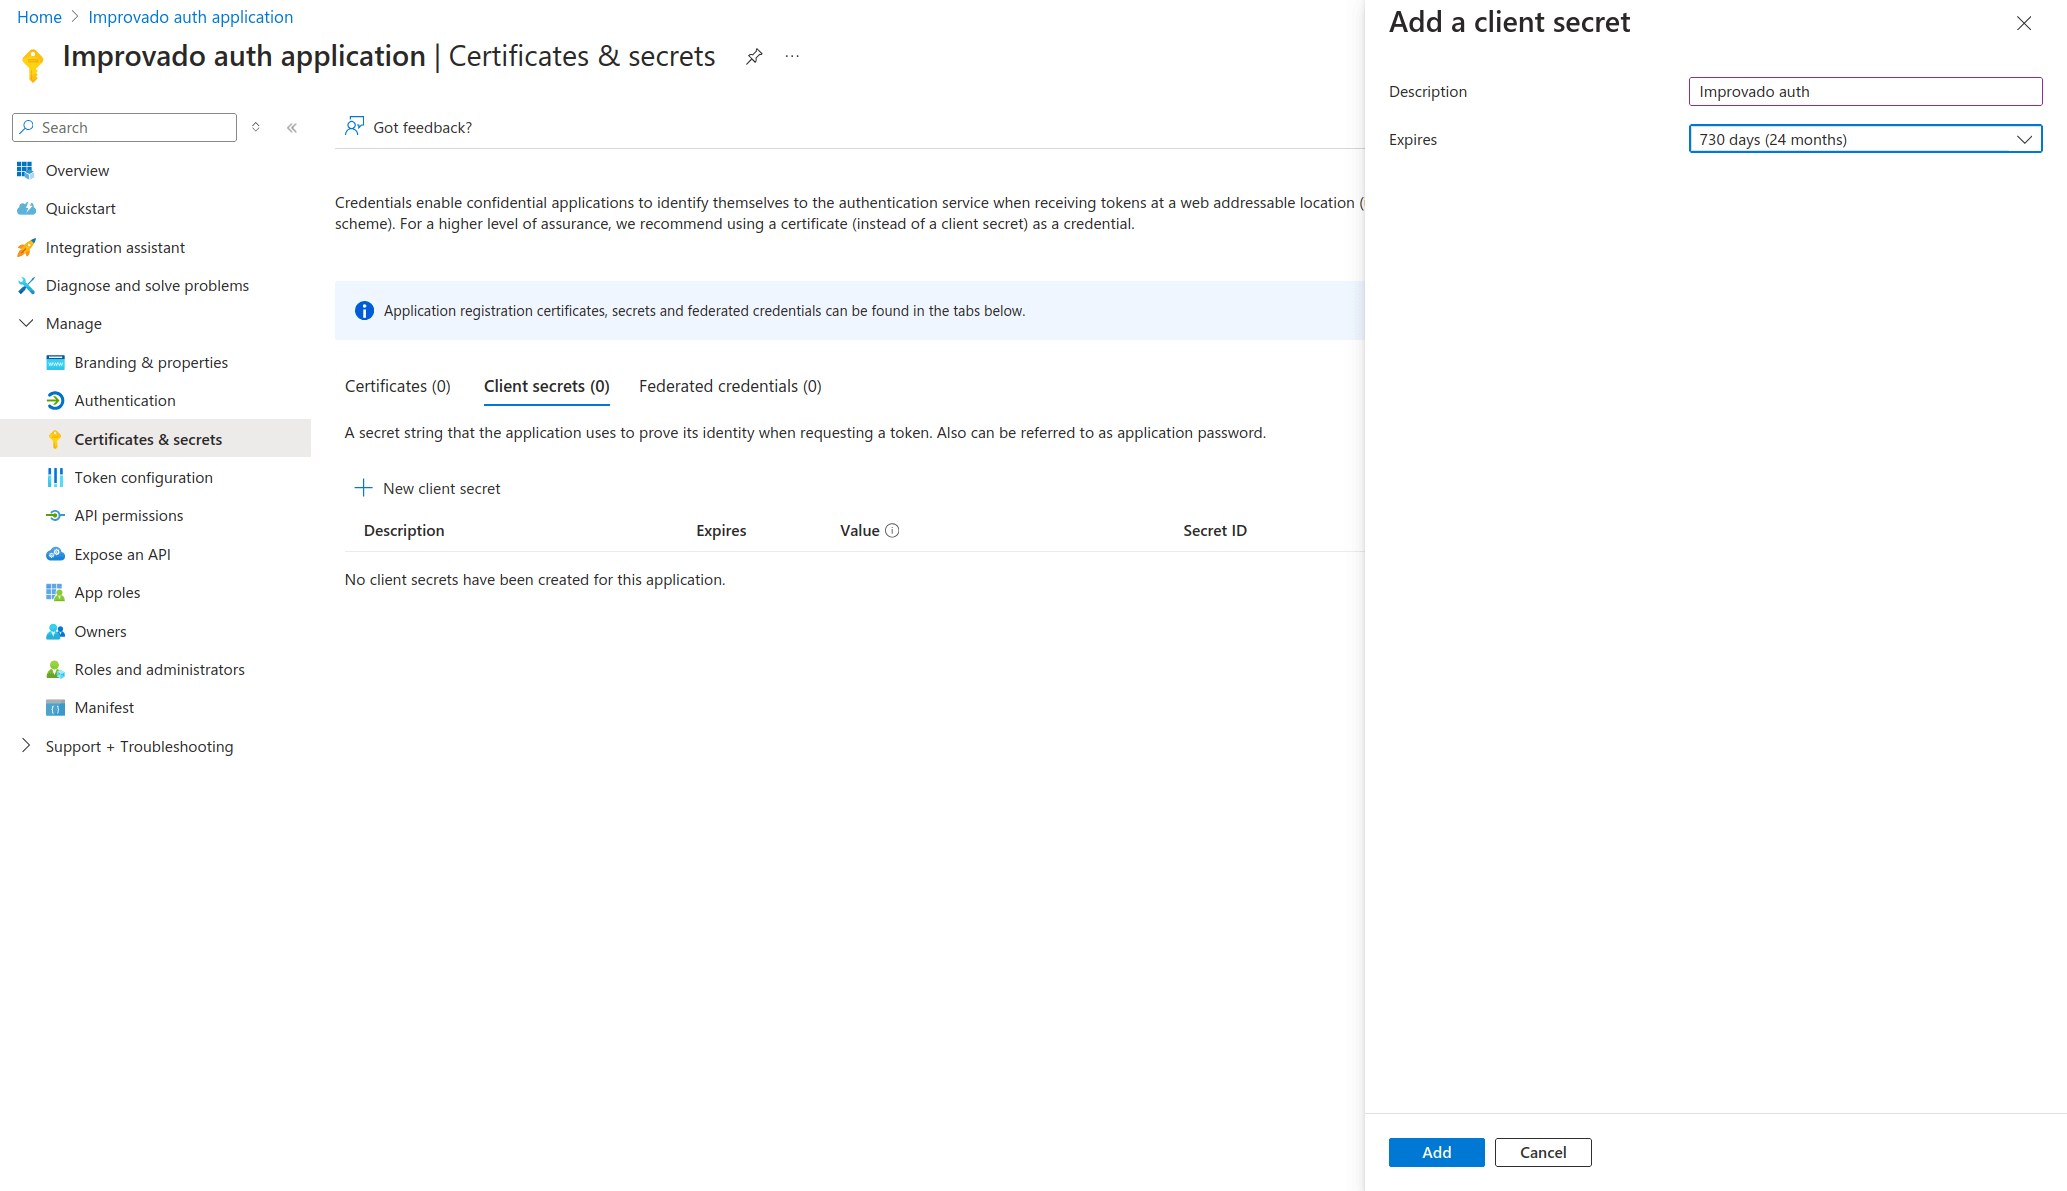
Set description and expiration date (set maximum of 24 months).
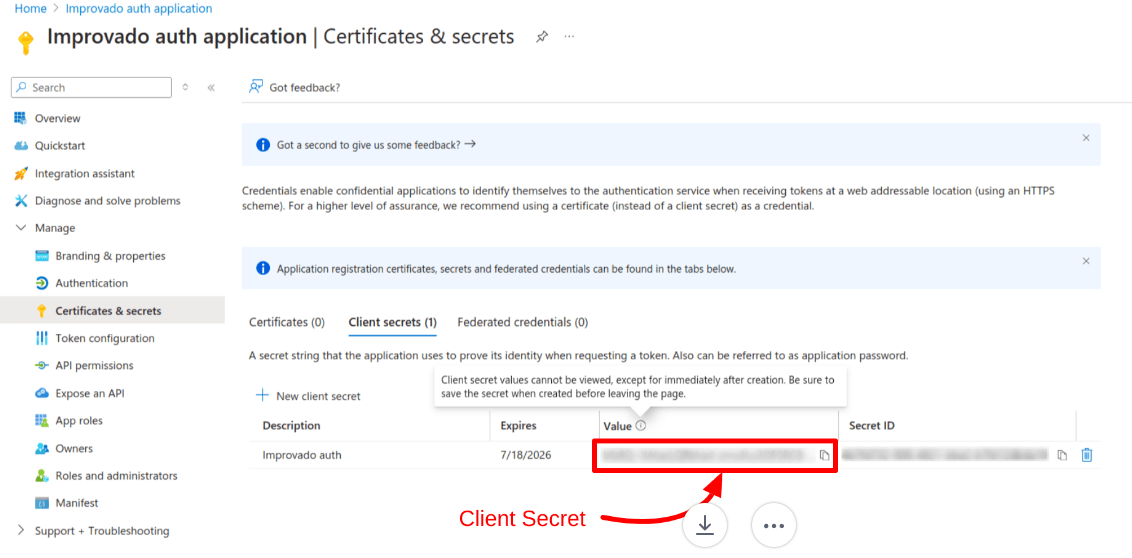
Copy Client Secret from the Value column.
Return to All applications and select your application.
Select Manage → API permissions menu and click Add a permission.
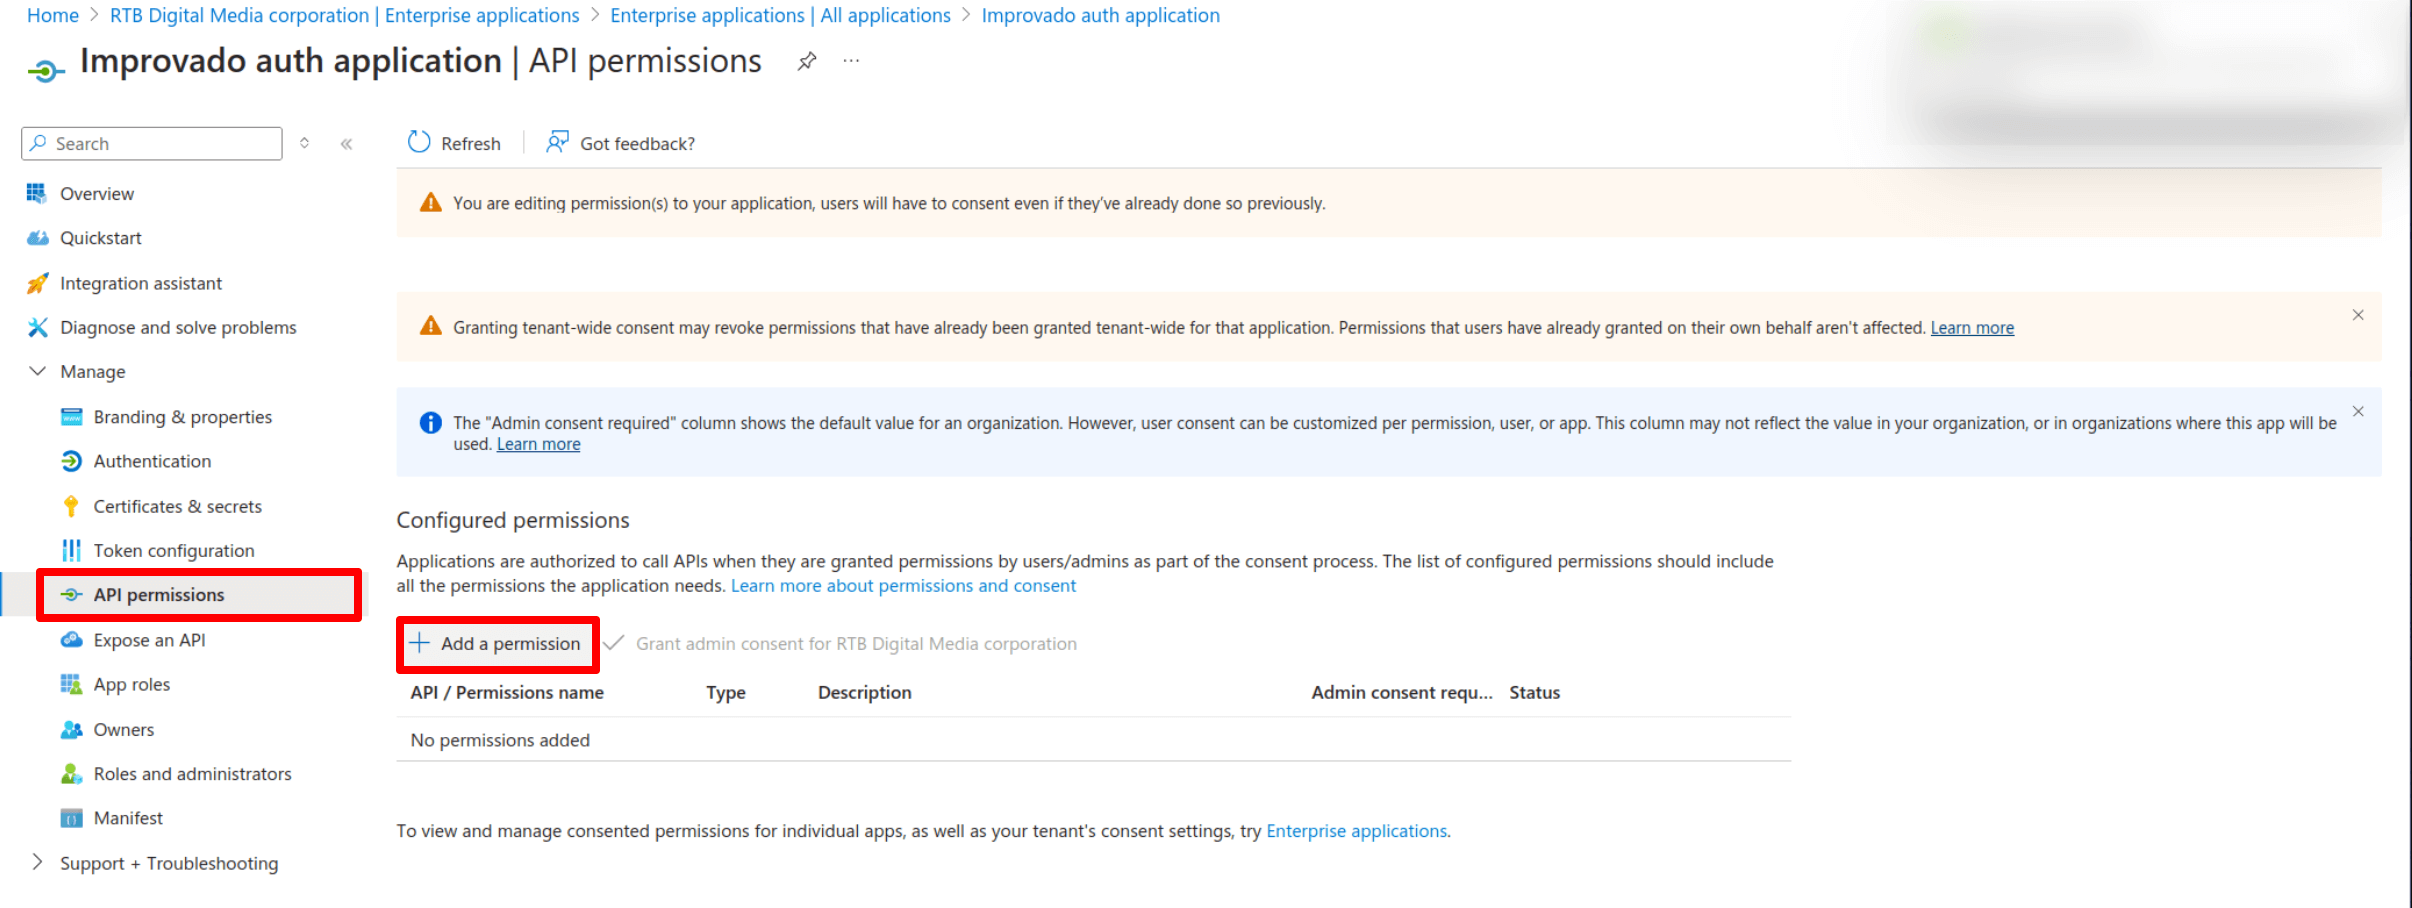
Add User.Read permission.

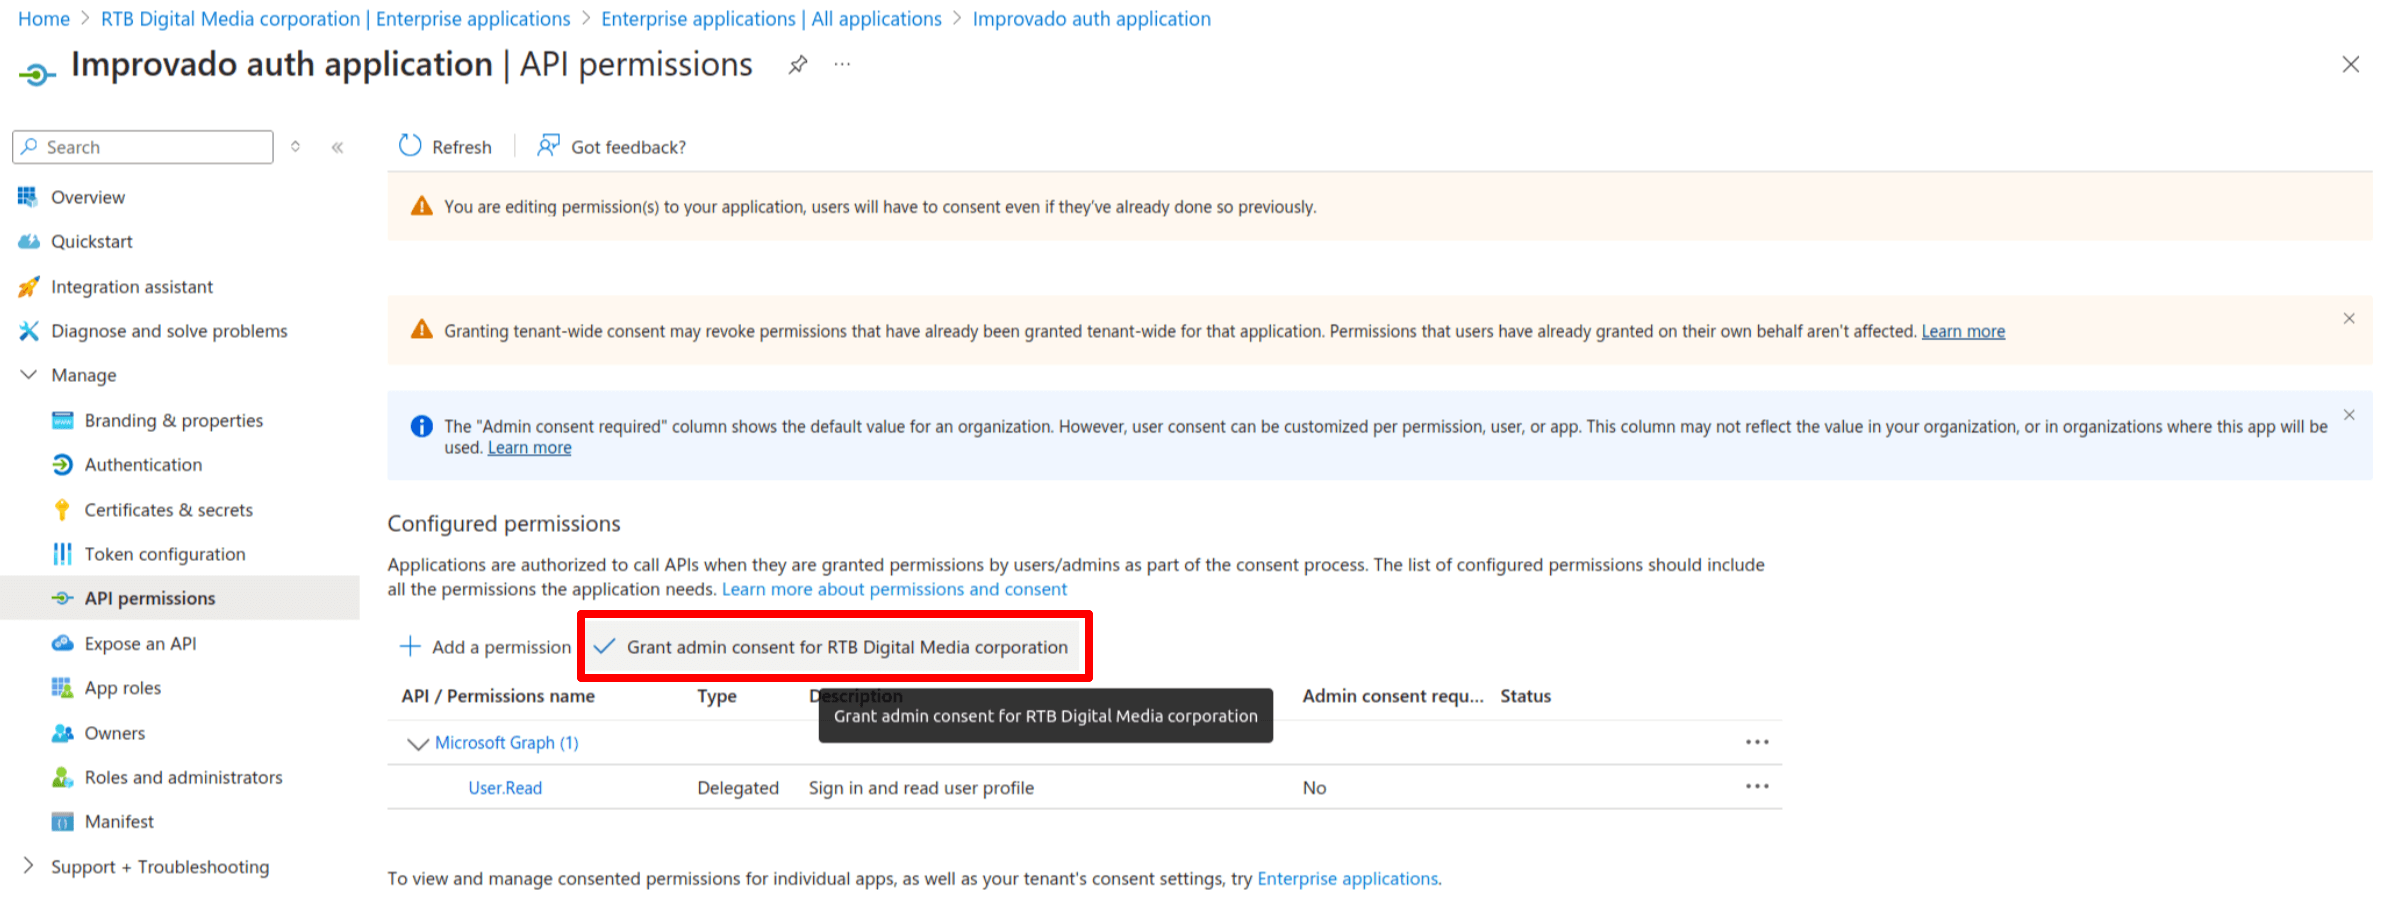
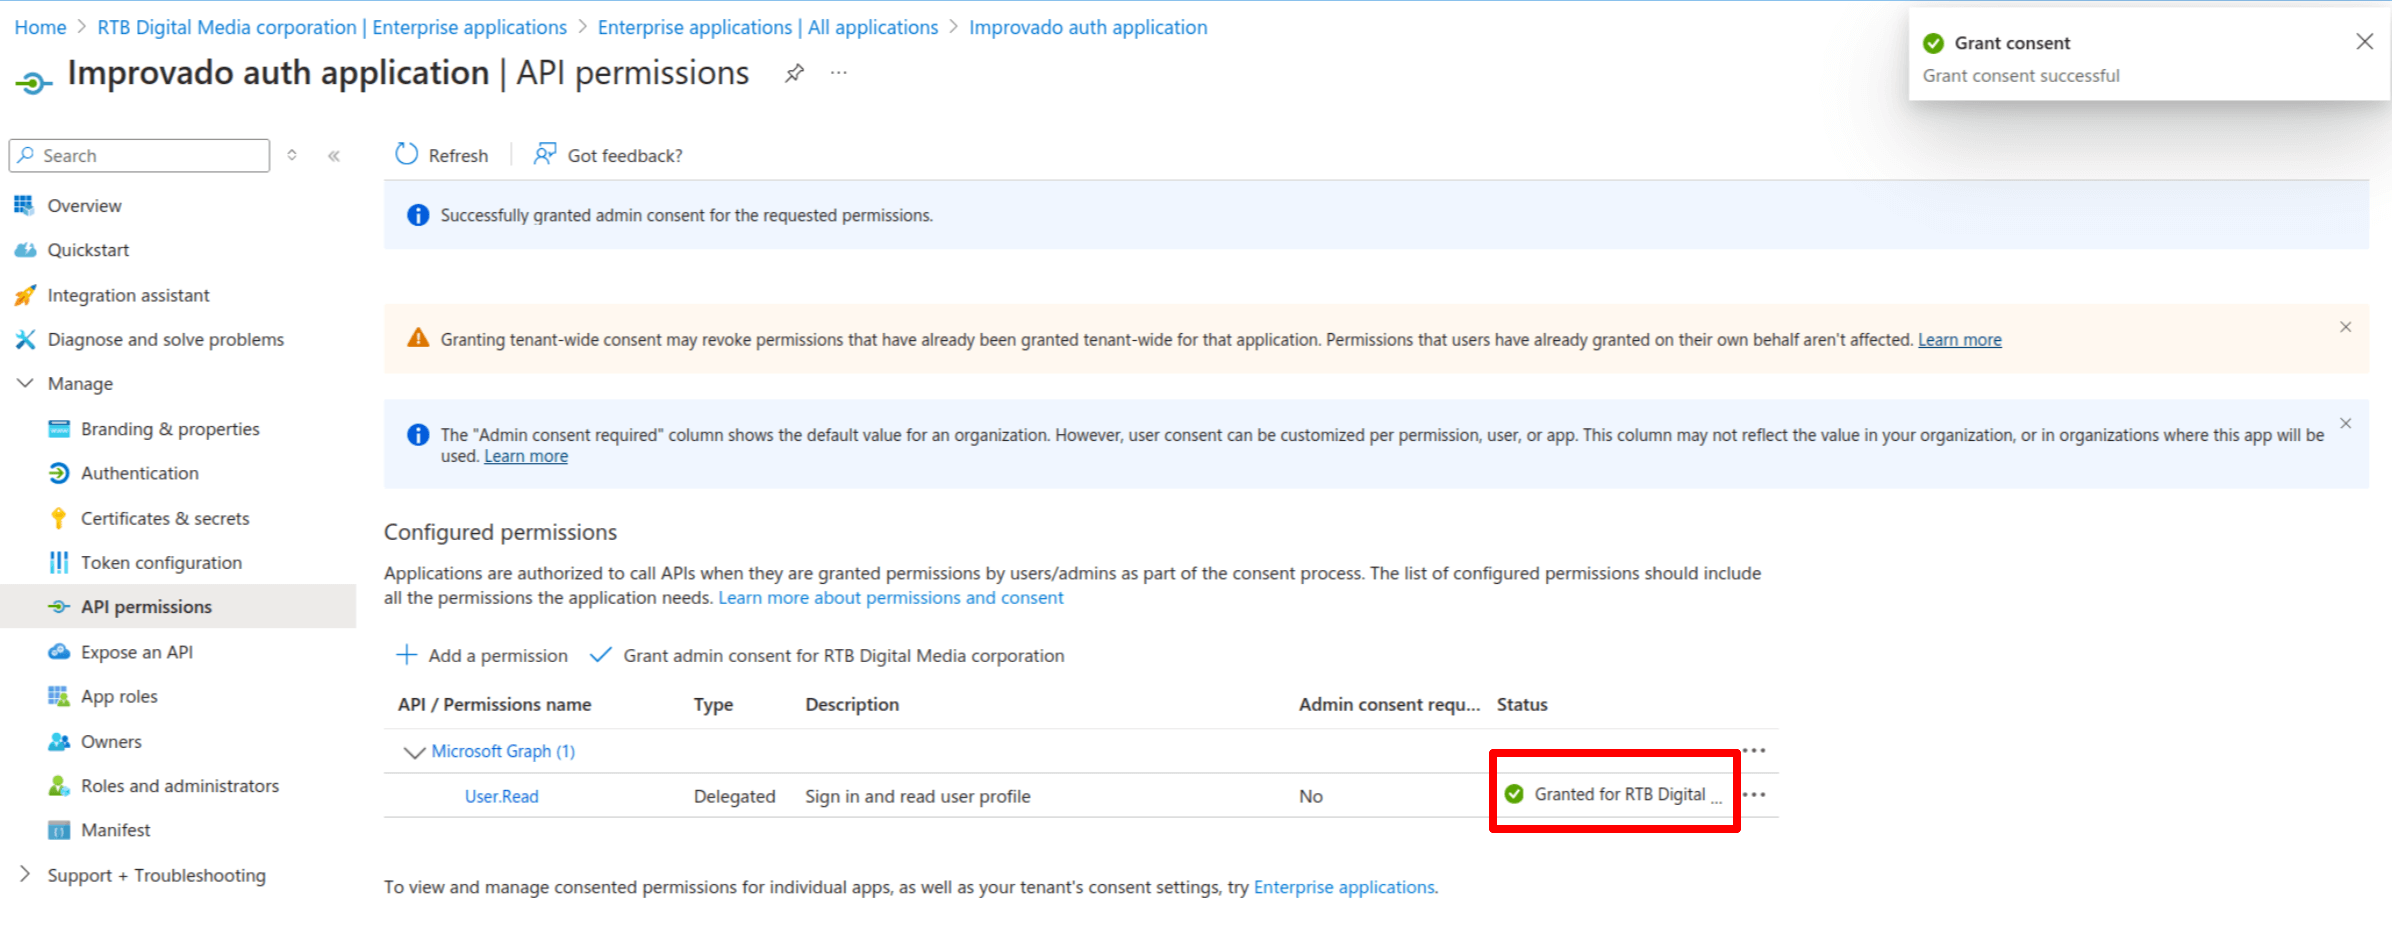
Click Grant admin consent for your organisation.
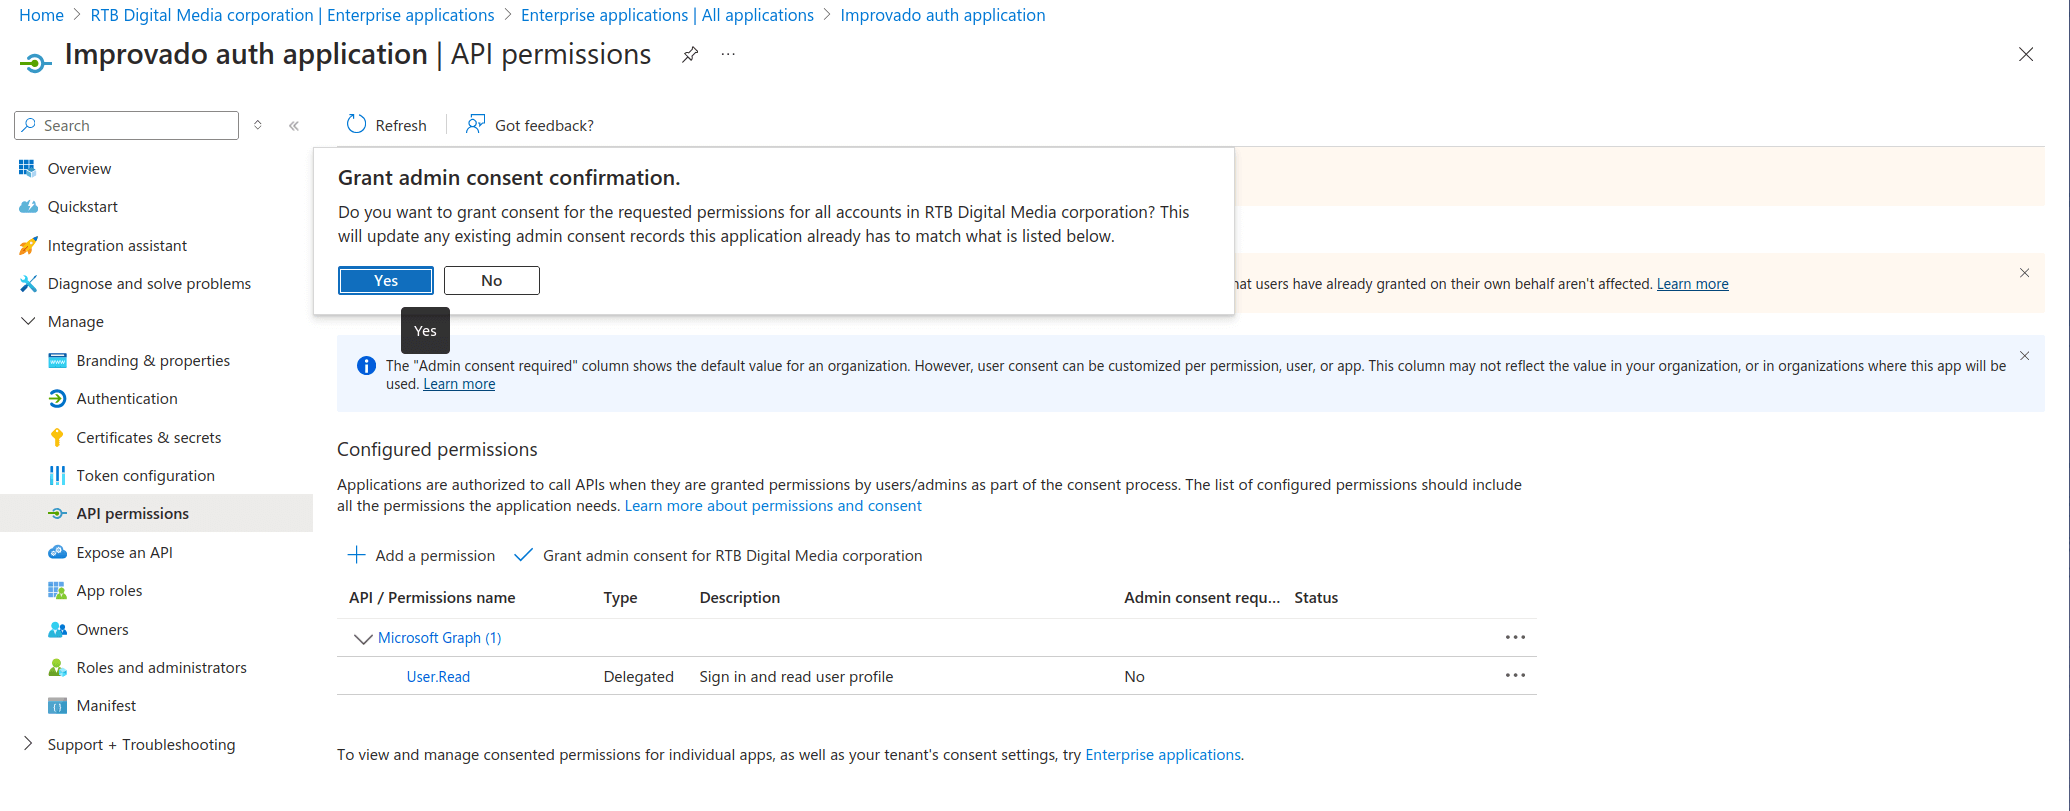
Click Yes.
You should see a green checkmark as permission status.
Step 3. Please provide the following credentials to your Customer Success Manager via Keeper's One-Time Share feature:
Azure Tenant IDClient IDClient Secret
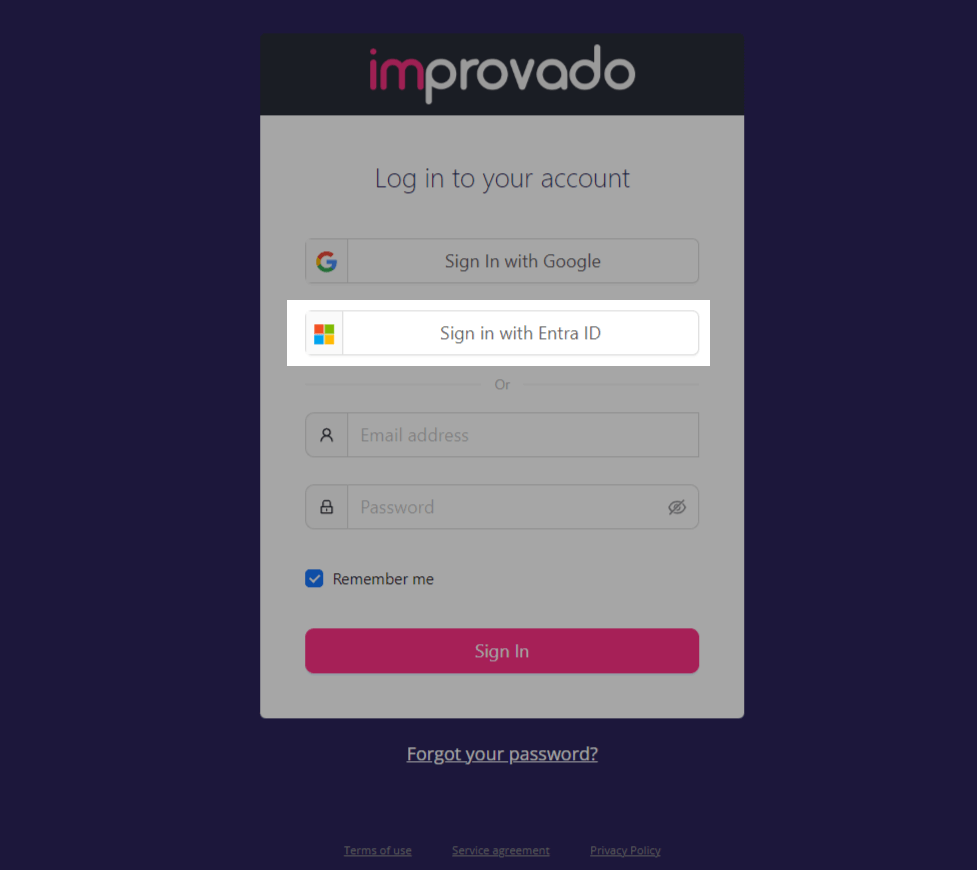
If everything was set up correctly, you should see the new Sign In with Entra ID button on the Improvado Login page:
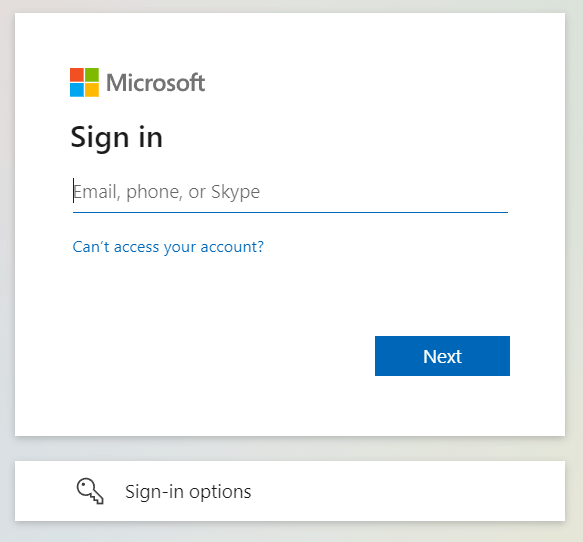
During the initial sign-in via Microsoft Entra ID SSO, you’ll be asked to enter your Microsoft Email and Password.
And after that, you’ll immediately access the Improvado UI.
Was this article helpful?
Thanks for the feedback!