
AppsFlyer
Description
AppsFlyer has emerged as the mobile measurement industry standard because it empowers advertisers with unbiased and transparent attribution analytics.
Setup guide
Follow our setup guide to connect AppsFlyer to Improvado.
Step 1. Click the Connections in the left navigation bar.
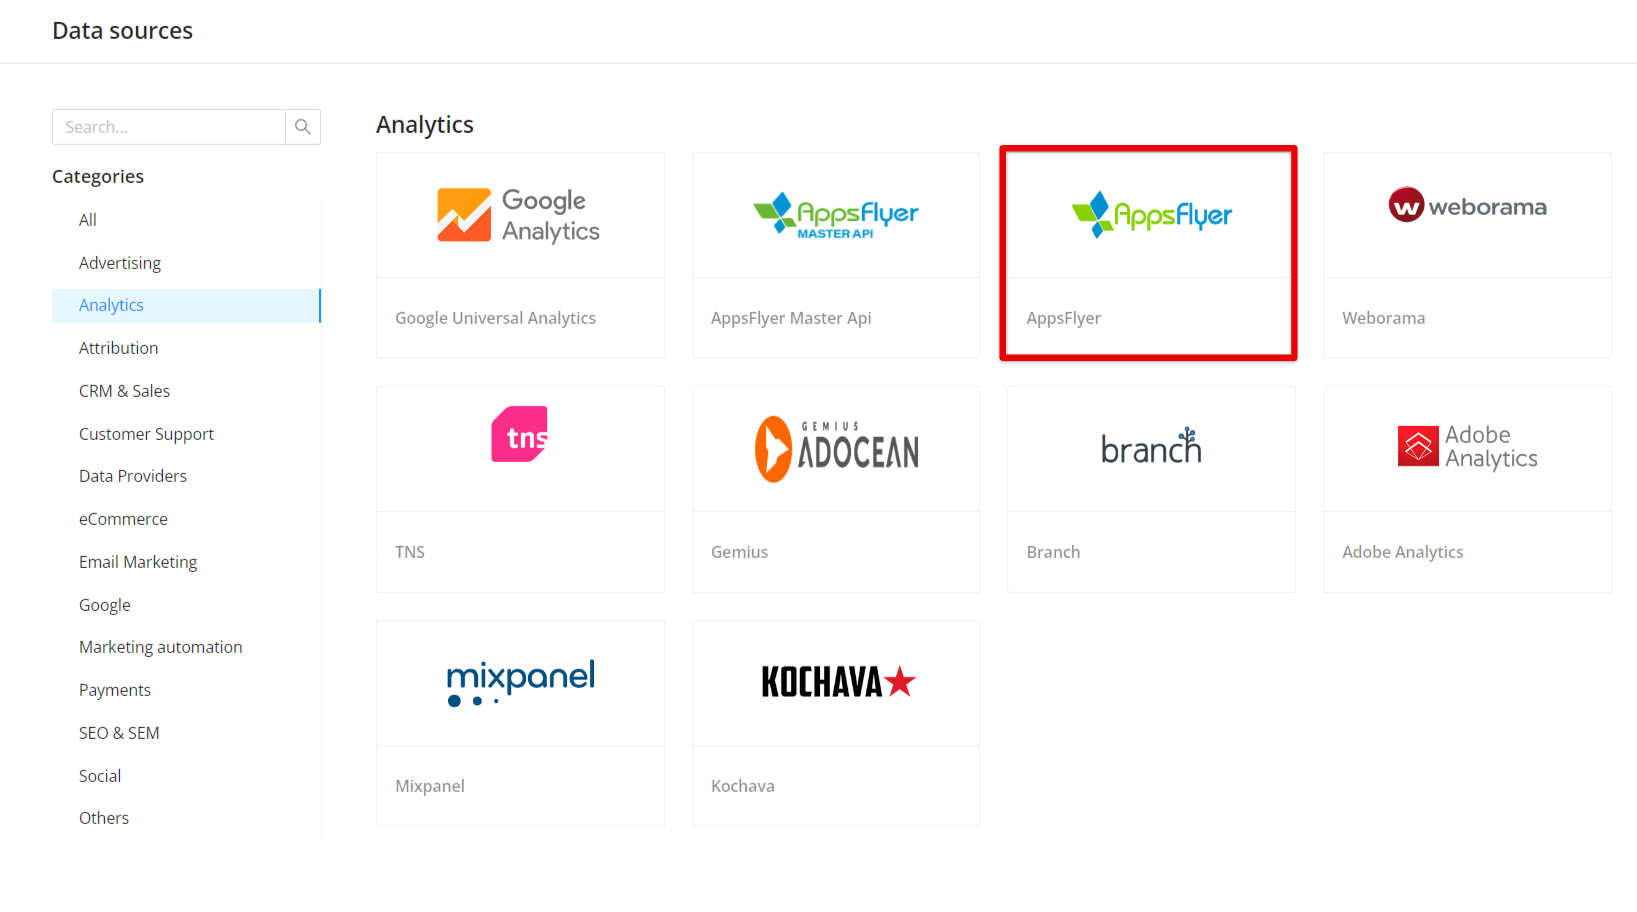
Categories on the Data sources page group all available platforms. Use a search to find the required one.
Step 2. Click on the AppsFlyer tile.
To authorize your account you need to fill in the required fields below following steps 3.1 - 3.6:
- Email — the email address of your AppsFlyer account
- Api token V2
- App ID (Agency account only) — optional
- App Name (Agency account only) — optional
The two App fields are only for agency accounts, where the AppsFlyer App List API is not available. Leave them empty otherwise.
Notes
- To use dimension level data be sure that your current package includes Raw reports.
- Your AppsFlyer account needs Admin access.
Step 3.2. From the menu bar, click on your email address in the top right corner.
Step 3.3. Select Security center.
Step 3.4. In the AppsFlyer API tokens section, click Manage your AppsFlyer API tokens.
Step 3.5. Copy both tokens.
Step 3.6. Enter copied values into the Improvado authorization form.
Also, you can find the additional information here: Retrieving API tokens.
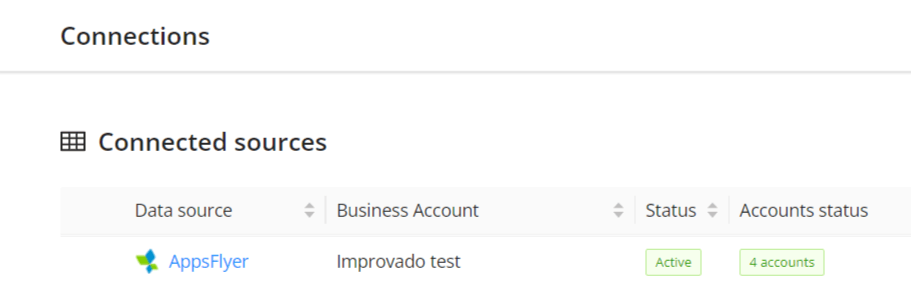
After the connection process is completed successfully, the AppsFlyer connection will appear in your Connected sources list.
Step 5. When the connection status is Active, and the account status column shows a number of accounts, you can move on to data extraction.
To extract data from the connected sources, check the instruction on how to set up data extraction.
Schema information
The schema information shows all report types you can use to extract data from AppsFlyer.
Limits
The Partners and Geo reports truncate at 200,000 rows
AppsFlyer’s aggregate endpoints — the ones behind the Partners and Geo reports — return at most 200,000 rows for a single request, and Improvado requests them at that default ceiling. Past it the response still comes back successfully, just short — there is no error to tell you rows were left behind.
This becomes visible when a wide date range meets a high-volume app. The extraction looks healthy, but the report holds only part of the period. A re-run over a narrower range returns the missing days, which makes the problem look intermittent: manual refreshes appear to fix it, and the next scheduled run over the full range truncates again.
The raw-data reports — Installs, In-App Events, Uninstalls and their organic and retargeting variants — do not hit this. They are requested at AppsFlyer’s higher one-million-row ceiling, they page through their results, and Improvado splits them into time chunks, so no single response is quietly cut short.
Splitting a request to stay under the cap
Use the Split by N Days setting in the extraction order. It takes a number from 1 to 365 and breaks one API request into a sequence of shorter ones, so each stays below the row cap. It is empty by default, which means no splitting.
Pick the value from how much data the app produces rather than from the date range: an app generating tens of thousands of rows a day needs a small number, a low-volume one can leave it off entirely. Splitting into more requests makes the extraction take longer, so the useful setting is the largest value that keeps every chunk under the cap.
The setting appears on exactly the eight reports the cap applies to — Partners and Geo, in both their standard and Facebook variants, for user acquisition and re-attribution. The raw-data reports do not offer it because they do not need it.
Release notes
You can find information about the latest API changes in the official Release notes.
Troubleshooting
Having trouble with your setup? Find solutions to common issues →
Was this article helpful?
Thanks for the feedback!
Questions? The Improvado team is always happy to help. Send us an email, contact your Customer Success Manager, or raise a request in the Improvado Service Desk.