Shopify GraphQL
Description
Shopify GraphQL is an eCommerce platform that allows users to set up an online store and sell products or services directly to their customers.
Setup guide
Follow our setup guide to connect Shopify GraphQL to Improvado.
Click the Make a new Connection on the Connections page.
Categories on the Data sources page group all available platforms. Use a search to find the required one.
Click on the Shopify GraphQL tile.
Choose authorization option:
To authorize your account you need to fill in the required fields below following steps 3.1 - 3.4: To do these steps you need to have at least Apps Developer role or ask the user with that permission to follow through. Create a new app from your Dev Dashboard. Create a version. Once you've created the app, you can create a version. Your app must have at least one version before it can be installed on a store. From the Versions tab of your app in the Dev Dashboard, complete your desired fields, including: Complete the following steps to install your app on a store: Your app is now installed. Copy Client ID and Client secret Shop data is accessed via client credentials grant:Connect your own Shopify App (via Client Credentials, recommended)
https://shopify.dev/apps/default-app-home
Access scope name
Permission
read_products
View products, variants, and collections
read_customers
View customers, customer addresses, order history, and customer groups
read_all_orders
View all orders, transactions, fulfillments, abandoned checkouts and refunds. How to obtain this permission
read_orders
View orders created within the last 60 days. Required for read_all_orders to function.
read_locations
View locations and their properties
read_shopify_payments_payouts
View Shopify Payments payouts and the account's current balance
read_returns
View information related to order returns
read_gift_cards
View information related to gift cards

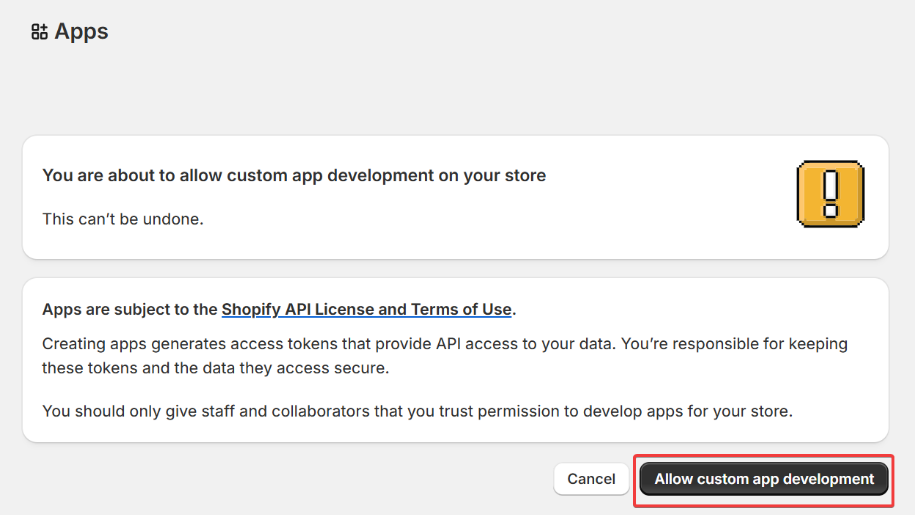
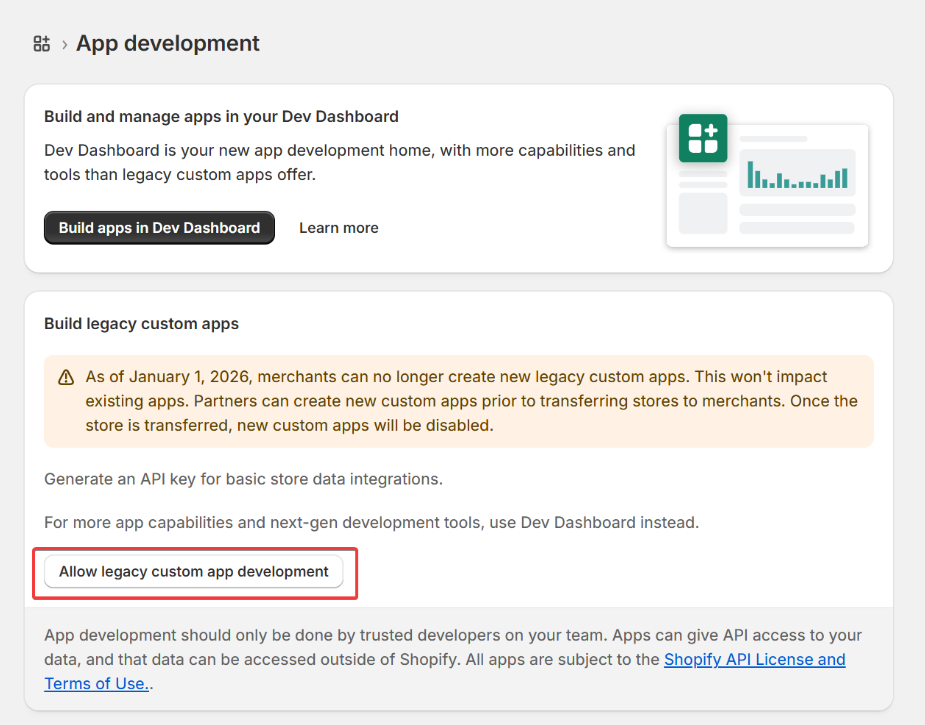
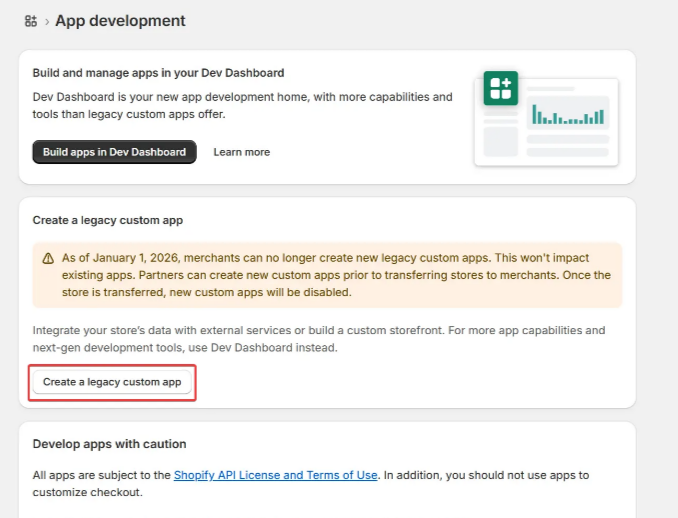
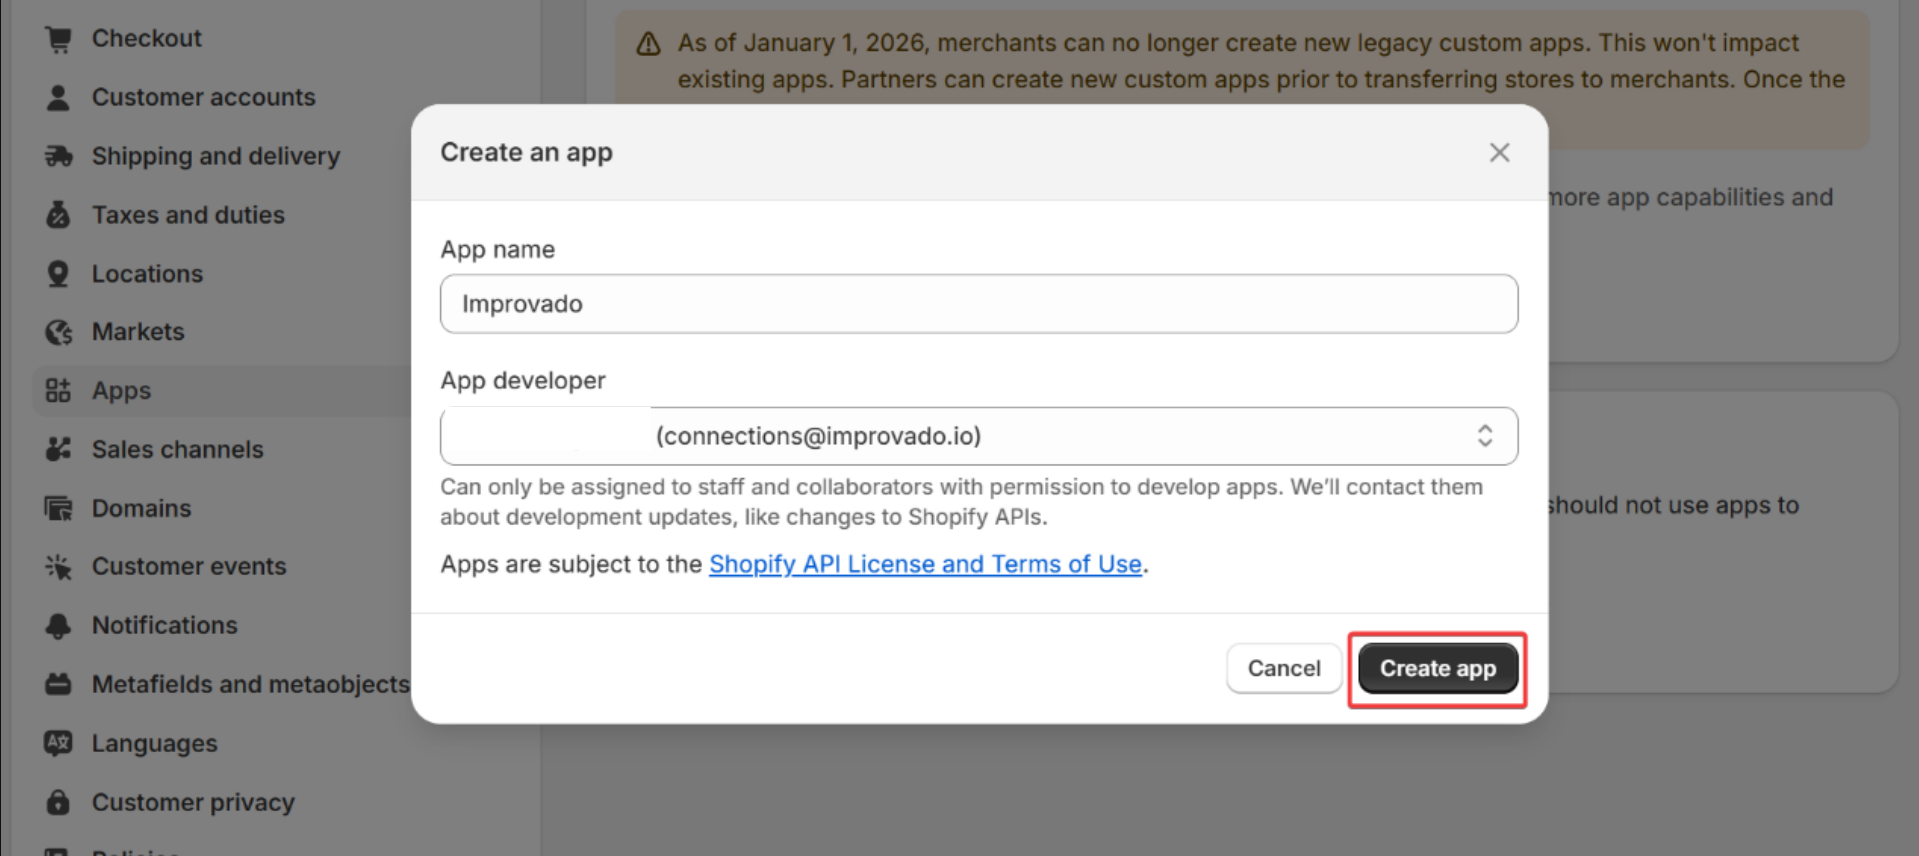
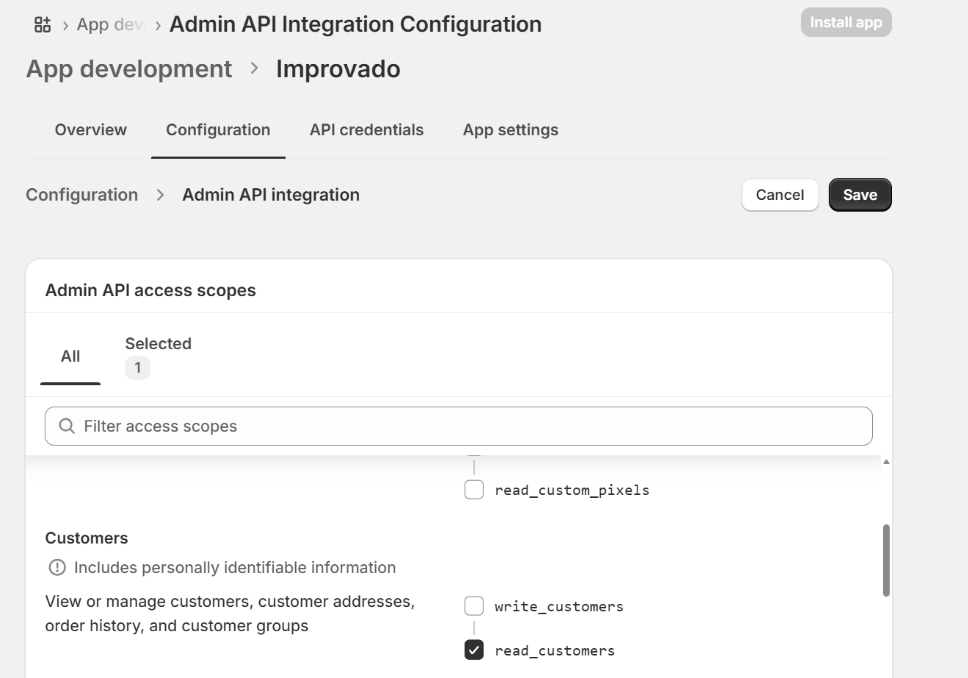
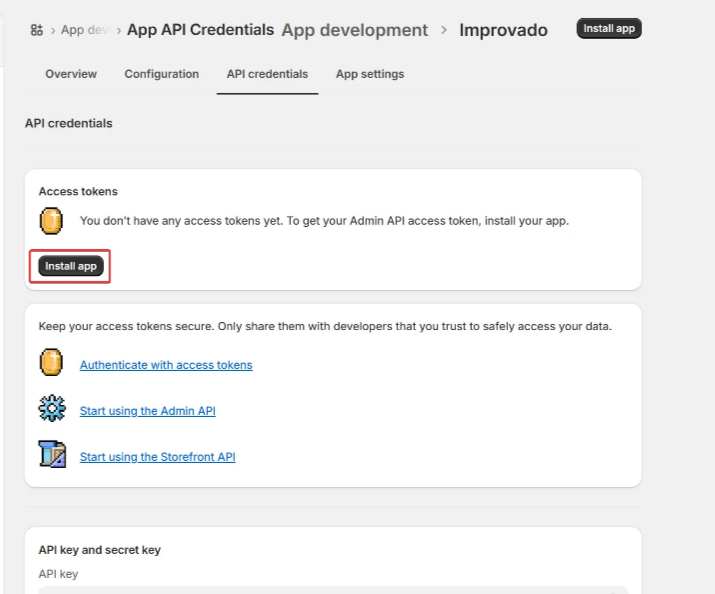
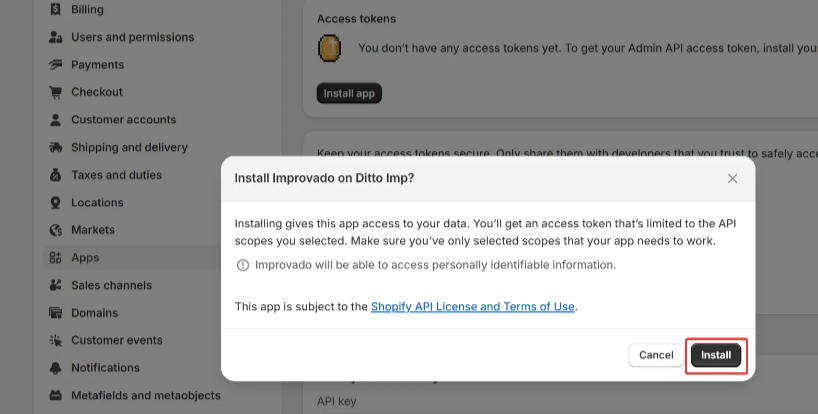
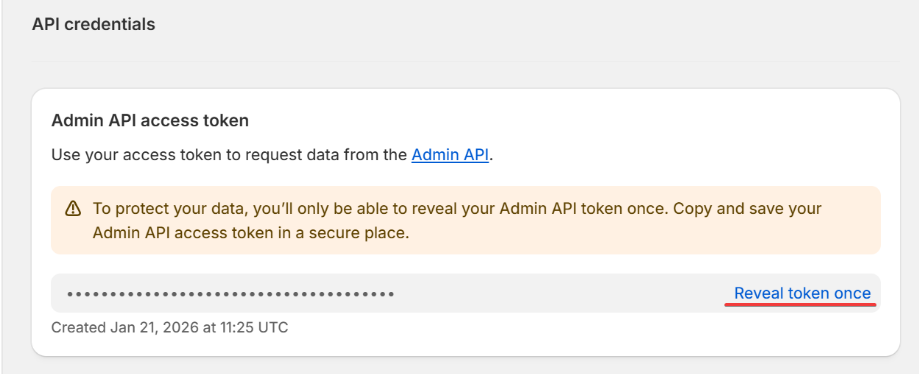
To authorize your account you need to fill in the required fields below following steps 3.1 - 3.10: To do these steps you need to have Develop apps permission or ask the user with that permission to follow through. In Shopify Admin, click Apps, and then click Develop apps to create your app. Click Allow custom app development. Click Allow legacy custom app development. Click Create a legacy custom app. Enter your App name, and click Create app. After app is created, go to Configuration tab and press Configure for Admin API Integration. Select the following permission scopes: Go to API credentials tab and press Install app. Confirm installation by clicking Install. Once app is installed, click on Reveal token once to copy and paste to Improvado authorization form.Connect your own Shopify App (via Access Token, legacy)
.png)
.png)
Access scope name
Permission
read_products
View products, variants, and collections
read_customers
View customers, customer addresses, order history, and customer groups
read_all_orders
View all orders, transactions, fulfillments, abandoned checkouts and refunds. How to obtain this permission
read_orders
View orders created within the last 60 days. Required for read_all_orders to function.
read_locations
View locations and their properties
read_shopify_payments_payouts
View Shopify Payments payouts and the account’s current balance
read_returns
View information related to order returns
read_gift_cards
View information related to gift cards
Before authorization, please ensure you are signed in to the account you want to extract data from. To authorize your account you need to fill in Shop name field. Please use the same shop name from your shop URL, for example, The following access scopes will be requested during OAuth authorization:OAuth
<strong>my-shop-name</strong> if your URL is https://<strong>my-shop-name</strong>.myshopify.com
Access scope name
Permission
read_products
View products, variants, and collections
read_customers
View customers, customer addresses, order history, and customer groups
read_all_orders
View all orders, transactions, fulfillments, abandoned checkouts and refunds. How to obtain this permission
read_orders
View orders created within the last 60 days. Required for read_all_orders to function.
read_locations
View locations and their properties
read_shopify_payments_payouts
View Shopify Payments payouts and the account’s current balance
read_returns
View information related to order returns
read_gift_cards
View information related to gift cards
Also, you can find the additional information and in-depth step-by-step guide at the links here:
- Creating and installing custom app in Shopify | Docs
- Official video guide
- Get the API credentials for a custom app | Docs
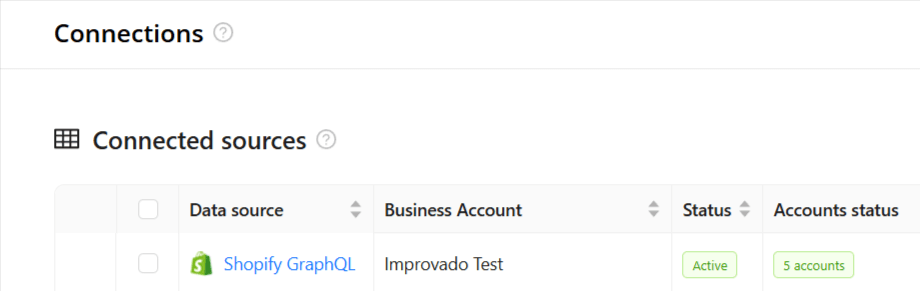
After the connection process is completed successfully, the Shopify GraphQL connection will appear in your Connected sources list.
When the connection status is Active, and the account status column shows a number of accounts, you can move on to data extraction.
To extract data from the connected sources, check the instruction on how to set up data extraction.
How to obtain read_all_orders permission:
The read_all_orders scope allows access to orders older than 60 days. It requires an additional approval step in the Shopify Partners dashboard before it can be added to your app scopes.
- Go to
https://partners.shopify.com/YOUR_ORGANIZATION_ID/apps - Click on your app.
- Select the API access requests tab (you'll be redirected to
https://partners.shopify.com/YOUR_ORGANIZATION_ID/apps/YOUR_APP_ID/api_access). - Under "Read all orders scope," click Request access.
- Enter the following reason: "Merchant requires requesting data for orders older than 60 days."
- Click Request access.
Scope should be granted immediately and can be added to your app scopes.
Schema information
The schema information shows all report types you can use to extract data from Shopify GraphQL.
Release notes
You can find information about the latest API changes in the official Release notes.
Was this article helpful?
Thanks for the feedback!