
Oracle NetSuite
Description
Oracle NetSuite is the leading integrated cloud business software suite, including business accounting, ERP, CRM and ecommerce software.
Setup guide
Follow our setup guide to connect Oracle NetSuite to Improvado.
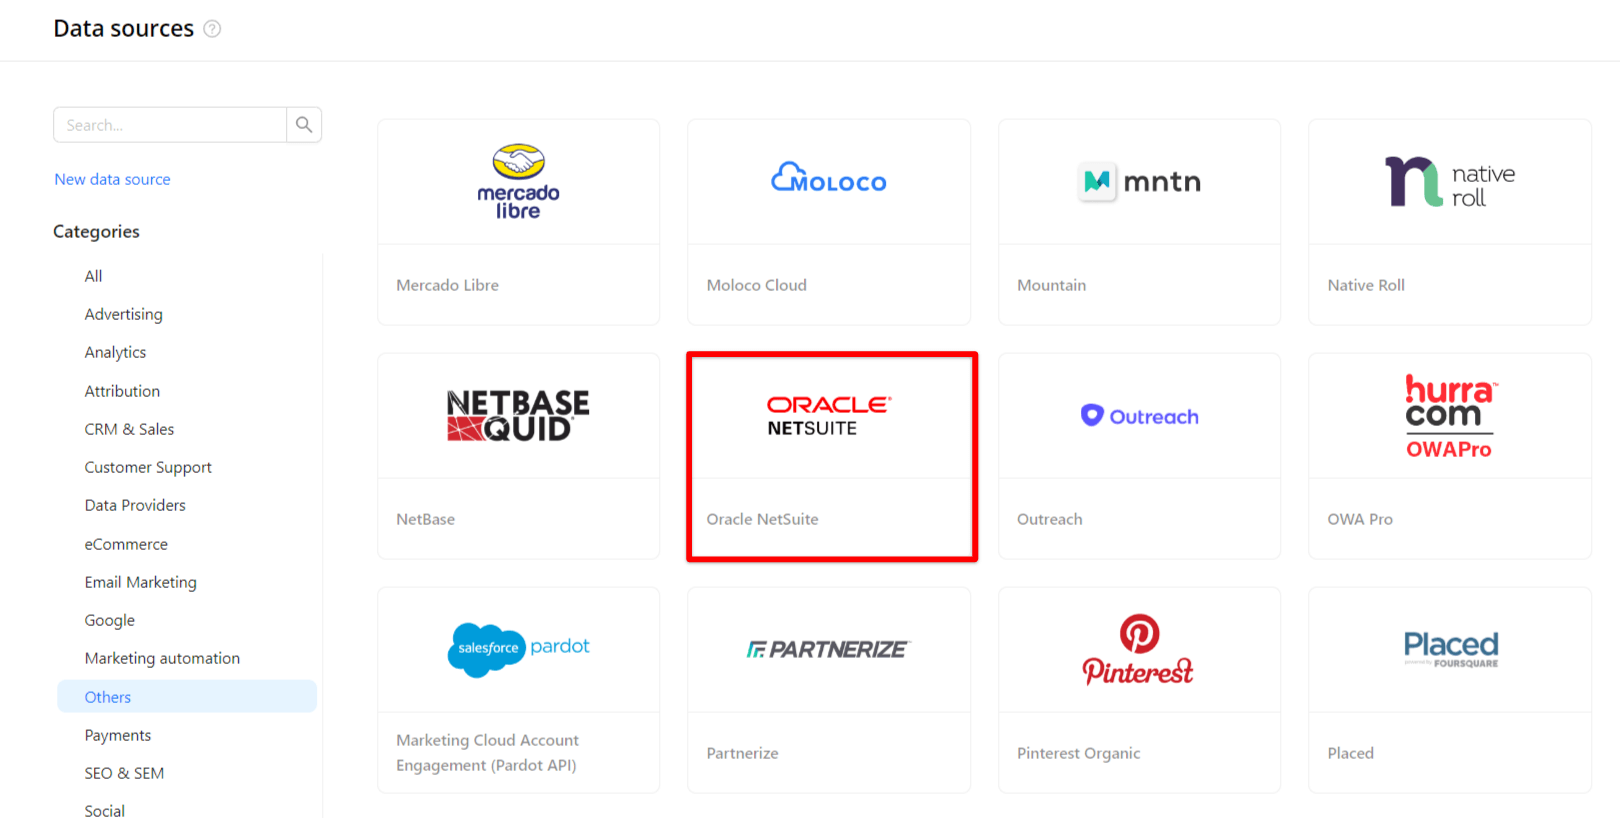
Step 1. Click the Connections in the left navigation bar.
Categories on the Data sources page group all available platforms. Use a search to find the required one.
Step 2. Click on the Oracle NetSuite tile.
Choose authorization option:
Improvado does not host a central NetSuite application, so you create your own Integration record in your NetSuite account and provide its Client ID and Client Secret along with your Account ID and Account Name. Step 3.1. Log in to your Oracle NetSuite account. Step 3.2. Enable the required features. Go to Setup > Company > Enable Features > SuiteCloud tab. Step 3.3. Create an Integration record to obtain your Client ID and Client Secret. Note: If you are not sure which region your Improvado account uses, enter the default (first) redirect URI. Step 3.4. Set up a Role and assign it to the user who will authorize the connection. Step 3.5. Copy your Account ID. Go to Setup > Company > Company Information and copy your Account ID (Realm). Step 3.6. In the Improvado authorization form, select OAuth 2.0, enter your Account ID, Account Name, Client ID and Client Secret, then click Authorize, sign in to NetSuite, and select the role you created.OAuth 2.0 (recommended)
Access level
Permission
full/view access
Transactions
Reports
Lists
Setup
To authorize your account, you need to fill in the required fields below following steps 3.1 - 3.9: Login into your Oracle NetSuite account. Step 3.2. Go to Setup > Company > Company Information. Step 3.3. Copy your Account ID (Realm) and Account Name. Step 3.4. Enable features. Create Integration (obtain Consumer Key and Consumer Secret). Setup Role. Important: Please edit these params again when you rename or customize any Object in Oracle NetSuite for improvado-integration-role to reflect such changes. Step 3.7. Setup User. Create Access Token for the role. Enter copied values into the Improvado authorization form. Also, you can find the additional information here: Oracle NetSuite Applications Suite - SuiteTalk REST Web Services API Guide.Token-Based Authentication (legacy)
Access level
Permission
full/view access
Transactions
Reports
Lists
Setup
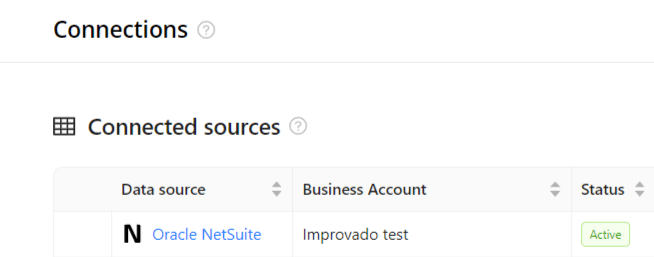
Step 4. After completing the connection process, the Oracle NetSuite connection will appear in your Connected sources list.
Step 5. When the connection status is Active, and the account status column shows a number of accounts, you can move on to data extraction.
To extract data from the connected sources, check the instruction on how to set up data extraction.
Schema information
The schema information shows all report types you can use to extract data from Oracle NetSuite.
Release notes
You can find information about the latest API changes in the official Release notes.
Troubleshooting
Having trouble with your setup? Find solutions to common issues →
Was this article helpful?
Thanks for the feedback!
Questions? The Improvado team is always happy to help. Send us an email, contact your Customer Success Manager, or raise a request in the Improvado Service Desk.