Cvent
Description
Cvent is an event management platform whose API provides programmatic access to data on event registration, attendance, and logistics. This allows for the integration of event information with other business systems like CRMs and marketing automation tools.
Setup guide
Follow our setup guide to connect Cvent to Improvado.
Click the Make a new connection button on the Connections page and select Cvent in the Data sources catalog.
To authorize your account, you need to fill in the required fields below, following steps 2.1 - 2.7:
Enter your Organization Name.
Go to the Cvent Developer Portal (developers.cvent.com).
Create or select a workspace.
Create a new application.
In the Select scopes drop-down menu, select the read scopes for all the endpoints whose data you want to sync.
Copy the Client ID and Client Secret.
Specify Region according to the hostname in your Cvent API endpoint:
| Hostname | Region |
|---|---|
| https://api-platform.cvent.com | North America |
| https://api-platform-eur.cvent.com | Europe |
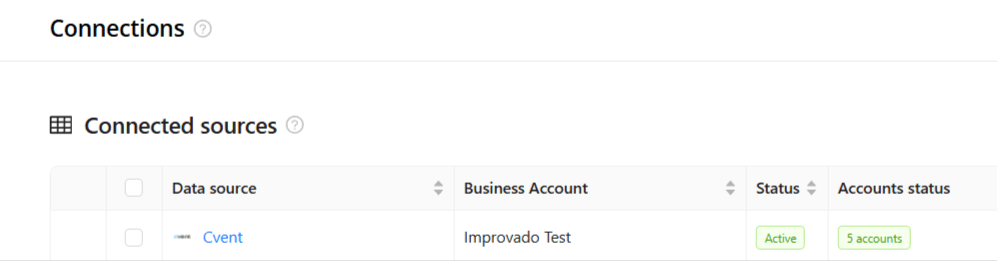
After completing the connection process, the Cvent connection will appear in your Connected sources list.
When the connection status is Active, and the account status column shows a number of accounts, you can move on to data extraction.
To extract data from the connected sources, check the instructions on how to set up data extraction.
Schema information
The schema information shows all report types you can use to extract data from Cvent.
Release notes
You can find information about the latest API changes in the official Release notes.
Was this article helpful?
Thanks for the feedback!