To better understand how workspaces work, learn about user roles, you can check out the Workspaces documentation.
How to create a workspace
Only users with Owner and Admin roles can create workspaces and invite other users.
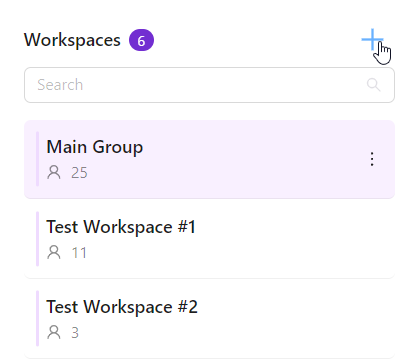
To create a new workspace, click on the Plus (+) button.
Note
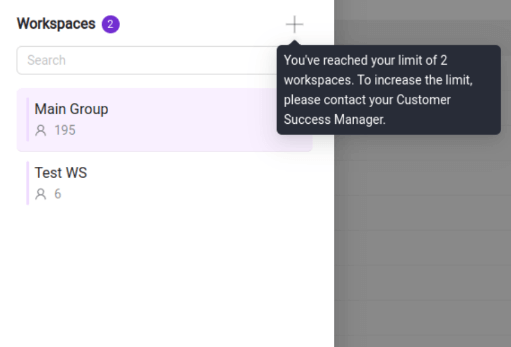
If you have reached the limit of available workspaces, you’ll see the following error message:
Please reach out to your Customer Success Manager or our Support Team to increase the workspaces limit.
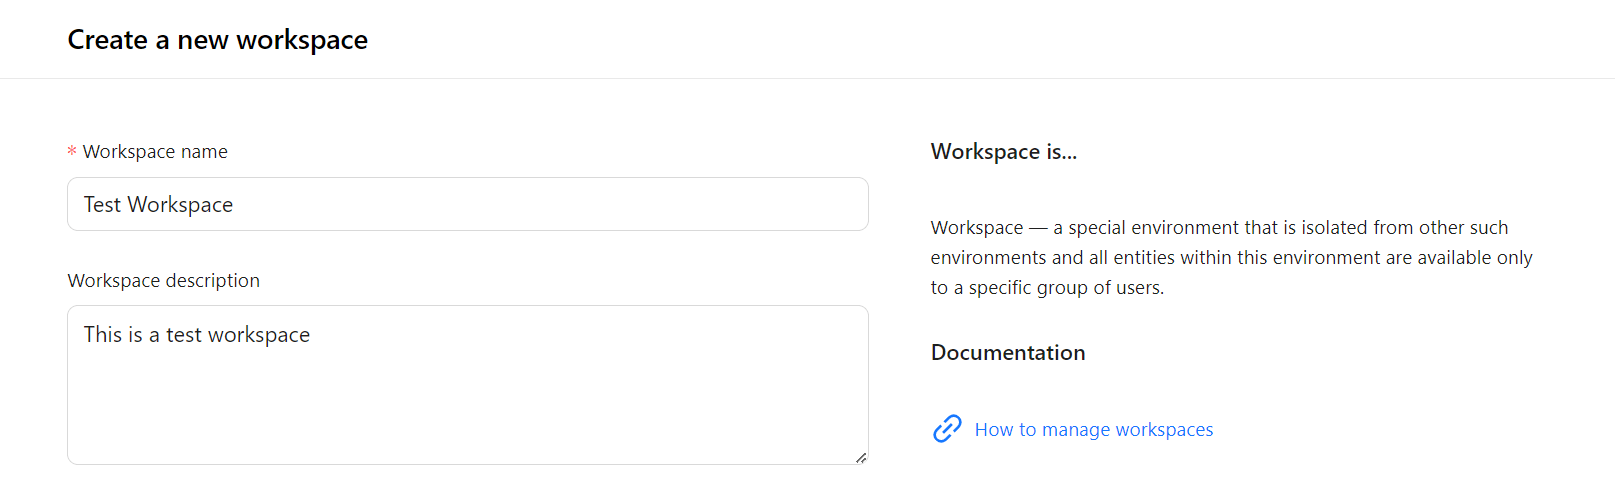
Enter a name and description for your Workspace.
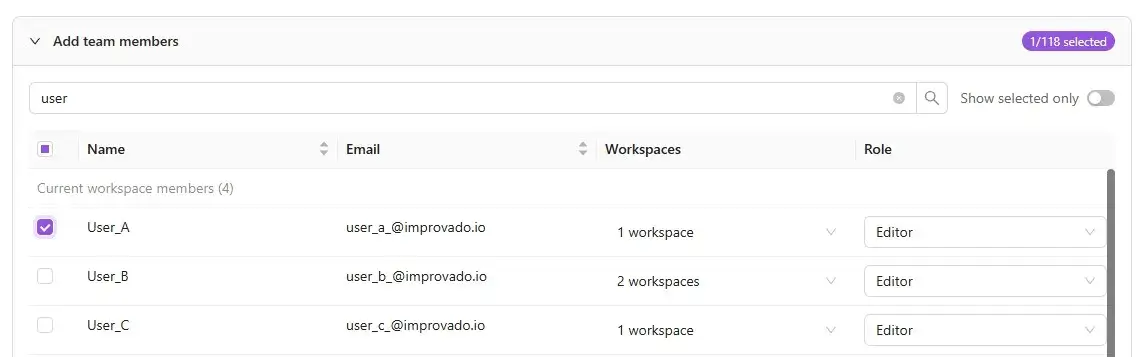
You can now add team members to your workspace during the creation process. By default, members from your current workspace are pre-selected.
Use the search bar to find additional users and select the checkbox next to their names to include them.
You can see which workspaces each team member belongs to — click their workspace list to view details.
Each user’s current role is displayed beneath the workspace name. Click the role to open a list of available options and assign the right one. Learn more about available roles here.
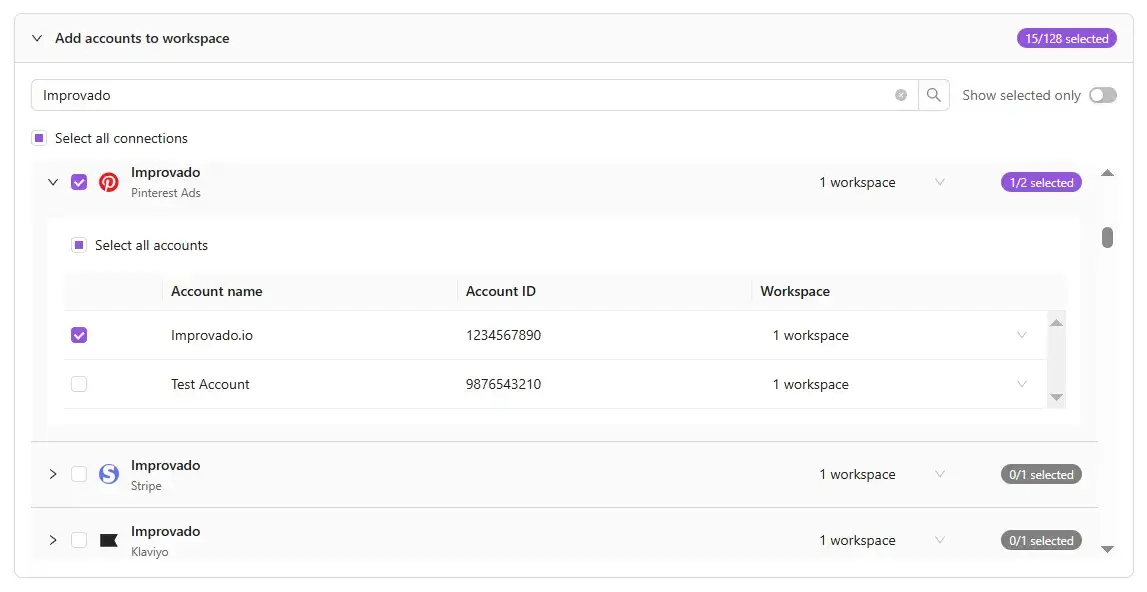
You can assign existing account connections from your other workspaces to the new one. Only selected accounts will be available in the new workspace.
Use the search bar to find the account you need.
Click an account name to view its connection details.
Select the checkbox next to an account to add it to your new workspace.
Note
Reconnecting Copied Connections When you reconnect a copied connection, all other connections that were created from the same original source will be automatically reconnected as well. This behavior is designed for convenience, ensuring that all related copied connections stay consistent and do not need to be updated manually one by one.
Parent Connection Deletion Restriction A parent connection cannot be deleted if it has any copied connections associated with it. Before you can remove the parent connection, all copied connections must be deleted. This restriction prevents accidental removal of a primary connection that other elements depend on.
When everything is ready, click Create workspace. After creating a workspace, you can add or remove accounts and members, and update user roles in the workspace settings.
Use Case: Creating a workspace for a sub-client
The creation flow allows you to select all associated connections and include them immediately, ensuring that all necessary connections and accounts are automatically copied into the new workspace.
How to edit a workspace
Only users with Owner and Admin roles can manage workspace settings.
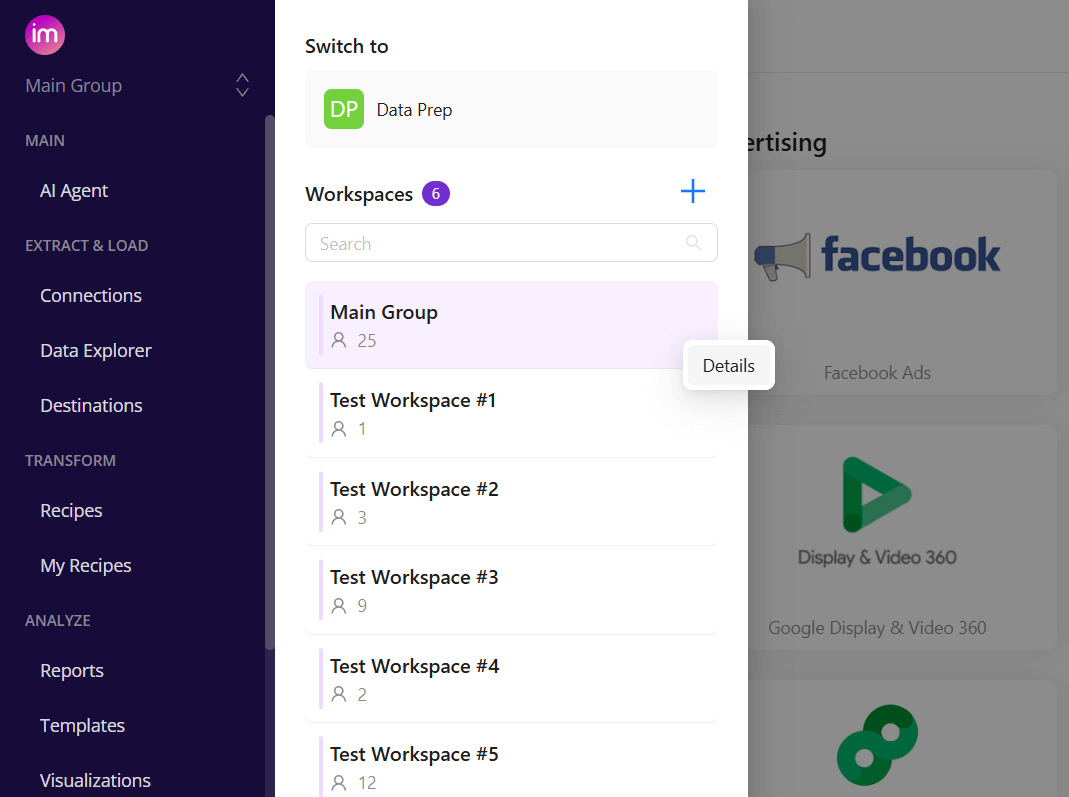
Hover over the three-doted menu for the necessary workspace and click the Details button.
We use necessary cookies to run this site and, with your consent, cookies to measure traffic and support our marketing. Read our Privacy policy and Cookie policy.
Privacy preferences
Choose which cookies this site may use. Necessary cookies are always on. See the Cookie policy for the full list.
Necessary
Required for core functionality and security. Always active.
Analytics
Helps us understand how the site is used so we can improve it.
Marketing
Lets us measure campaigns and show relevant messaging across channels.