How to Load Data from Google Sheets to GBQ
Ensure that you share the spreadsheet with the account used in GBQ.
Configure Data Load to a Table
- Open a project in GBQ and select an agency dataset.
- Click on CREATE TABLE button.
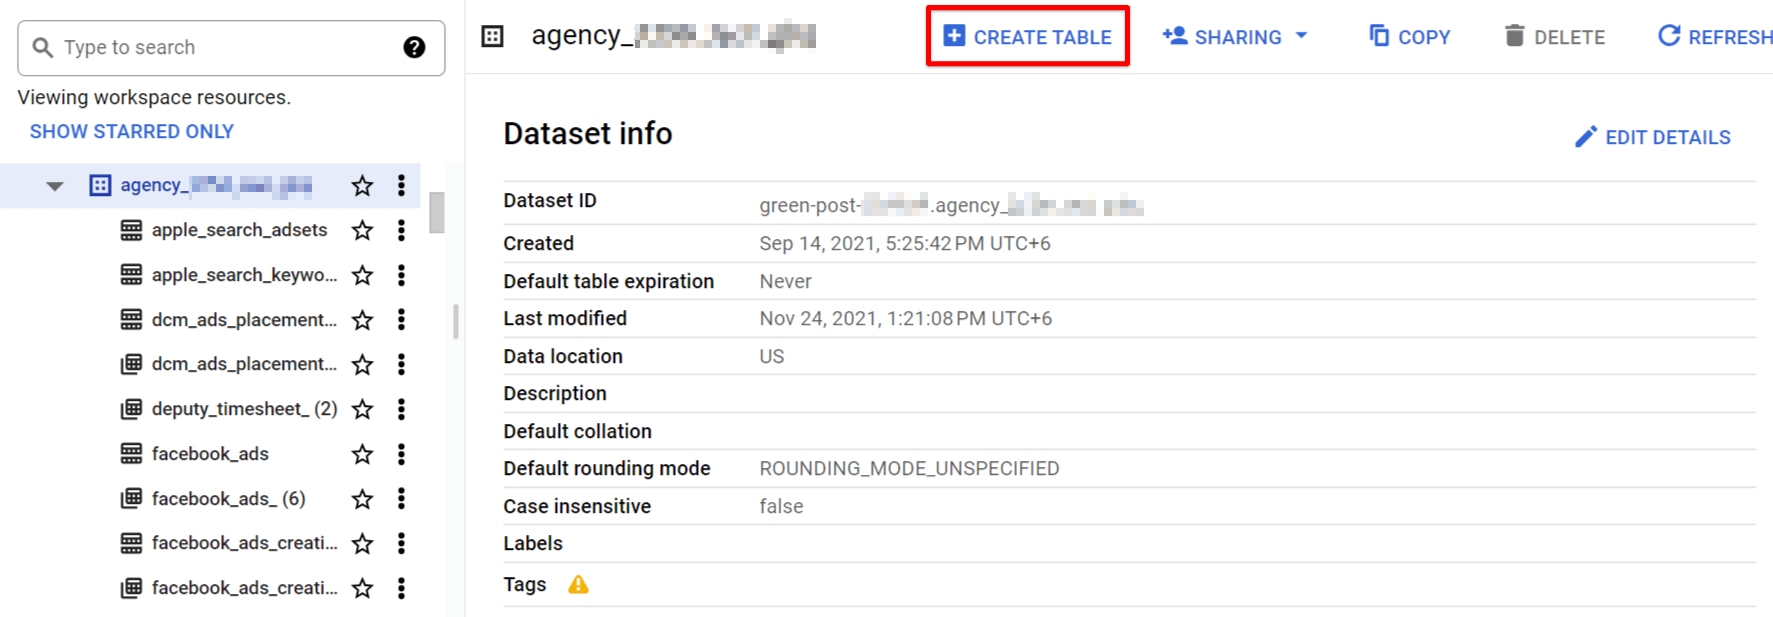
- Set the following settings:
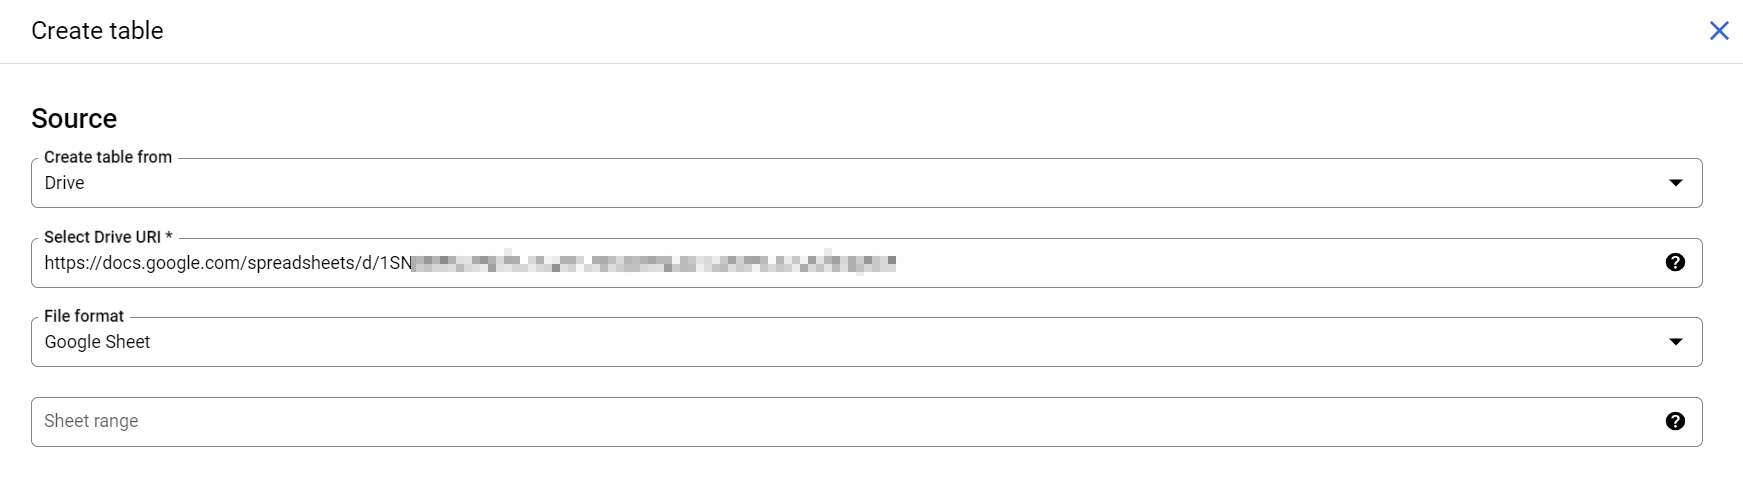
Source settings
| Form field | Description |
|---|---|
| Create table form | Select the Drive option from the drop-down list. |
| Select Drive URL | Paste the link to your spreadsheet here. |
| File format | Select the Google Sheet option from the drop-down list. |
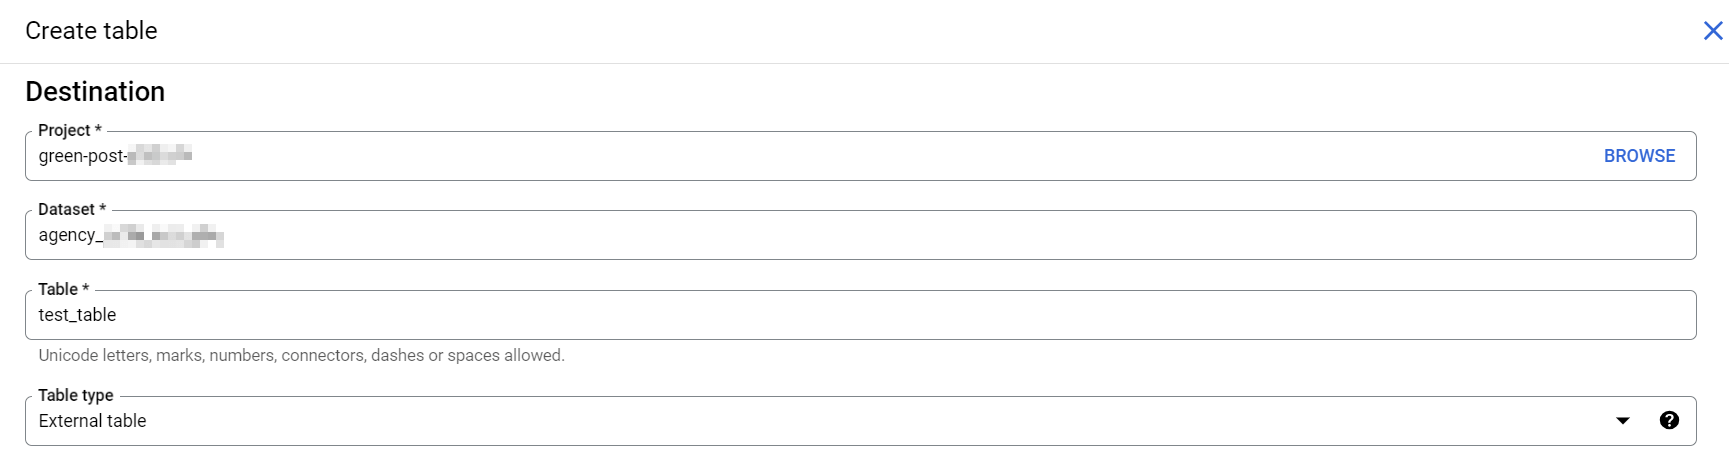
Destination settings
| Form field | Description |
|---|---|
| Project | Select BROWSE and use search for a project option. |
| Dataset | Choose the dataset name matching your agency. |
| Table | Enter a table name here. |
| Table type | External table is selected by default and can’t be changed. |
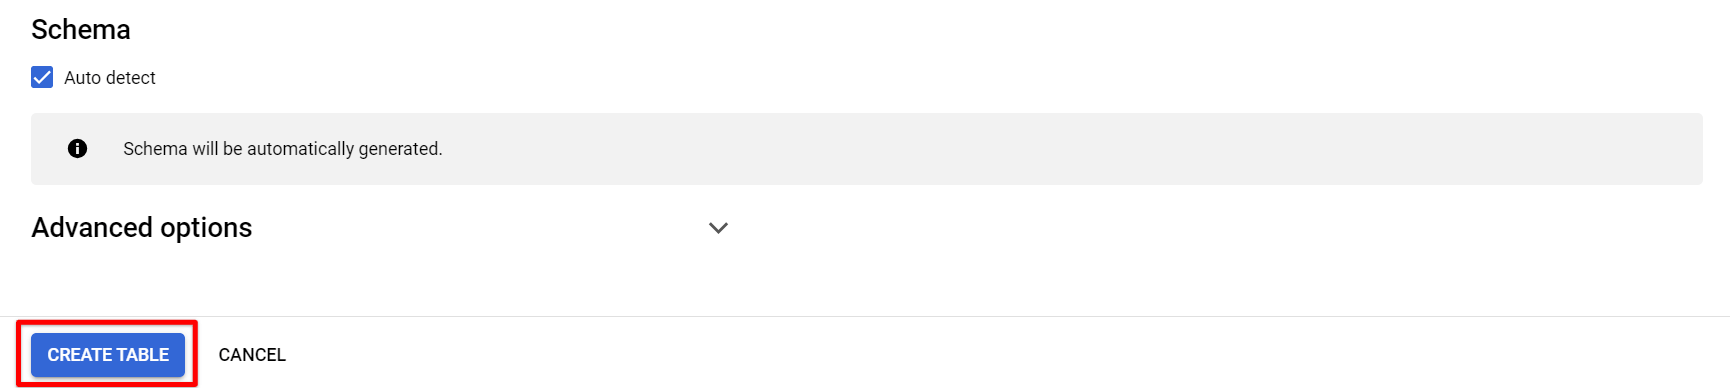
Schema settings
Here you can enable the Auto detect option to generate schema automatically. However, be careful. Problems might occur if your data contains artifacts, e.g., missed columns, or strings in a numeric column.
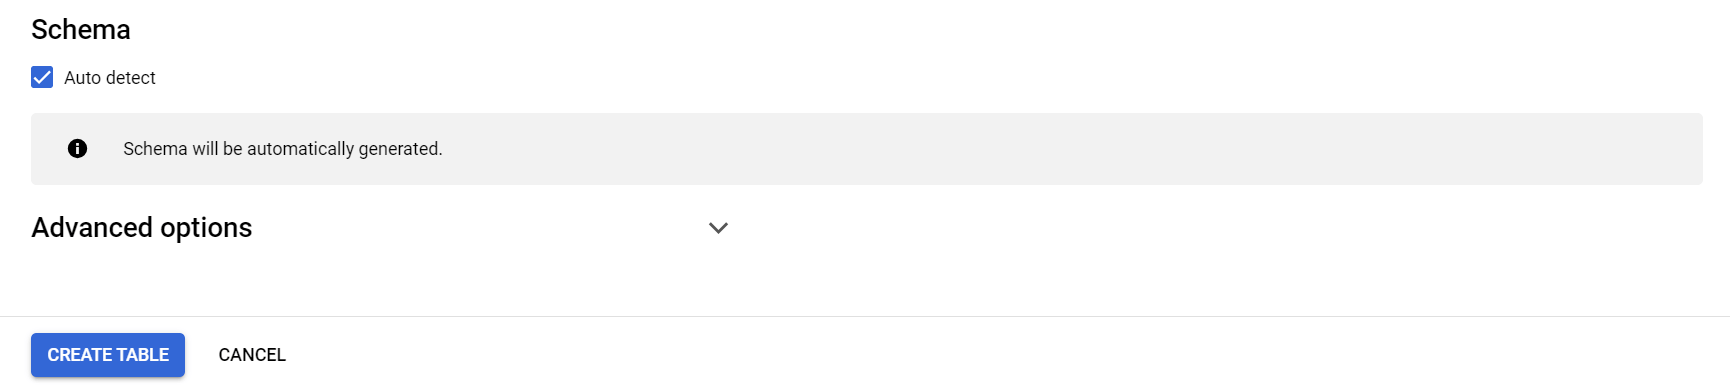
Note: If you create a schema manually, you don’t need to know column names from the spreadsheet. Here you define how it will be named in GBQ from left to right (the first column corresponds to the most left column in the spreadsheet).
Advanced options
You can also enable advanced options for your table. Typically it’s necessary to set the Header rows to skip to 1. Otherwise, column names from the spreadsheet will be written as values to GBQ.
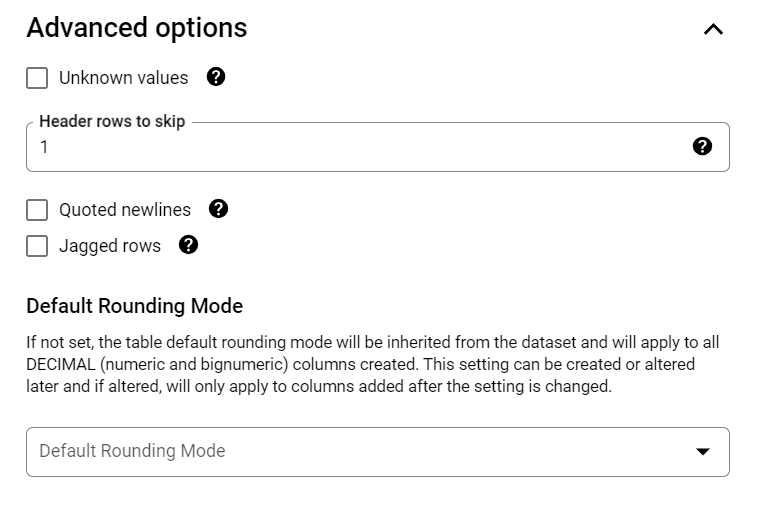
However, if there are some meta-information or empty rows at the top, then use the following formula:
Header rows to skip = Meta rows + Empty rows + Header rows
More detailed instruction is attached near each parameter of Advanced options.
- Click the CREATE TABLE button.
Schedule Query for Data Extraction
The created table doesn’t contain any rows and loads data from the spreadsheet every time it’s queried. If the spreadsheet is large enough, processing the query might take time. It’s possible to create the Scheduled query, which will run at defined time intervals, and the result will be written in the pre-defined table.
You need to inform us about the preferred update period (e.g., update the table on the 9th of every month)
Write SQL Query
- Write an SQL Query that produces the result you want to save as a new table.
For example, your query might look as simple as this:
SELECT * FROM <project_name.agency_name.table_name> WHERE %DateField% is not null.

IMPORTANT: There should be no LIMIT parameter at the end of the query!
However, if data contains some artifacts, this is where you can implement necessary transformations using SQL.
- Click the Schedule button and select Create new scheduled query option from the drop-down list.

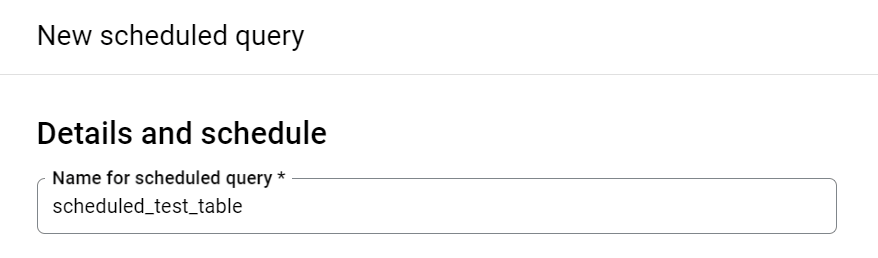
Configure new scheduled query
Details and schedule
The name for a scheduled query might be scheduled_<table_name>.
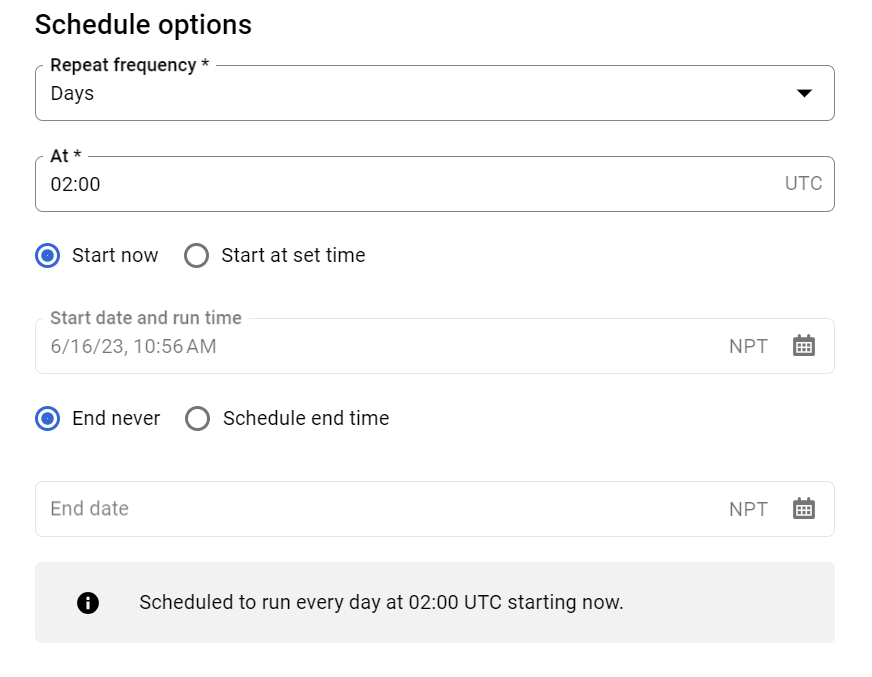
Schedule options
Repeat frequency defines the frequency of executing this query. By default, the Days option is selected. If you need to determine a specific frequency, use the Custom option. You can learn more here.
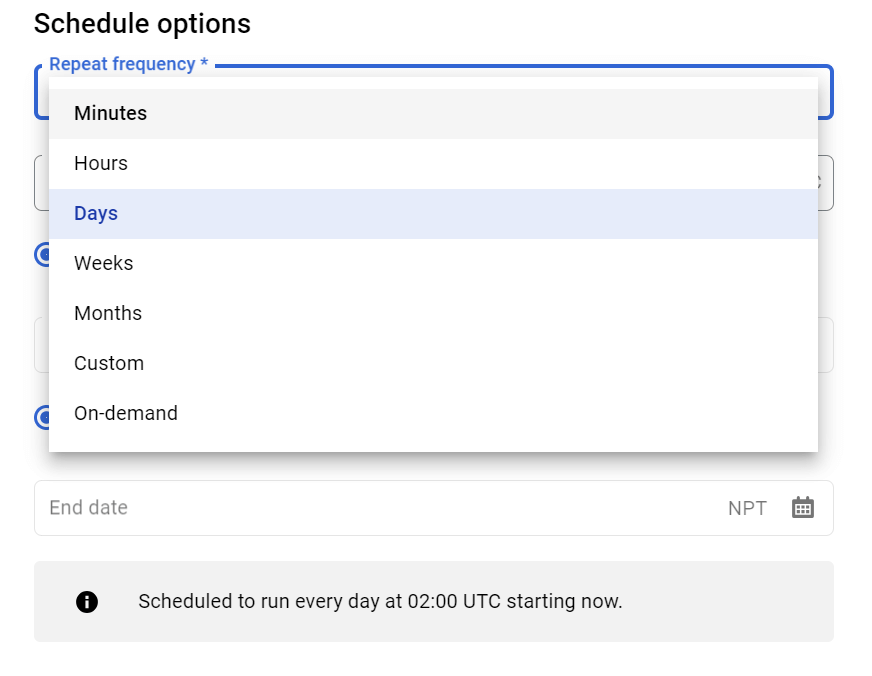
Click the Start at set time to define running your query every day/week/month/hour/minute, or select the Start now option to run the query immediately.
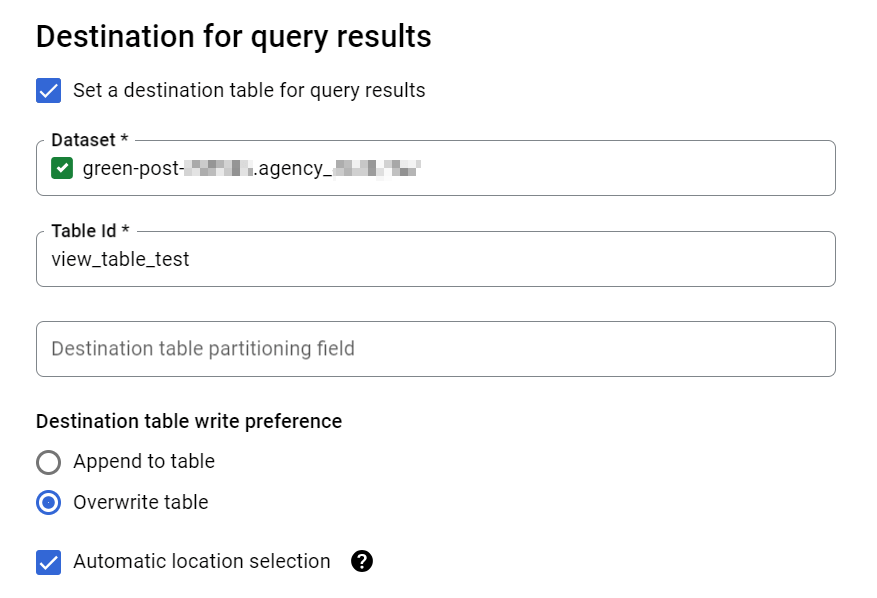
Destination for query results
- Select the necessary Dataset that will be used as a destination.
- Usually, the following Table Id (Table name) is used:
view_<table_name>, but you can use any other name you prefer. - Leave the Destination table partitioning field blank.
- The default value for the Destination table write preferences is Overwrite table. However, you can choose this depending on your needs.
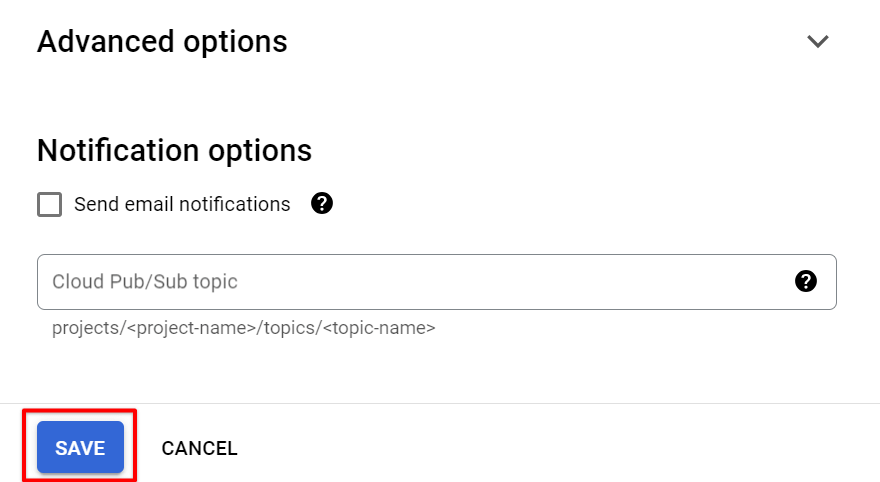
- Click Save.
How to change Scheduled Query settings
You will be able to check and edit all scheduled query settings.
If you need to change an existing schedule, go to the Scheduled Queries in GBQ, select the desired schedule, find the required query, and go to the Configuration section.
Was this article helpful?
Thanks for the feedback!