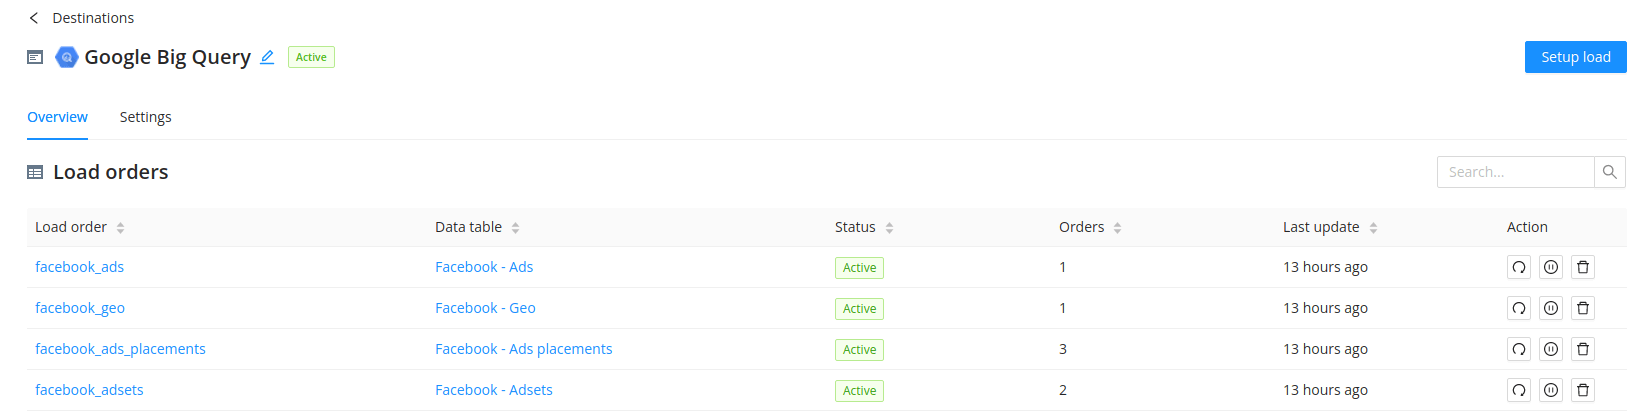
Learn how you can set up data load in three steps
You can set up data load for active connected destinations in two ways:

Here you need to select the required data tables for upload. You can use the search bar for easy navigation.
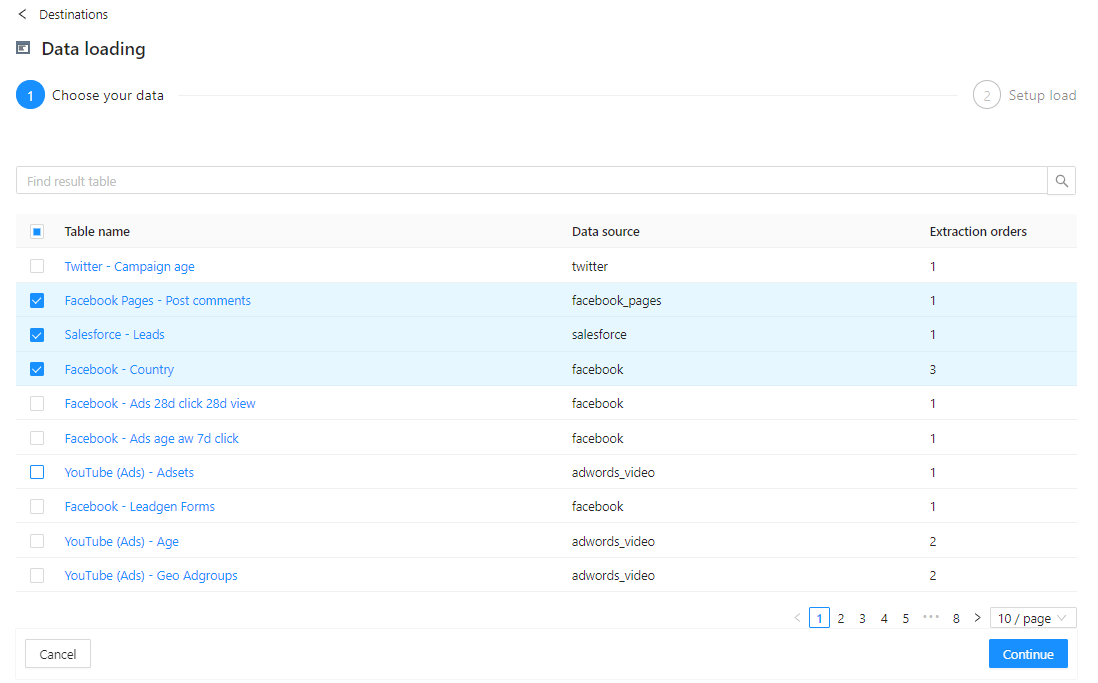
To continue working with the data table in Step 2, mark a checkbox near it. Click it again to remove the selection.
Also, you can select a checkbox near the table header to choose all tables only on this page! To choose data tables on other pages, move between them. Marked checkboxes are saved when moving.
When all the required tables are selected, click the Continue button. This button is non-clickable until at least one data table is selected.
Here you need to define the following settings:
Load time defines how often Improvado loads your data to the Improvado database. By default, this happens every time once the data extraction is finished.
This parameter allows you to enable/disable historical data loading.
Possible options:
The type of data object that will be created on the destination depends on the current destination.
We use the File name on the destination for:
In all other cases, you will see the Table name on the destination.
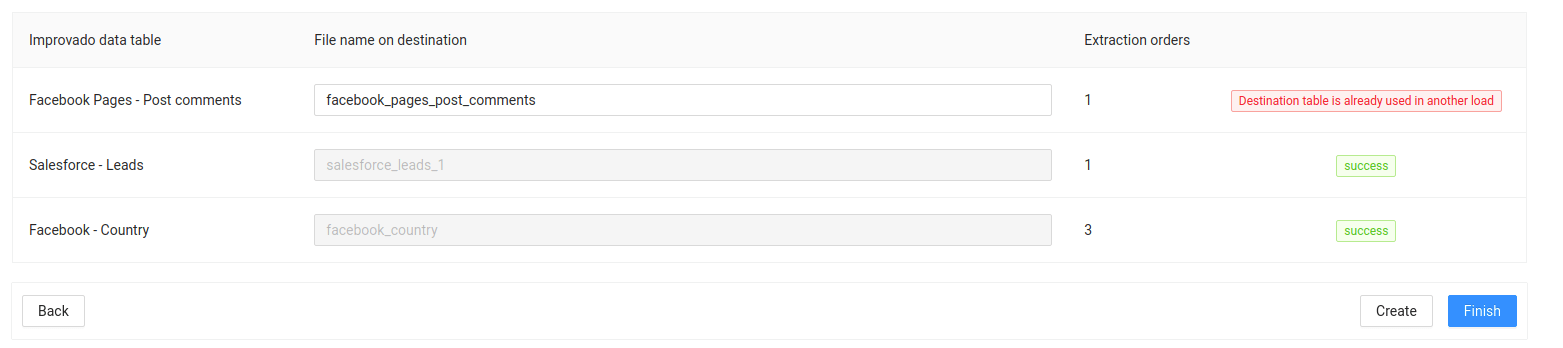
By default, a name compiles according to the corresponding data table name. All words are written with lowercase letters and underscores replace all the spaces.
Of course, you can change it to any other name. Please note that this name must be unique!
When you configure all the necessary settings, click the Create button.
Suppose another destination table with the same name already exists. In that case, you will see the following error message “Destination table is already used in another load”.
At this step, you can do the following:
Also, you can click the Back button to return to Step 1 and select any other tables. If the table has not been deselected, the settings configured at Step 2 will be saved.
Improvado team is always happy to help with any other questions you might have! Send us an email.
Contact your Customer Success Manager or raise a request in Improvado Service Desk.
.png)


